Guides / Growing techniques
Unlocking Microgreens Success: Practical Tips for Bigger Harvests and Healthier Plants
Imagine lifting the lid off your microgreens tray on day seven to find a lush, emerald carpet of vibrant, uniform greens—no leggy stems, no mold, no p
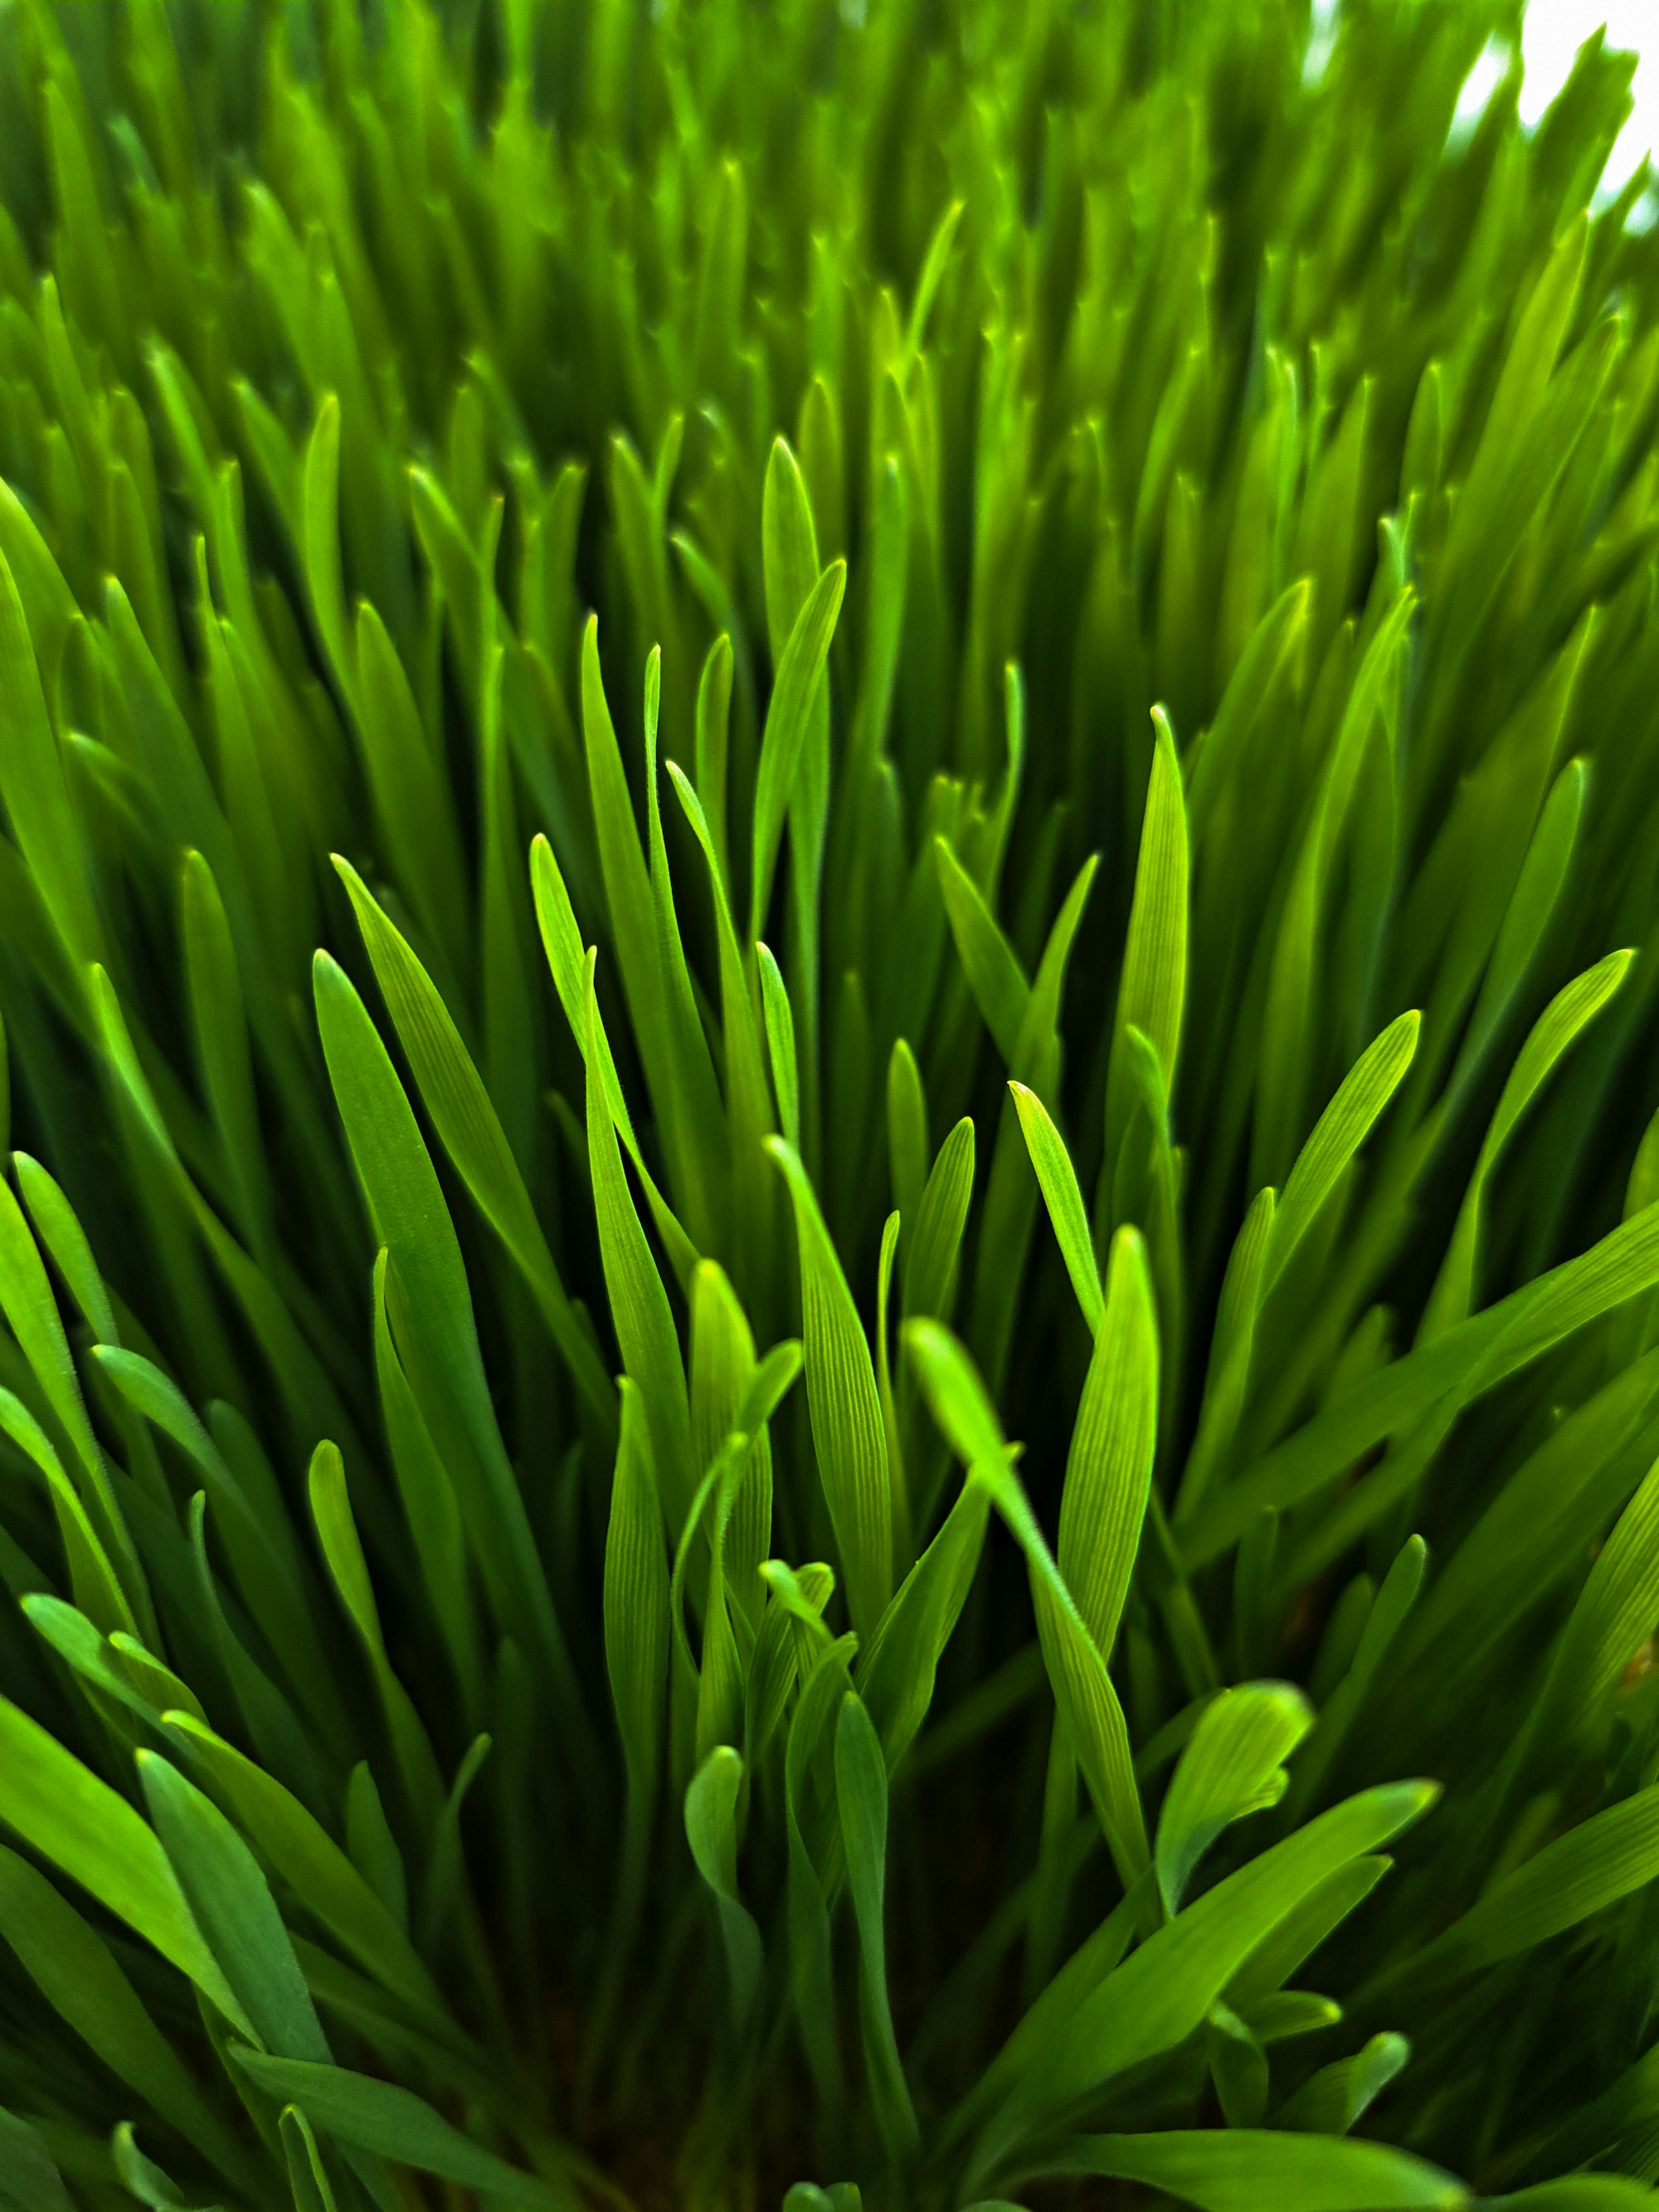
Imagine lifting the lid off your microgreens tray on day seven to find a lush, emerald carpet of vibrant, uniform greens—no leggy stems, no mold, no patchy growth. This isn’t just a dream for commercial growers or seasoned horticulturists; it’s an achievable reality for anyone willing to optimize their cultivation practices. Microgreens are a powerhouse of nutrition, flavor, and versatility, but their delicate nature means they demand precision. Whether you’re a beginner or a grower looking to refine your yields, this guide will equip you with actionable strategies to transform your microgreens game.
The Microgreens Advantage: Why Small Size Packs a Big Punch
Microgreens are young vegetable greens harvested just after the first true leaves have developed. Despite their small size, they pack a nutritional punch, often containing higher vitamin, mineral, and antioxidant levels than their mature counterparts. For growers, they offer a fast turnaround—most varieties are ready to harvest in just 7–14 days—and require minimal space, making them ideal for urban farming, home gardening, or commercial production.
However, their rapid growth cycle also means there’s little room for error. Suboptimal conditions can lead to weak plants, disease, or poor yields. The good news? With a few key adjustments, you can maximize your success and enjoy consistently abundant harvests.
Light: The Fuel for Growth
Light is the most critical factor in microgreens cultivation. Unlike mature plants, microgreens don’t have the energy reserves to recover from poor lighting. Here’s how to get it right:
- Spectrum Matters: Microgreens thrive under full-spectrum LED lights, which mimic natural sunlight. Blue light (400–500 nm) promotes compact, sturdy growth, while red light (600–700 nm) encourages photosynthesis and biomass production. If your greens are leggy or pale, they’re likely craving more blue light.
- Intensity and Duration: Position your lights 6–12 inches above the trays and provide 12–16 hours of light per day. Use a lux meter to measure light intensity—aim for 10,000–20,000 lux for most varieties. If you notice stretching or weak stems, increase the light intensity or lower the fixtures.
- Consistency is Key: Avoid fluctuating light conditions, as this can stress plants and lead to uneven growth. Invest in a timer to maintain a consistent light cycle.
Watering: The Goldilocks Principle
Too much or too little water can spell disaster for microgreens. Overwatering leads to mold and damping-off disease, while underwatering causes stunted growth and bitter flavors. Follow these tips for perfect hydration:
- Bottom Watering: Watering from the bottom ensures roots absorb moisture without saturating the delicate foliage. Place trays in a shallow container of water for 10–15 minutes, then remove and allow excess water to drain. This method also encourages deeper root growth.
- Humidity Control: Microgreens thrive in 40–60% humidity. Use a hygrometer to monitor levels, and consider a humidity dome or misting system for dry environments. If humidity is too high, increase airflow with a small fan to prevent mold.
- Water Quality: Use filtered or distilled water if your tap water is hard or chlorinated. High mineral content can leave deposits on the substrate, hindering nutrient uptake and stunting growth.
Substrate: The Foundation of Success
The right growing medium provides the perfect balance of moisture retention, aeration, and nutrient availability. Here’s what to consider:
- Soilless Mixes: Coconut coir, peat moss, or a blend of both are excellent choices. They’re sterile, lightweight, and retain moisture without becoming waterlogged. Avoid garden soil, which can introduce pathogens and pests.
- Hydroponic Options: For a soil-free approach, try hydroponic mats or hemp fiber pads. These are reusable, easy to clean, and ideal for growers looking to minimize mess. However, they require careful nutrient management, as they don’t retain nutrients like soil-based mixes.
- Sterilization: If reusing trays or substrates, sterilize them with a 10% hydrogen peroxide solution or steam to kill lingering pathogens. This simple step can prevent devastating outbreaks of mold or bacteria.
Seeding Density: Less Is More
It’s tempting to sow seeds densely to maximize yield, but overcrowding leads to competition for light, water, and nutrients, resulting in weak, leggy plants. Follow these guidelines for optimal density:
- Variety-Specific Rates: Different microgreens have different ideal densities. For example, radish microgreens can handle denser sowing than sunflower or pea shoots. Check seed packaging or reputable sources for variety-specific recommendations.
- Even Distribution: Use a salt shaker or seed spreader to distribute seeds evenly across the tray. This ensures uniform growth and reduces the risk of mold in dense patches.
- Pre-Soaking: Larger seeds like peas, sunflowers, or beets benefit from pre-soaking for 8–12 hours. This softens the seed coat, speeding up germination and improving uniformity.
Disease Prevention: Nip Problems in the Bud
Microgreens are susceptible to mold, damping-off, and bacterial infections, but proactive measures can keep your trays healthy:
- Airflow: Stagnant air is a breeding ground for mold. Use a small fan to create gentle airflow over your trays, but avoid direct drafts, which can dry out the substrate.
- Sanitation: Clean trays, tools, and work surfaces with a 10% bleach solution or hydrogen peroxide before and after each use. This prevents cross-contamination and reduces the risk of disease.
- Monitoring: Inspect trays daily for signs of mold (fuzzy white or gray growth) or damping-off (wilting, mushy stems). If you spot trouble, remove affected plants immediately and adjust humidity or airflow.
- Natural Remedies: If mold appears, a light spray of diluted hydrogen peroxide (1 part 3% H₂O₂ to 4 parts water) can help. For bacterial issues, a chamomile tea spray (cooled) has natural antimicrobial properties.
Harvesting: Timing Is Everything
Harvesting at the right time ensures peak flavor, nutrition, and yield. Here’s how to do it:
- True Leaf Stage: Most microgreens are ready to harvest when the first true leaves appear, typically 7–14 days after sowing. True leaves look different from the initial cotyledons (seed leaves) and indicate the plant is mature enough for harvest.
- Sharp Tools: Use clean, sharp scissors to snip greens just above the soil line. Avoid pulling plants, as this can disturb the roots of neighboring greens and introduce contaminants.
- Post-Harvest Care: Rinse harvested microgreens gently in cold water, then pat dry with a clean towel or salad spinner. Store them in an airtight container lined with paper towels to absorb excess moisture and extend shelf life.
Experimentation: The Grower’s Secret Weapon
No two growing environments are identical, so don’t be afraid to experiment. Try adjusting light spectra, testing new substrates, or tweaking watering schedules to see what works best for your setup. Keep a grow journal to track changes and outcomes—this will help you refine your process and achieve consistent results.
Microgreens cultivation is as much an art as it is a science. By focusing on these key areas—light, water, substrate, seeding density, and disease prevention—you’ll set yourself up for success. Remember, every tray is an opportunity to learn and improve. Happy growing!
Call to Action: Start Your Microgreens Journey Today
Ready to transform your microgreens harvests? Begin by assessing your current setup. Identify one area to optimize—whether it’s upgrading your lighting, adjusting your watering method, or experimenting with a new substrate. Share your progress and tips with fellow growers in the comments below, and let’s cultivate a community of microgreens success!
Ronaldo AndradeWrites practical notes about growing better microgreens.
[01] keep reading