Guides / Growing techniques
Mastering Microgreens Cultivation: A Complete Guide for Bigger, Healthier Harvests
Introduction to Microgreens Cultivation As we step into 2026, microgreens cultivation has emerged as one of the most dynamic and accessible forms of
Introduction to Microgreens Cultivation
As we step into 2026, microgreens cultivation has emerged as one of the most dynamic and accessible forms of indoor farming. These nutrient-dense seedlings pack an impressive punch—research consistently shows microgreens contain up to 40% more nutrients than their mature counterparts. Whether you’re a kitchen gardener looking to add fresh, vibrant flavors to your meals or a serious grower optimizing commercial yields, mastering microgreens cultivation is within your reach.
In this comprehensive guide, we’ll cover everything from seed selection to harvest timing, with practical tips that scale from beginners to advanced operations. We’ll also explore how cutting-edge tools like SproutPlanner can revolutionize your growing process with data-driven insights and planning software.
The Science Behind Microgreens Growth
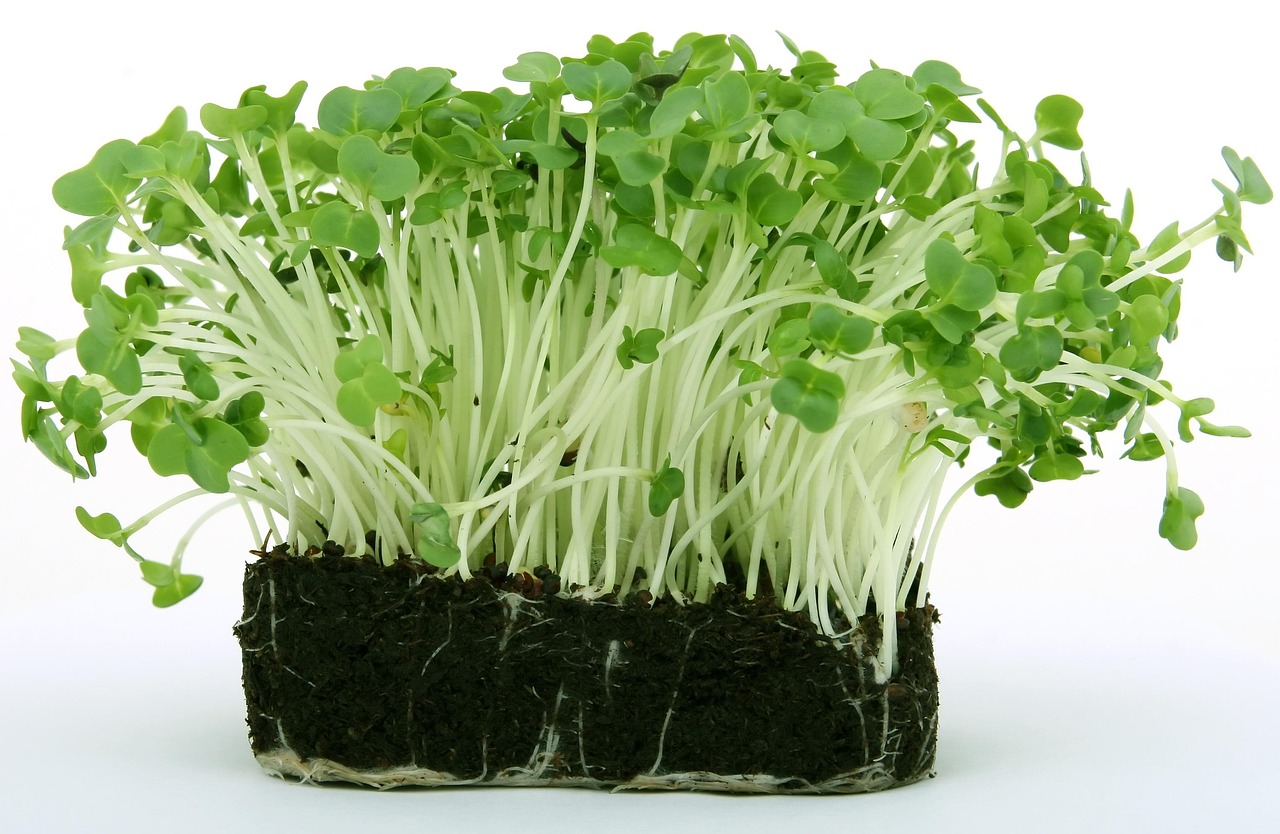
Microgreens are young seedlings harvested between the cotyledon and true leaf stages. This brief window—typically 7 to 21 days depending on variety—is when plants concentrate nutrients, flavors, and colors. Understanding this biology is key to maximizing both yield and quality.
Essential Growing Conditions
Successful microgreens cultivation starts with replicating optimal conditions. Think of your growing space as a micro-environment that you must control carefully:
- Light: While microgreens don’t require intense light, 4-6 hours of bright, indirect sunlight or 12-16 hours of LED grow light (3000-5000K color temperature) produces robust growth. Avoid direct sun which can scorch delicate seedlings.
- Temperature: The sweet spot ranges from 65-75°F (18-24°C) for most varieties. Extreme temperatures slow germination and stress plants.
- Moisture: Consistent moisture is critical. Seeds should feel like a wrung-out sponge—damp but not waterlogged. Overwatering leads to damping off disease, while underwatering causes bolting.
- Airflow: Gentle circulation prevents mold and strengthens stems. A small oscillating fan on low setting works wonders.
Seed Selection: The Foundation of Success
Not all seeds are created equal for microgreens. Your choice determines flavor profile, nutritional content, growth rate, and market appeal. Here’s our curated list of top performers:
Flavor Powerhouses
Radish Microgreens: Peppery, spicy kick with elegant ruby stems. Ready in just 5-7 days—perfect for quick turnover operations. Check out our detailed guide on microgreens cultivation fundamentals for proper sowing techniques.
Broccoli Microgreens: Earthy, slightly sweet flavor with impressive sulforaphane content. These nutrient powerhouses thrive in cooler conditions and benefit from blanching to preserve vibrant color.
Sunflower Microgreens: Large, crunchy shoots with a nutty flavor. Excellent for salads and sandwiches. They require slightly more space but deliver exceptional visual appeal.
Color and Visual Impact
Red Cabbage Microgreens: Striking purple foliage with red stems. High in anthocyanins and antioxidants. Check out our guide on optimizing harvest timing to capture these vibrant colors at their peak.
Movita (Purple Carrot) Microgreens: Bold purple color and sweet, carrot-like flavor. A market favorite for their Instagram-worthy appearance.
The Perfect Growing Medium
Contrary to popular belief, you don’t need expensive soil for successful microgreens cultivation. The best medium depends on your scale and growing preferences:
Seeded Growing (Beginner-Friendly)
Spread seeds directly onto a sturdy base—no soil required. Perfect for beginners because:
- No messy soil to deal with
- Rinsing is simple and quick
- Minimal risk of transplant shock
- Looks professional in presentation
Soil-Based Systems (Advanced)
For growers seeking maximum yield, a lightweight potting mix provides nutrients and moisture retention. Use a 50/50 blend of peat moss and coarse vermiculite. pH should read 6.0-7.0. Add a balanced organic fertilizer at half strength during the final week.
Mastering Water Management
One of the most common cultivation pitfalls is improper watering. The golden rule: water lightly but frequently, never drown your seeds.
The Two-Phase Watering Schedule
Germination Phase (Days 1-3): Mist twice daily until seeds completely germinate. Cover with a damp cloth or greenhouse dome to maintain humidity.
Growth Phase (Days 4-21): Water deeply once daily._bottom_watering works best—place trays in a shallow basin of water for 5-10 minutes until the medium absorbs adequately. Drain thoroughly before returning to light.
Troubleshooting Water Issues
- Yellowing leaves: Likely overwatering or poor drainage. Reduce frequency and ensure proper air circulation.
- Patellite seeds (separated from main mass): Often indicates insufficient moisture during germination.
- Mold formation: Increase airflow and reduce humidity. Remove affected areas immediately.
Light and Environment Optimization
While microgreens are relatively low-light plants, proper illumination dramatically affects flavor intensity and visual appeal. Here’s how to optimize your setup:
LED vs. Sunlight
LED grow lights offer consistent, controllable growth. Set them 6-12 inches above your trays, providing 12-16 hours daily. Choose full-spectrum LEDs with blue and red diodes for ideal photosynthesis.
Natural sunlight works beautifully but requires protection. East-facing windows provide gentle morning light without harsh midday intensity. Rotate trays regularly for even development.
Harvest Timing: The Art and Science
Cropping at the perfect moment makes the difference between good and exceptional microgreens. Harvest too early, and you miss peak nutrition. Too late, and plants bolt, becoming bitter and woody.
The Three-Point Check Method
- Leaves: True leaves should be fully developed but not flowering. Begin harvesting when the first true leaves emerge and cover 75% of the seedling.
- Height: Most varieties hit their prime at 2-4 inches tall. Radish and pea shoots are ready at 2-3 inches; kale and broccoli at 3-4 inches.
- Stems: The stem should be firm and crisp, not soft or hollow. Gently bend a stem—it should snap cleanly, not bend.
When and How to Harvest
Harvest in the cool morning for maximum crispness and flavor retention. Use clean, sharp scissors or kitchen shears. Cut just above the growing medium, taking the entire shoot including stems. This preserves the root ball for cleaner presentation.
Scaling Your Microgreens Operation
Once you’ve mastered the basics, optimizing yield becomes your next priority. Professional growers employ several strategies to maximize production efficiency:
Succession Planting
Plant small batches every 2-3 days rather than large weekly harvests. This ensures continuous availability and reduces the risk of total crop loss from disease or pest issues.
Multi-Tier Growing Systems
For commercial operations, vertical growing maximizes space utilization. Use tiered shelving with LED strips between levels. Each tier should receive adequate light and airflow—typically reduce light duration by 15-20% per level up.
Seed-to-Harvest Calculators
Accurate planning prevents waste and ensures steady supply. Calculate your needs based on:
- Average tray yield: 2-4 ounces fresh weight
- Recommended daily turnover: 1 tray per 3-4 customers
- Seed cost: typically $0.50-$1.00 per tray
Common Problems and Professional Solutions
Even experienced growers encounter challenges. Here’s how to identify and solve common microgreens issues:
Mold and Damping Off
Fuzzy white mold indicates excess humidity and poor airflow. Solution: Increase ventilation, reduce watering frequency, and harvest affected areas immediately. Damping off appears as water-soaked spots that develop into thin, papery stems that break easily.
Carding (Stems Breaking)
When individual stems snap instead of bending, plants are stressed. Often caused by inconsistent watering or extreme temperatures. Maintain steady moisture and moderate growing conditions.
Harvest Bolting
Premature flowering or tall, leggy growth indicates stress. Likely causes: insufficient light, overcrowding, or temperature fluctuations. Adjust your growing schedule to compensate.
Storage and Presentation
Microgreens are best consumed within 3-5 days of harvest, but proper storage extends their freshness and market appeal.
Optimal Storage Technique
Place harvested microgreens in breathable containers lined with paper towels to absorb excess moisture. Store at 32-38°F (0-3°C) with high humidity (90-95%). Use within 5 days for peak flavor and texture.
Market-Ready Presentation
For commercial sales, package in clear, climate-controlled containers. Label with harvest date and variety. Include serving suggestions—microgreens taste amazing on salads, sandwiches, tacos, and as garnishes for premium dishes.
Integrating SproutPlanner Into Your Workflow
Mastering microgreens cultivation isn’t just about technique—it’s about smart planning. That’s where SproutPlanner transforms your operation. This free miniapp helps you:
- Calculate optimal planting schedules based on your harvest timeline
- Track seed inventory and rotation to minimize waste
- Manage environmental conditions with automated logging
- Plan for seasonal variations and customer demand fluctuations
Conclusion: Your Microgreens Journey Starts Now
Microgreens cultivation offers unparalleled satisfaction and returns—both personal and financial. By understanding the science, mastering the techniques, and leveraging smart tools like SproutPlanner, you’ll be harvesting nutrient-dense, restaurant-quality microgreens in as little as 7-10 days.
Whether you’re growing for yourself or scaling to supply restaurants, remember that consistency beats perfection. Start small, learn from each batch, and watch your skills—and yields—grow exponentially. The future of fresh, local food is in your hands, one tray at a time.
Ronaldo AndradeWrites practical notes about growing better microgreens.
[01] keep reading