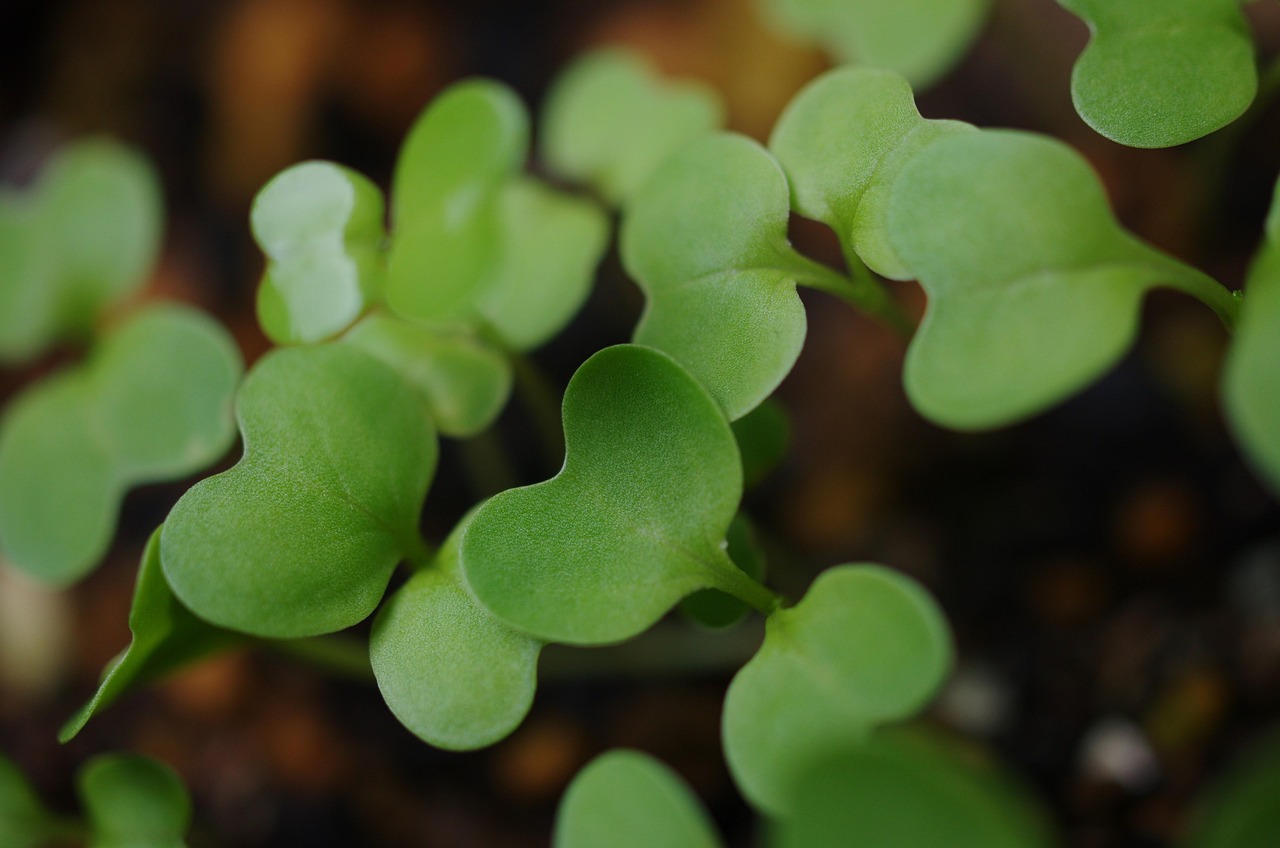
Introduction: Growing Fresh, Nutritious Microgreens From the Ground Up
There’s something special about eating greens picked just hours before you get them into your kitchen. With microgreens—tiny, nutrient-dense seedlings harvested within 7 to 21 days after sprouting—you can grow fresh, flavorful additions year-round, even when outdoor temperatures drop. Whether you’re cooking at home, running a small farm, or supplementing a commercial operation, mastering microgreens cultivation unlocks a fast, rewarding way to put fresh produce on your table every single day.
This guide walks you through the entire process—from choosing the right seeds and setting up your growing tray to optimizing light, watering, and harvest timing. We also point you toward two deeper resources we’ve already published here on Leaftix, and introduce our free SproutPlanner miniapp, designed to help you plan every step of the season so you never guess again what to sow next.
Choosing Your Seeds and Setting Up the Tray
The first practical decision is which varieties to grow. For absolute beginners, classic favorites like broccoli, sunflower, radish, and pea shoots offer reliable germination rates and fast turnaround times—often within seven days. For growers looking to optimize flavor and yield, blends that combine multiple seeds in one sachet give you variability without guesswork. Check out our detailed guide on seed selection and germination basics here.
Once you pick your seeds, choose the right substrate. Pre-sterilized coconut coir or paper-based plugs are forgiving starting points—they’re clean, retain moisture well, and reduce mold risk without requiring you to sterilize soil yourself. If you’re building a permanent setup, research shared standards and best practices for tray spacing, depth, and drainage holes, then build accordingly.
Lighting, Watering, and the Secrets to Consistent Harvests
Light is the single most important environmental factor after seed quality. Most growers achieve excellent results with a simple full-spectrum LED grow light positioned 6 to 12 inches above the trays, running on a timer set to roughly 12 to 16 hours per day during active growth. Hanging lights on adjustable chains work beautifully for desktop setups; for larger operations, consider vertical rack systems (we love exploring those deeper in our post on vertical microgreen growing systems).
Watering should keep the growing medium evenly moist but never soggy. Bottom watering—letting trays sit in shallow water for a few minutes and then draining—prevents surface damping and keeps leaves crisp. For advance growers aiming for the highest possible yields, monitoring humidity and airflow through vents is critical. Stable conditions meaningfully extend your harvest window, and tools that help you track VPD (vapor pressure deficit)—like our free app SproutPlanner—make that tracking easy.
When and How to Harvest
Knowing when to cut is half the battle. The true leaf is fully expanded (the first two or four tiny leaves), and the stem feels firm but not woody. Cut just above the lowest true leaf using sharp scissors or shehing shearing shears, leaving the growing point intact so one more flush is possible if you time it right.
For maximum output, stagger planting dates across successive trays rather than broadcasting everything at once. Our earlier post goes further into extending your harvest window by rotating varieties and reusing trays, which pushes yields higher without extra seed cost.
Harvest immediately after cutting to lock in peak nutrition. Wrap loosely in a damp paper towel, refrigerate, and use within three days for the freshest taste and color.
Microgreens cultivation is surprisingly simple once you understand the core principles: clean seeds, healthy substrate, strong light, steady moisture, and timely harvest. Start with a small tray, track your results, and gradually scale up. And remember—whenever you want help deciding what to plant next or exactly when to start each batch, try our free SproutPlanner miniapp. Happy growing!
Ronaldo AndradeWrites practical notes about growing better microgreens.
[01] keep reading