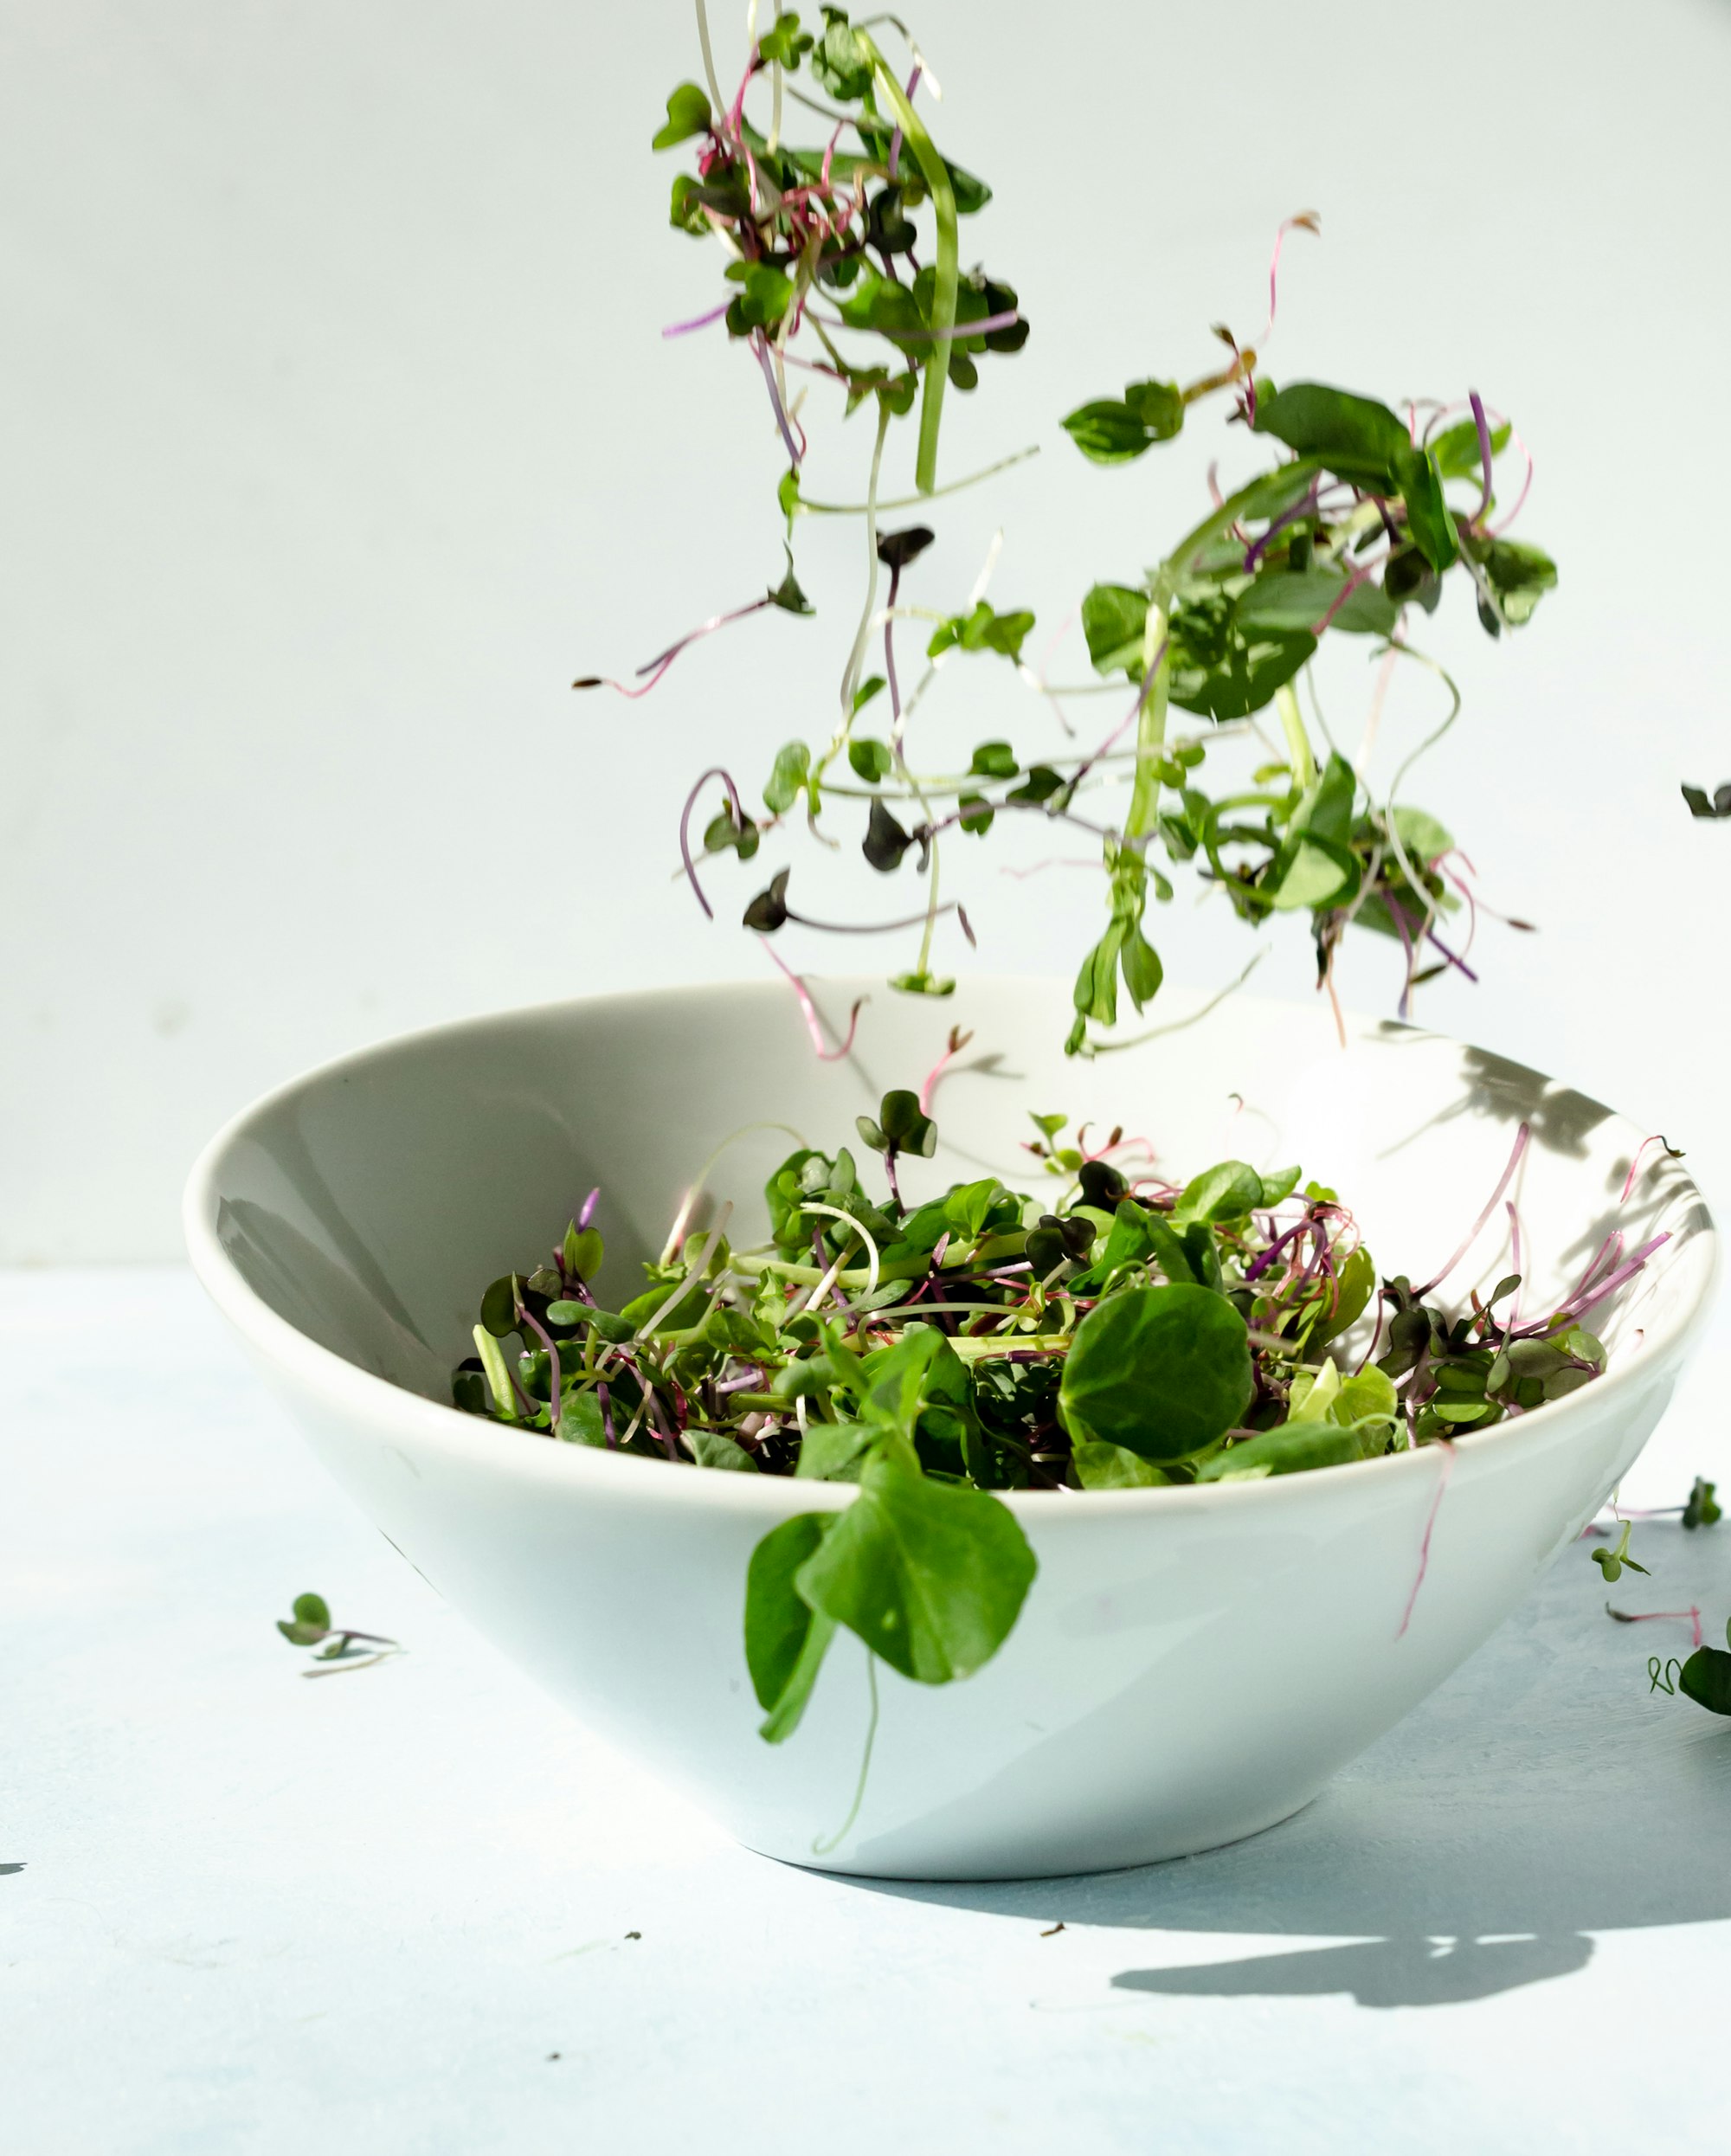
Introduction to Microgreens Cultivation
Microgreens cultivation has become one of the most accessible and rewarding ventures in modern indoor farming. Whether you’re a kitchen counter gardener or scaling up for commercial production, mastering the fundamentals of growing these nutrient-dense seedlings can transform your success rate and yields. As we enter 2026, microgreens continue to dominate culinary trends, with SproutPlanner helping growers at every level optimize their setup.
Why Microgreens? The Growing Movement
Microgreens represent the perfect intersection of sustainability, nutrition, and culinary artistry. These tender seedlings, harvested just 7-14 days after planting, pack concentrated flavors and nutrients that far exceed their mature plant counterparts. The global market, projected to reach $5-6 billion by the early 2030s, shows no signs of slowing, driven by consumer demand for fresh, local, and nutrient-rich produce.
Selecting Your Seeds: Quality Matters
The foundation of successful microgreens cultivation starts with exceptional seeds. Not all seeds are created equal—opting for organic, non-GMO varieties from reputable suppliers makes a significant difference in germination rates and final quality. Focus on these proven performers:
- Broccoli : Rich in sulforaphane, a potent anticancer compound
- Radish : Spicy flavor with high vitamin C content
- Sunflower : Excellent for beginners—high germination and sturdy growth
- Microgreen Mixes : Professionally blended for balanced nutrition and flavor profiles
Check out our trends analysis for data-driven insights into which varieties are performing best in 2026.
Preparing Your Growing Medium
Soilless vs. Soil-Based Systems
While traditional gardeners might instinctively reach for soil, microgreens thrive in controlled environments. The two primary growing mediums are:
Organic Potting Mix (Surface Grow Method) : Use a light, seed-starting mix with 70-80% perlite. Fill trays to 90% capacity, water thoroughly, and let drain. This method mimics natural surface germination and reduces transplant shock.
Rockwool Cubes : Pre-soak in pH-balanced water (5.8-6.0). Provides excellent drainage while retaining moisture. Rinse cubes before use to remove any residual dust.
Peer Reference : Dive deeper into substrate selection in our comprehensive guide on microgreens cultivation fundamentals.
Mastering Germination Conditions
Temperature Control
Maintain consistent temperatures between 68-75°F (20-24°C) for optimal germination. Broccoli and pea shoots prefer cooler conditions (65-70°F), while radish and sunflower varieties thrive at 70-75°F. Temperature fluctuations cause uneven sprouting and reduced yields.
Light Requirements During Germination
Contrary to popular belief, microgreens need light during germination, not darkness. Provide 12-16 hours of indirect light using full-spectrum LED grow lights set 12-18 inches above trays. Avoid direct sunlight which can create hot spots and uneven growth.
Watering Techniques That Prevent Problems
The Mist-and-Absorb Method
Misting with a fine spray nozzle keeps seeds evenly moist without displacing them. Water when the top layer feels dry to the touch—typically once daily. For better water uptake, water from the bottom: place trays in a sink and pour 1-2 inches of water underneath, letting the medium absorb for 15-20 minutes.
Preventing Waterlogged Conditions
Overwatering is the #1 cause of mold and rot. Ensure trays have drainage holes and never let seeds sit in standing water for more than 12 hours. If using a grow rack, consider upgrading to SproutPlanner to track moisture levels and irrigation timing automatically.
Spacing and Planting Density
Planting density directly impacts your harvest weight. For commercial operations, 25-30 seeds per square inch maximizes yield. Home growers can thin to 15-20 seeds per square inch for easier harvesting. Use a seed spacer or simply count by hand—precision beats approximation every time.
The Critical Harvest Window
When to Harvest
Harvest microgreens when seedlings reach 2-4 inches tall, with the first true leaves fully developed. This typically occurs 7-14 days after sowing, depending on variety and conditions. Delaying harvest reduces flavor intensity and can cause bolting in heat-sensitive varieties.
Harvesting Technique
Use clean, sharp scissors or a blade to cut stems just above the soil line. harvesting in the morning—when moisture content is highest—extends shelf life. Don’t forget to save the root balls for composting or next cycle’s soil amendment.
Avoiding Common Mistakes
Mold Prevention
Fuzzy white mold indicates inadequate airflow and overwatering. Prevent issues by:
- Watering from the bottom whenever possible
- Providing 2-4 hours of air circulation daily
- Using a fan on low setting in growing area
Light Burn and Leggy Growth
Stretchy, weak stems signal insufficient light. Ensure lights are positioned correctly and provide 14-16 hours daily. LumenSilo helps calculate optimal light distances for your specific setup.
Extending Shelf Life and Storage
Store harvested microgreens in breathable containers lined with paper towels to absorb excess moisture. Refrigerate at 32-40°F. Consume within 5-7 days for peak freshness. For longer storage, freeze in ice cube trers with a bit of water—one cube equals one serving for smoothies.
Harvest Frequency and Continuous Production
With proper spacing, you can harvest the same tray twice. After the first cut, allow 3-5 days for regrowth before harvesting again. For continuous production, sow new trays every 2-3 days. This staggered approach ensures a steady supply without overwhelming your storage capacity.
Integrating Technology: The Rise of Grow Apps
2026 brings unprecedented access to grower-focused technology. Our free SproutPlanner miniapp uses local AI to optimize planting schedules, track environmental conditions, and send harvest reminders. Combine it with VPDSprout for climate monitoring and create your perfect microgreens production cycle.
Scaling Your Microgreens Operation
Beginners should start with 2-4 tray setups to learn timing and techniques. As you master consistency, expand to 10-20 trays on rolling racks for space efficiency. Track metrics like yield per square foot and cost per harvest to measure improvements. Join our community of growers sharing successes, troubleshooting challenges, and celebrating harvests.
Final Thoughts: Your Journey Starts Here
Microgreens cultivation offers an unmatched combination of speed, flavor, and nutritional value. Success comes from consistency, attention to detail, and embracing the learning process. Every failed tray teaches invaluable lessons about your environment and techniques.
Ready to elevate your microgreens game? Start your free SproutPlanner account today and join thousands of growers who’ve transformed their cultivation with data-driven decisions. The future of fresh food is in your hands—and it’s growing in a tray.
Ronaldo AndradeWrites practical notes about growing better microgreens.
[01] keep reading