Guides / Growing techniques
Mastering Microgreens Cultivation: A Practical Guide to Bigger Harvests and Healthier Plants in 2026
Introduction to Microgreens Cultivation Microgreens have surged in popularity as a nutrient-dense, fast-growing crop that fits seamlessly into urban
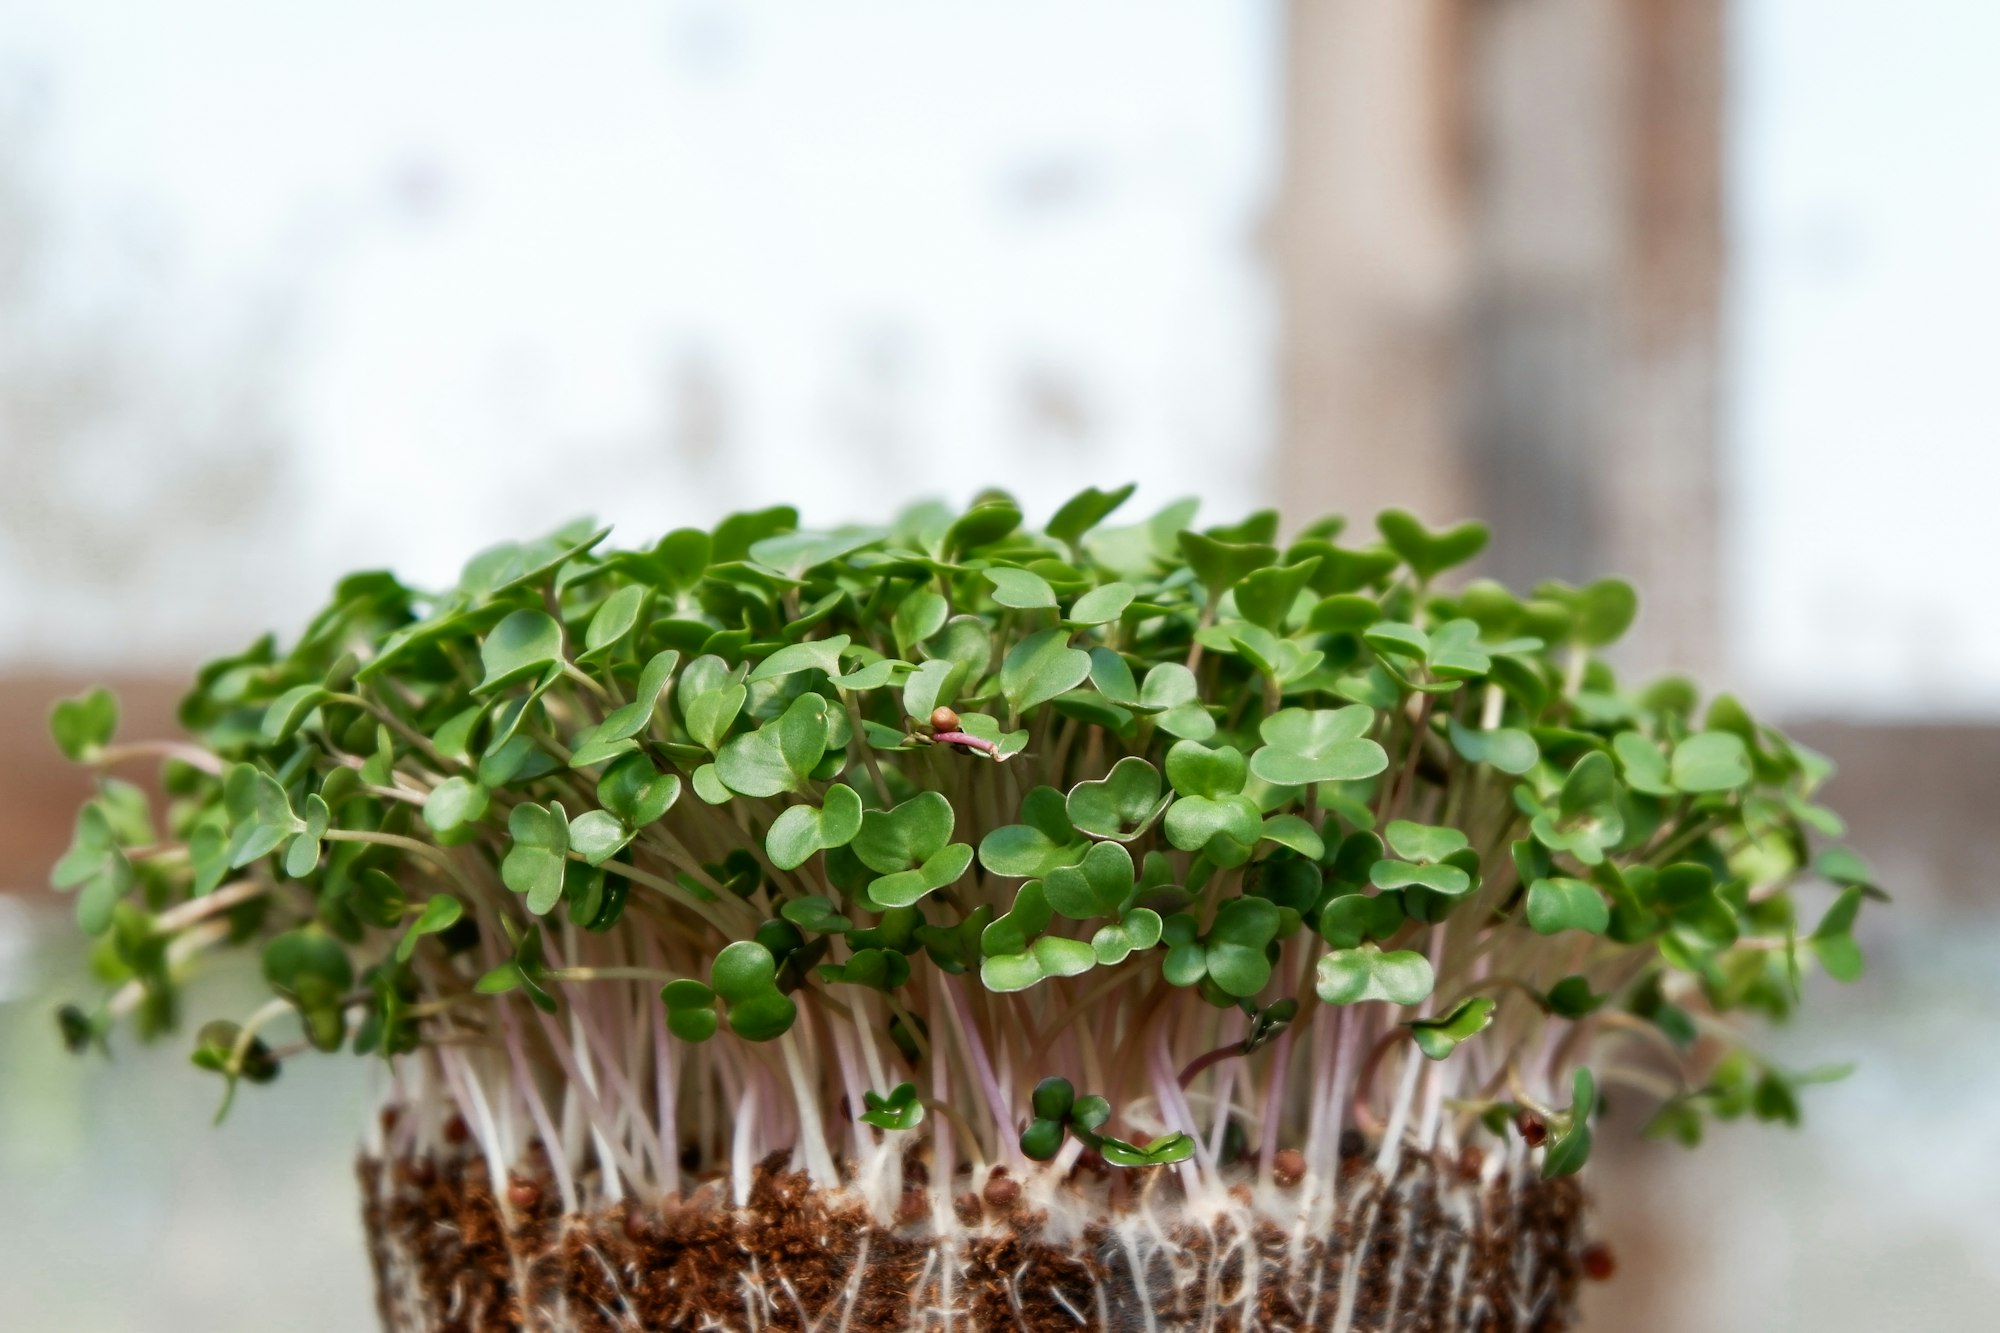
Introduction to Microgreens Cultivation
Microgreens have surged in popularity as a nutrient-dense, fast-growing crop that fits seamlessly into urban farming and home gardens. Whether you’re a beginner eager to grow your first tray or an experienced cultivator looking to optimize yields, understanding the fundamentals of microgreens cultivation is key. In 2026, trends like precision lighting, microbiome optimization, and IoT monitoring are reshaping how we approach microgreens, making it easier than ever to achieve healthier plants and bigger harvests.
In this guide, we’ll walk you through everything you need to know—from selecting the right seeds to troubleshooting common issues. By the end, you’ll be equipped with actionable strategies to elevate your microgreens game.
Why Microgreens Are a Game-Changer in 2026
Microgreens are more than just a trend; they’re a practical solution for modern growers. According to recent insights, the microgreens market is expanding rapidly, driven by demand for nutrient-dense, locally grown produce and the rise of urban farming. As highlighted in our article on microgreens trends and technologies, advancements in LED lighting, automation, and microbiome-based cultivation are making it easier to achieve consistent, high-quality results.
For those looking to dive deeper into the science behind these trends, check out our guide on cutting-edge techniques for 2026. These innovations aren’t just for commercial growers; even home cultivators can benefit from adopting these methods.
Step 1: Choosing the Right Seeds
Not all seeds are created equal when it comes to microgreens. Some varieties are easier to grow, while others offer higher nutritional benefits or unique flavors. Popular choices include radish, broccoli, kale, and sunflower microgreens. If you’re just starting, consider varieties known for their hardiness and quick germination, like radishes or broccoli.
For a deeper dive into seed selection and cultivation, explore our practical guide to growing micro sprouts and micro radishes.
Step 2: Setting Up Your Growing Environment
The environment plays a critical role in the success of your microgreens. Here’s what you need to focus on:
- Lighting: Microgreens require ample light to grow properly. While natural sunlight works, many growers opt for LED grow lights, which provide consistent spectrums tailored to plant growth. Learn more about optimizing lighting in our article on LED spectrum ratios.
- Temperature: Maintain a temperature between 60-75°F (15-24°C) for optimal growth. Avoid drastic fluctuations, which can stress your plants.
- Humidity: High humidity levels can encourage mold growth, so aim for a balanced environment with good airflow.
- Water Quality: Use clean, pH-balanced water to avoid nutrient deficiencies or contamination. Our guide on water quality provides essential tips to ensure your microgreens thrive.
Step 3: Germination and Early Growth
The first 48 hours are critical for your microgreens. Proper germination sets the stage for healthy growth. Soak your seeds for 6-12 hours before planting to kickstart the process. Spread them evenly on a moist growing medium, such as a jute mat or coconut coir, and keep them in a dark, warm environment for the first 24-48 hours.
For a detailed breakdown of this process, refer to our article on the 48 hours that define your harvest. This period can make or break your yield, so paying attention to detail is essential.
Step 4: Monitoring and Troubleshooting
Even with the best setup, issues can arise. Common problems include leggy growth, mold, and uneven germination. Leggy microgreens often result from insufficient light, while mold can be a sign of overwatering or poor airflow. If you notice any of these issues, act quickly to rectify them.
Our guide on microgreens gone wrong provides a comprehensive list of warning signs and solutions to keep your harvest on track.
Step 5: Harvesting and Storage
Harvest your microgreens when they reach the optimal size, typically within 7-14 days of planting. Use clean scissors to snip just above the soil line to avoid damaging the roots. Rinse them gently to remove any debris, and store them in an airtight container in the refrigerator for up to a week.
For those looking to scale up their operations, understanding how to transition from home cultivation to a small business can be transformative. Check out our insights on growing a microgreens business.
Optimizing Your Microgreens for Maximum Yield
To achieve the best results, consider these advanced tips:
- Precision Lighting: Use LED grow lights with adjustable spectrums to optimize growth and nutrition. Blue light promotes leafy growth, while red light encourages flowering.
- Microbiome Optimization: Beneficial microbes can enhance nutrient uptake and plant resilience. Incorporate microbial amendments into your growing medium for healthier plants.
- IoT Monitoring: Smart sensors can track temperature, humidity, and light levels in real-time, allowing you to make data-driven adjustments for optimal conditions.
- Consistent Watering: Overwatering or underwatering can both lead to poor growth. Aim for a consistent moisture level without waterlogging the tray.
For more advanced techniques, explore our guide on game-changing techniques for bigger, healthier harvests.
Conclusion: Start Growing Microgreens Today
Microgreens cultivation is a rewarding and accessible way to grow nutrient-rich produce, whether for personal use or commercial sale. By following the steps outlined in this guide—selecting the right seeds, optimizing your growing environment, monitoring for issues, and harvesting at the right time—you’ll be well on your way to mastering microgreens.
Ready to take your microgreens to the next level? Dive into our resources on advanced techniques, troubleshooting, and business strategies to ensure your success in 2026 and beyond. Happy growing!
Ronaldo AndradeWrites practical notes about growing better microgreens.
[01] keep reading