Guides / Growing techniques
Mastering Microgreens Cultivation: A Practical Guide to Growing Micro Sprouts and Micro Radishes for Maximum Yield
Introduction: Why Microgreens Are a Game-Changer for Home and Commercial Growers Microgreens are more than just a trend—they’re a powerhouse of nutri
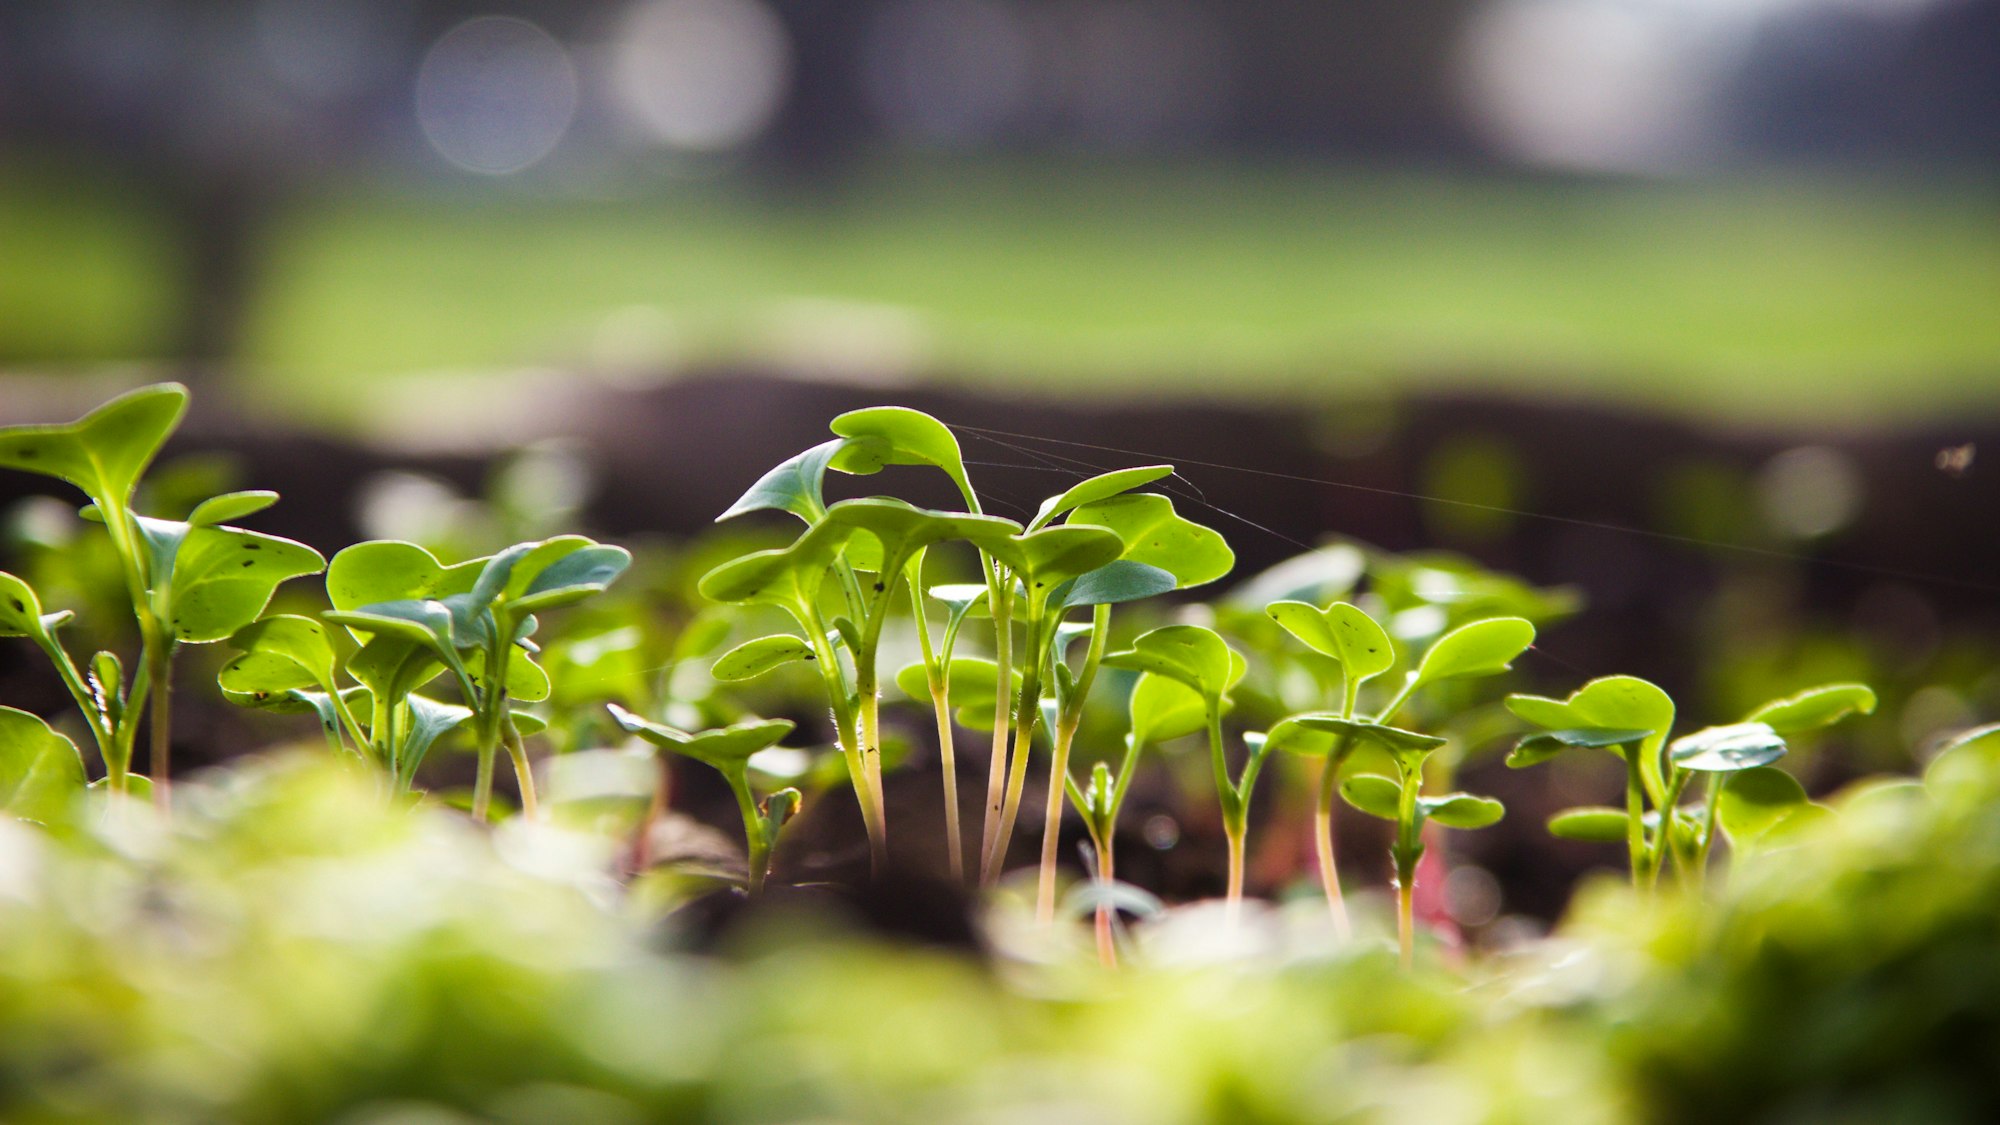
Introduction: Why Microgreens Are a Game-Changer for Home and Commercial Growers
Microgreens are more than just a trend—they’re a powerhouse of nutrition packed into tiny, flavorful leaves. Whether you’re a beginner eager to grow your first tray of micro sprouts or an experienced cultivator looking to optimize your microgreen cultivation , understanding the nuances of light, water, substrate, and density can transform your harvest. With the global demand for fresh, local, and nutrient-rich foods on the rise, mastering the art of growing micro radishes and other microgreens is a skill that pays off in both health benefits and potential profit.
In this guide, we’ll dive into actionable strategies to help you grow lush, high-yield microgreens with minimal waste. From selecting the right seeds to troubleshooting common issues, you’ll learn how to create an environment where your microgreens thrive.
The Foundation of Success: Light, Water, and Substrate
1. Light: The Driving Force Behind Growth
Light is the most critical factor in microgreen cultivation. Microgreens require a balance of light to prevent legginess (elongated stems) or stunted growth. While natural sunlight works, it’s inconsistent and can lead to uneven growth. Instead, opt for full-spectrum LED grow lights, which provide the ideal spectrum for photosynthesis and can be adjusted to mimic sunlight.
- Intensity: Position lights 6–12 inches above your trays. Microgreens need about 12–16 hours of light daily.
- Consistency: Use a timer to maintain a consistent light cycle, ensuring your microgreens receive the same amount of light each day.
- Quality: Full-spectrum LEDs are ideal, but red and blue light combinations work well too. Avoid green light, as it’s less effective for plant growth.
Pro tip: If you notice your microgreens stretching toward the light, they’re not getting enough intensity. Adjust the height of your lights or increase the duration of light exposure.
2. Water: The Balance Between Hydration and Drowning
Overwatering is a common mistake that can lead to mold, rot, and poor growth. Microgreens need moisture, but their roots require oxygen to thrive. Here’s how to strike the right balance:
- Initial Soaking: Soak your seeds for 6–8 hours before planting to kickstart germination. Use a fine-mesh sprouting screen or a clean towel to drain excess water.
- Misting: After planting, mist the seeds lightly with water 2–3 times a day. Avoid soaking the substrate, as this can suffocate roots and promote mold.
- Bottom Watering: For trays, place them in a shallow tray of water for 10–15 minutes once a day. This method ensures roots get hydration without overwatering the surface.
- Drainage: Always use trays with drainage holes to prevent waterlogging.
Watch for signs of overwatering, such as yellowing leaves or a musty smell. If you see mold, act quickly by improving airflow and reducing moisture.
3. Substrate: The Unsung Hero of Microgreen Growth
The substrate provides anchorage and nutrients to your microgreens. While soil is an option, it can harbor pathogens and retain too much moisture. Instead, consider these alternatives:
- Hydroponic Mats: These mats wick moisture evenly and provide excellent drainage. They’re reusable and reduce waste.
- Coconut Coir: A sustainable and sterile option that retains moisture without compacting.
- Organic Potting Mix: Lightweight and sterile, but ensure it’s designed for seed starting to avoid compaction.
Pro tip: Sterilize your substrate by baking it in the oven at 200°F (93°C) for 30 minutes to eliminate any potential pathogens before use.
Optimizing Density and Spacing for Higher Yields
Density plays a crucial role in the success of your microgreen cultivation. Crowding can lead to competition for resources, resulting in smaller, weaker plants. Conversely, spacing seeds too far apart wastes space and reduces yield.
Finding the Sweet Spot
Seed density varies by variety. As a general rule:
- Leafy Microgreens (e.g., broccoli, kale): Sow seeds 0.5–1 inch apart.
- Micro Radishes: Space seeds 0.25–0.5 inches apart for denser growth.
- Sprouts (e.g., alfalfa, lentils): Use a fine-mesh screen and sow seeds thinly to avoid overcrowding.
Experiment with different densities in small batches to determine what works best for your specific setup and seed variety. Keep notes on germination rates, growth patterns, and yield to refine your approach over time.
Preventing Disease and Pests: A Proactive Approach
Even the most carefully cultivated microgreens can fall victim to disease or pests if proper precautions aren’t taken. Here’s how to keep your grow space healthy:
1. Sterilization and Hygiene
- Sterilize trays, tools, and substrates before each use. A 10% bleach solution (1 part bleach to 9 parts water) works well, but rinse thoroughly afterward.
- Wash your hands before handling seeds or microgreens to avoid introducing bacteria.
- Work in a clean, well-ventilated area to minimize contamination.
2. Monitoring for Common Issues
Keep an eye out for these warning signs:
- Mold: Fuzzy growth on the surface of your microgreens indicates excess moisture. Increase airflow and reduce misting.
- Legginess: Tall, weak stems mean your microgreens aren’t getting enough light. Adjust your lighting setup immediately.
- Yellowing Leaves: This can signal overwatering, nutrient deficiency, or disease. Check your watering routine and substrate quality.
- Pests: Tiny insects or holes in leaves may indicate aphids or fungus gnats. Use insecticidal soap or introduce beneficial insects like ladybugs.
Encouraging Experimentation: The Key to Continuous Improvement
Every grower’s journey is unique, and experimentation is the fastest way to refine your microgreen cultivation skills. Try these ideas to push your limits:
- Variety Testing: Grow different types of microgreens side by side to compare flavors, textures, and yields. Popular choices include sunflower shoots, pea shoots, and micro radishes.
- Light Spectrum Experiments: Test different LED light spectra to see how they affect growth rates and color.
- Substrate Comparisons: Compare hydroponic mats, coconut coir, and organic potting mix to see which yields the best results for your setup.
- Harvest Timing: Harvest a small batch of microgreens every day starting from day 7 to determine the optimal harvest window for flavor and nutrient density.
Document your experiments with photos and notes. Over time, you’ll identify patterns and optimize your process for maximum efficiency.
Final Thoughts: Your Journey to Microgreen Mastery
Cultivating microgreens is a rewarding process that combines science, patience, and creativity. By focusing on light, water, substrate, density, and disease prevention, you’ll be well on your way to growing nutrient-dense, flavorful micro sprouts and micro radishes like a pro.
Remember, every expert was once a beginner. Don’t be afraid to experiment, learn from mistakes, and refine your techniques. Whether you’re growing for personal use or aiming to scale up, the key to success lies in continuous learning and adaptation.
Now, grab your seeds, set up your trays, and get growing! Share your progress and tips in the comments—let’s grow together.
Ready to start? Check out our recommended seed suppliers and grow light brands to kickstart your microgreen cultivation journey today!
Ronaldo AndradeWrites practical notes about growing better microgreens.
[01] keep reading