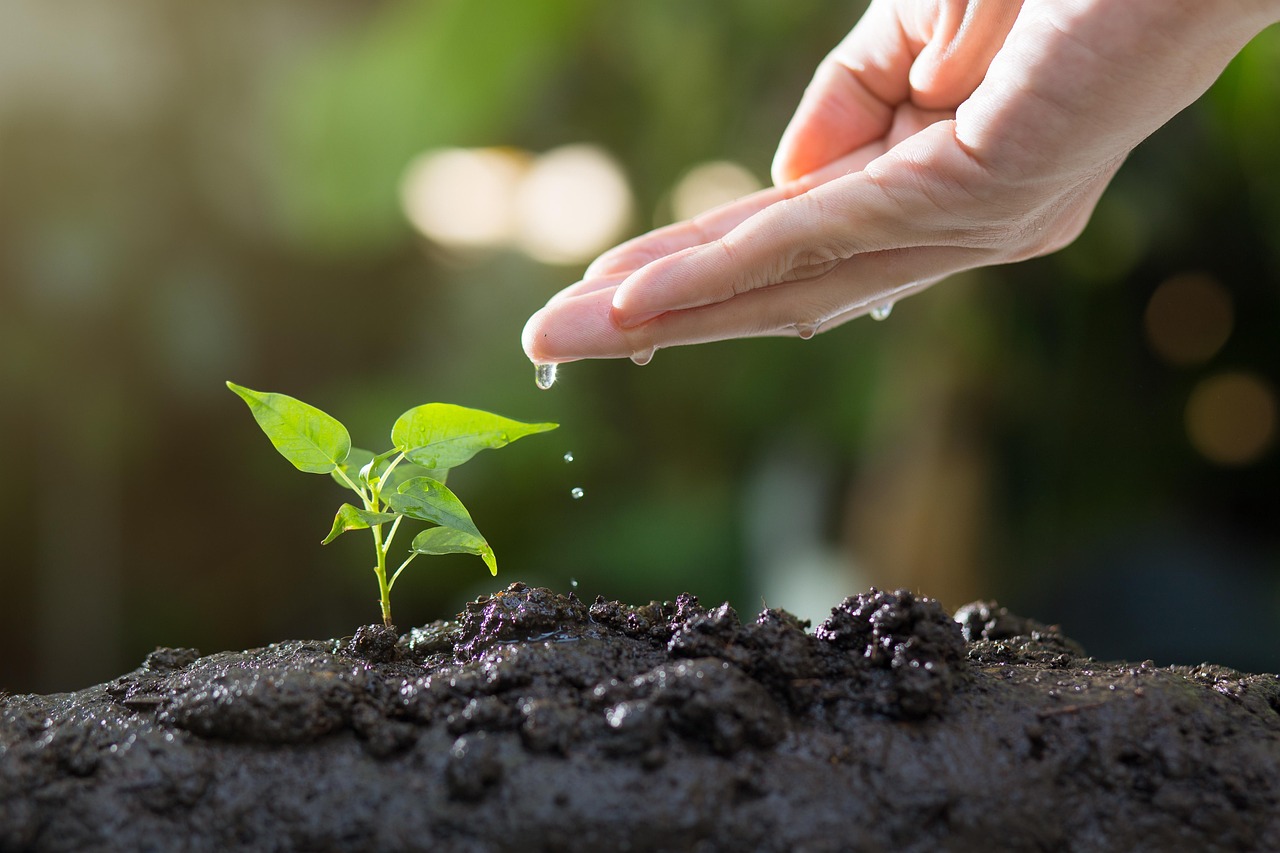
Introduction to Microgreens Cultivation in 2026
The microgreens market is exploding, with projections showing it will reach $5-6 billion by 2032 at a 10-12% annual growth rate. Whether you’re setting up your first tray on a sunny windowsill or optimizing a commercial setup, mastering microgreens cultivation is your gateway to fresh, nutrient-dense harvests year-round. This guide covers everything you need to know, from germination basics to advanced techniques that separate expert growers from hobbyists.
What Are Microgreens?
Microgreens are young, edible seedlings harvested 7-14 days after germination. Unlike sprouts, which are grown in water, microgreens are cultivated in soil or growing medium and develop their first true leaves. They pack a concentrated punch of vitamins, minerals, and antioxidants—often 4-40 times more than their mature counterparts. Popular varieties include broccoli, radish, pea shoots, and sunflower, each offering unique flavors and nutritional profiles.
Getting Started: Essential Supplies for Microgreens Cultivation
You don’t need a greenhouse to start growing microgreens. Here’s what every grower needs:
- Seed Trays and Containers: Use shallow trays (2-3 inches deep) with drainage holes. Many successful growers use recycled containers or specialized microgreen growing systems.
- Growing Medium: Choose a lightweight, soilless mix like coconut coir, perlite, or a commercial seed starting blend. Avoid garden soil which can harbor pathogens.
- Quality Seeds: Always use fresh, food-safe microgreen seeds. Organic seeds reduce chemical exposure and often germinate better.
- Watering System: A spray bottle for initial misting and a gentle watering can with a fine spout work well for most setups.
- Light Source: While some varieties thrive in window light, most benefit from LED grow lights or a bright, south-facing window.
Step-by-Step Growing Process
Follow this proven method for consistent success:
- Day 1-2: Soak seeds for 6-12 hours (except brassicas) to speed germination. Fill trays with moist growing medium.
- Day 3-4: Sow seeds densely but evenly. Lightly press into medium and mist thoroughly. Cover with humidity dome or plastic wrap.
- Day 5-7: Remove cover and move to bright location. Keep medium consistently moist but not waterlogged.
- Day 8-14: Thin if necessary, feed with diluted fertilizer if desired, and harvest when first true leaves appear but before flowering.
Optimizing Your Microgreens Setup
Once you’ve mastered the basics, these advanced techniques will boost your yields and quality:
Light Optimization
Proper light spectrum dramatically impacts both growth and nutrition. Blue light promotes compact, sturdy stems while red light encourages leaf development. For best results, provide 12-16 hours of LED light daily at 200-400 foot-candles intensity. Check out our comprehensive guide on light spectrum optimization to maximize both yield and nutritional value.
Seeding Density and Timing
Many growers make the common mistake of over-seeding. For most varieties, sow 1-2 tablespoons per 10x20 inch tray. Dense planting prevents weed growth but can cause mold if overdone. Plant different varieties in sequence for continuous harvest throughout the week.
Environmental Controls
Temperature and humidity matter more than you think. Most microgreens germinate best at 70-75°F with 80-90% humidity. Use a hygrometer and adjust ventilation as needed. For commercial operations, consider automated climate control systems to ensure consistent conditions year-round.
Common Problems and Solutions
New growers often encounter these issues:
Mold and Fungal Issues
White or green fuzzy growth typically indicates excess moisture. Prevent by using clean trays, providing adequate air circulation, and reducing watering frequency. If mold appears, remove affected areas immediately and treat with diluted hydrogen peroxide solution (1:10 with water).
Leggy or Stretching Plants
This common problem occurs when seedlings don’t receive enough light. Move lights closer (2-4 inches above plants) or add additional lighting. Leggy plants are edible but may be tougher than well-lit counterparts.
Uneven Germination
Inconsistent soil moisture is usually the culprit. Water from below by placing trays in shallow water until medium absorbs moisture, then drain. This ensures even hydration and better germination rates.
Harvesting and Post-Harvest Handling
Harvest timing is crucial for flavor and texture. Cut when cotyledon leaves are fully expanded but before true leaves become large. Use clean scissors or a sharp knife to avoid damaging remaining plants. Store harvested microgreens in breathable containers lined with paper towels, refrigerated at 40-50°F. They’ll stay fresh 5-7 days this way.
For more detailed guidance on post-harvest handling, check out our article on keeping your microgreens crisp.
Where to Learn More
If you’re ready to deepen your knowledge, our article on mastering microgreens cultivation dives into advanced substrate choices and density optimization. For those looking to boost profitability, explore our guide on 5 game-changing techniques for bigger, healthier harvests that can increase your yield by 30-50%.
Conclusion
Microgreens cultivation offers an incredible opportunity to grow fresh, nutritious food anywhere. Whether you’re a beginner starting with a single tray or an experienced grower scaling production, these principles will help you achieve consistent, high-quality harvests. Start small, learn from each crop, and gradually implement more advanced techniques. With practice and patience, you’ll soon be enjoying restaurant-quality microgreens straight from your growing space.
Remember, every successful commercial farm started with someone’s first tray of seedlings. Your microgreens journey begins with a single seed.
Ronaldo AndradeWrites practical notes about growing better microgreens.
[01] keep reading