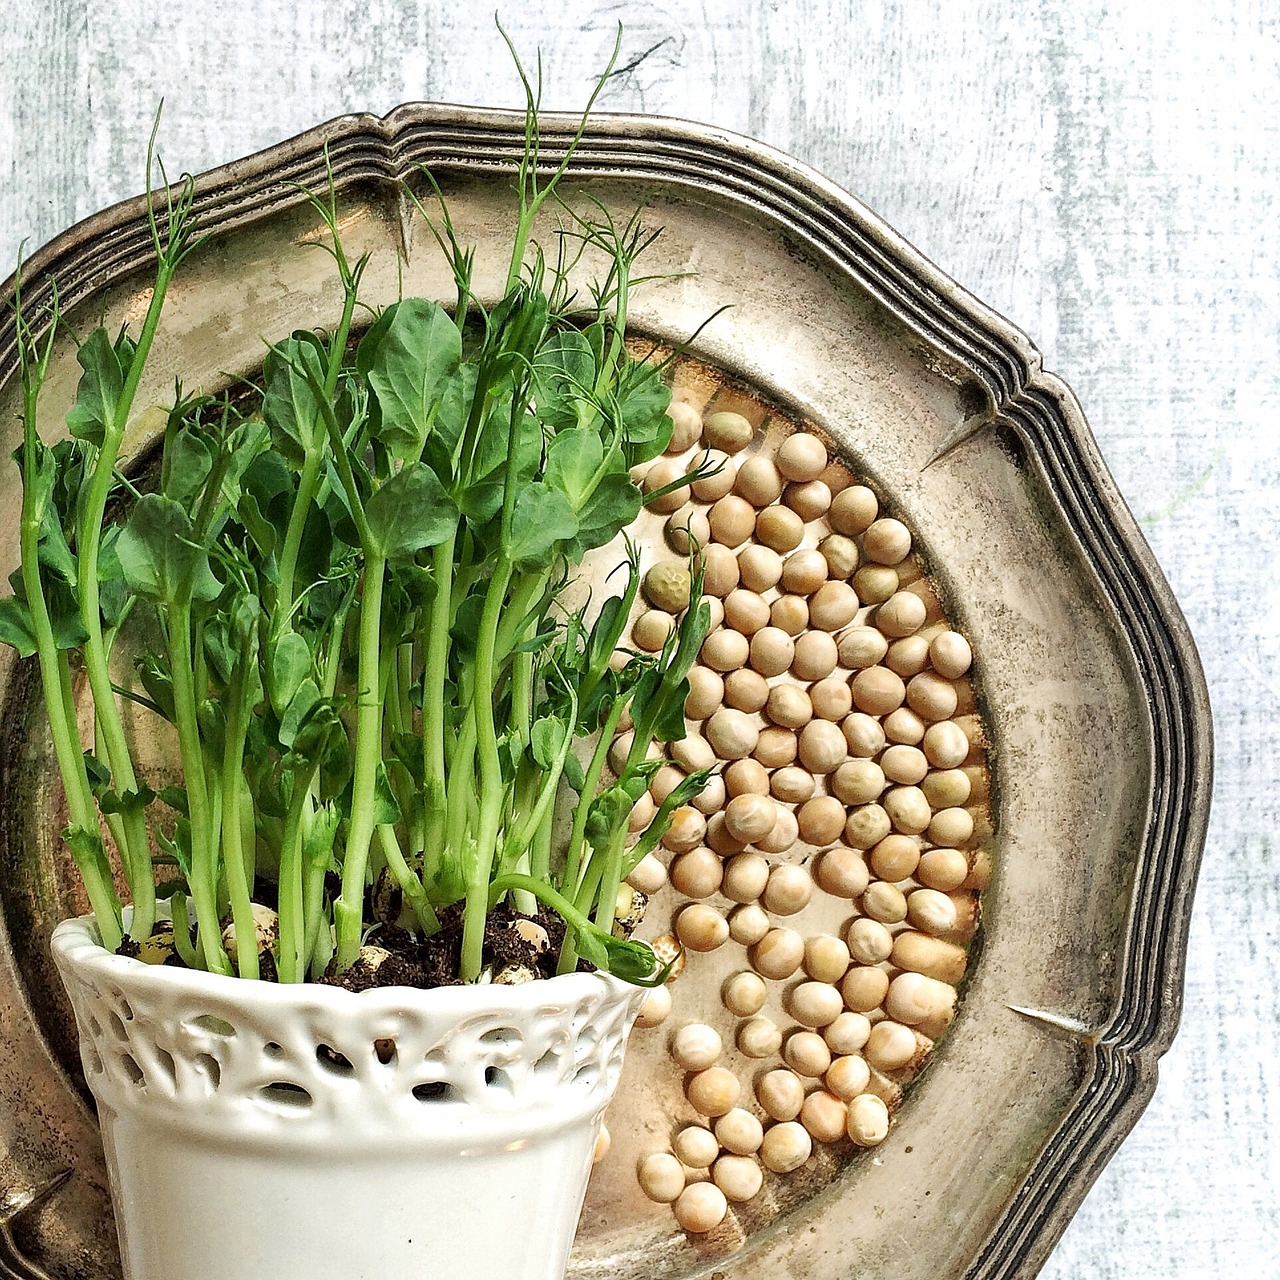
Why Microgreens Cultivation is a Game-Changer for Growers
Microgreens have taken the horticultural world by storm, and for good reason. These tiny, nutrient-packed greens are not only a culinary delight but also a powerhouse of vitamins, minerals, and antioxidants. Whether you’re a beginner looking to dip your toes into gardening or a seasoned grower aiming to optimize your yields, microgreens cultivation offers a rewarding and efficient way to grow fresh, healthy food year-round. In this guide, we’ll explore practical tips and techniques to help you master the art of growing microgreens, from seed selection to harvest.
Microgreens are young vegetable greens harvested just after the first true leaves have developed. They are packed with flavor and nutrients, often containing higher concentrations of vitamins and antioxidants than their mature counterparts. This makes them a favorite among health-conscious individuals, chefs, and urban farmers. The best part? They require minimal space, time, and resources, making them ideal for home growers and small-scale producers alike.
The Rise of Microgreens: Trends and Innovations in 2026
The microgreens industry has seen remarkable growth in recent years, with the global market projected to exceed $8.6 billion by 2035. This surge is driven by increasing consumer awareness of health benefits, the rise of urban farming, and advancements in cultivation technologies. In 2026, innovations like precision LED lighting, IoT monitoring, and microbiome-based cultivation are transforming how growers approach microgreens cultivation. These technologies not only enhance yield and flavor but also ensure consistency and sustainability in production.
For example, precision LED lighting allows growers to tailor the light spectrum to the specific needs of each microgreen variety, optimizing growth and nutritional content. IoT monitoring systems provide real-time data on environmental conditions like temperature, humidity, and light intensity, enabling growers to make data-driven decisions. If you’re curious about how these innovations can elevate your growing game, check out our article on Microgreens Trends and Technologies (2024-2026).
Getting Started with Microgreens Cultivation
One of the most appealing aspects of microgreens cultivation is its simplicity. You don’t need a green thumb or a sprawling garden to get started. Here’s a step-by-step guide to help you begin your microgreens journey:
1. Choose the Right Seeds
Not all seeds are created equal when it comes to microgreens. Some popular varieties include broccoli, radish, sunflower, pea shoots, and basil. Each variety offers unique flavors, textures, and nutritional profiles. For beginners, radish and broccoli microgreens are excellent choices due to their fast growth and ease of cultivation. If you’re unsure about which seeds to select, our guide on How to Boost Your Harvest of Microgreens: Choosing the Right Seeds provides detailed insights into seed selection.
2. Select a Growing Medium
The growing medium is the foundation of your microgreens cultivation. While soil is a traditional choice, many growers opt for soilless mediums like coconut coir, peat moss, or hydroponic mats. These alternatives are lightweight, sterile, and easy to manage, reducing the risk of mold and pests. For a deeper dive into growing mediums, explore our article on The Secret Foundation: Choosing the Right Growing Medium for Your Microgreens.
3. Sow the Seeds
Sowing microgreen seeds is straightforward, but there are a few key tips to ensure success. Start by evenly spreading the seeds over your chosen growing medium. Avoid overcrowding, as this can lead to uneven growth and increased risk of mold. Lightly press the seeds into the medium to ensure good contact, and mist them with water using a spray bottle. Cover the tray with a lid or another tray to create a humid environment, which encourages germination.
4. Provide Optimal Lighting
Light is a critical factor in microgreens cultivation. While natural sunlight works well, it’s not always consistent or available, especially for indoor growers. Artificial lighting, such as LED grow lights, provides a reliable and customizable light source. Position the lights 6-12 inches above the trays and keep them on for 12-16 hours a day. For more tips on optimizing light exposure, check out our guide on How to Optimize Light Exposure for Maximum Microgreens Yield.
5. Water Wisely
Proper watering is essential for healthy microgreens. Overwatering can lead to mold and rot, while underwatering can stunt growth. The key is to keep the growing medium consistently moist but not soggy. Use a spray bottle to mist the seeds and seedlings gently, and consider bottom watering to encourage strong root development. For expert tips on watering, read our article on How to Water Microgreens Like a Pro: Master the Rhythm.
6. Monitor Temperature and Humidity
Microgreens thrive in temperatures between 60-75°F (15-24°C) and humidity levels of 40-60%. Maintaining these conditions is crucial for uniform germination and growth. Use a thermometer and hygrometer to monitor your growing environment, and consider using a humidity dome or a small fan to regulate airflow. For more on this topic, explore our guide on Mastering Temperature and Humidity for Perfect Microgreens.
Harvesting and Storing Your Microgreens
Harvesting microgreens is a rewarding experience, especially when you see the fruits of your labor. Most microgreens are ready to harvest within 7-14 days, depending on the variety. Here’s how to do it right:
1. Know When to Harvest
Microgreens are typically harvested when the first true leaves appear, which is usually around 1-3 inches tall. Harvesting at the right time ensures optimal flavor, texture, and nutritional content. Use a pair of clean scissors to snip the greens just above the soil line. Avoid pulling the plants out by the roots, as this can disturb the growing medium and damage neighboring seedlings.
2. Store Properly
After harvesting, it’s important to store your microgreens correctly to maintain their freshness and nutritional value. Gently rinse the greens in cold water to remove any debris, and pat them dry with a clean towel or paper towel. Store them in an airtight container lined with a paper towel to absorb excess moisture. Microgreens can be refrigerated for up to a week, but they’re best enjoyed fresh. For more tips on post-harvest handling, read our article on From Tray to Table: Mastering Microgreens Storage.
Troubleshooting Common Issues in Microgreens Cultivation
Even the most experienced growers encounter challenges in microgreens cultivation. Here are some common issues and how to address them:
1. Mold and Fungus
Mold and fungus are common problems in microgreens cultivation, often caused by excessive moisture and poor airflow. To prevent mold, ensure your growing trays have adequate drainage, and avoid overwatering. Use a small fan to improve air circulation, and consider adding a thin layer of vermiculite or perlite to the growing medium to absorb excess moisture. If you notice mold, remove the affected plants immediately and adjust your growing conditions. For more on mold prevention, check out our guide on Say Goodbye to Mold: Your Ultimate Guide to Healthy Microgreens.
2. Uneven Growth
Uneven growth can result from inconsistent lighting, overcrowding, or uneven seed distribution. To ensure uniform growth, spread seeds evenly across the growing medium and avoid overcrowding. Rotate your trays daily if using natural light, and ensure your artificial lights are positioned at the correct height. If you’re struggling with uneven growth, our article on Troubleshooting Your Microgreens: Common Problems and Solutions offers practical tips to help you achieve a lush, even harvest.
3. Leggy or Weak Stems
Leggy or weak stems are often a sign of insufficient light. If your microgreens are stretching toward the light and appear weak, move your grow lights closer to the trays or increase the duration of light exposure. Additionally, ensure your growing environment is warm enough, as cold temperatures can slow growth and weaken stems.
Maximizing Yield and Flavor in Microgreens Cultivation
If you’re looking to take your microgreens cultivation to the next level, consider implementing these advanced techniques to maximize yield and flavor:
1. Optimize Seeding Density
Seeding density plays a crucial role in the growth and yield of microgreens. Too few seeds result in sparse growth, while too many can lead to overcrowding and competition for resources. Experiment with different seeding densities to find the optimal balance for each variety. For example, radish microgreens can tolerate higher densities, while sunflower microgreens require more space to thrive.
2. Use a Nutrient-Rich Growing Medium
A nutrient-rich growing medium can significantly enhance the growth and flavor of your microgreens. Consider adding compost or worm castings to your soil, or use a hydroponic nutrient solution for soilless growing. This provides the plants with essential nutrients, resulting in healthier, more flavorful greens.
3. Experiment with Light Spectrums
Different light spectrums can influence the growth, flavor, and nutritional content of microgreens. For example, blue light promotes compact growth and enhances flavor, while red light encourages taller, leafier growth. Experiment with full-spectrum LED grow lights or adjustable spectrum lights to tailor the light to your specific needs. For more on this topic, read our article on Dialing in the Light: How LED Spectrum Ratios Let You Choose Between Yield and Nutrition.
4. Implement Succession Planting
Succession planting involves sowing new trays of microgreens every few days to ensure a continuous harvest. This technique is especially useful for commercial growers or anyone looking to maintain a steady supply of fresh microgreens. By staggering your plantings, you can avoid gaps in production and enjoy a consistent yield.
Conclusion: Grow Your Microgreens with Confidence
Microgreens cultivation is a rewarding and accessible way to grow fresh, nutrient-packed greens at home or on a commercial scale. By following the practical tips and techniques outlined in this guide, you can optimize your yields, enhance flavor, and troubleshoot common issues with ease. Whether you’re a beginner or a seasoned grower, there’s always something new to learn in the world of microgreens.
Ready to dive deeper into microgreens cultivation? Explore our comprehensive guides and resources on Leaftix Microgreens to take your growing skills to the next level. Happy growing!
Ronaldo AndradeWrites practical notes about growing better microgreens.
[01] keep reading