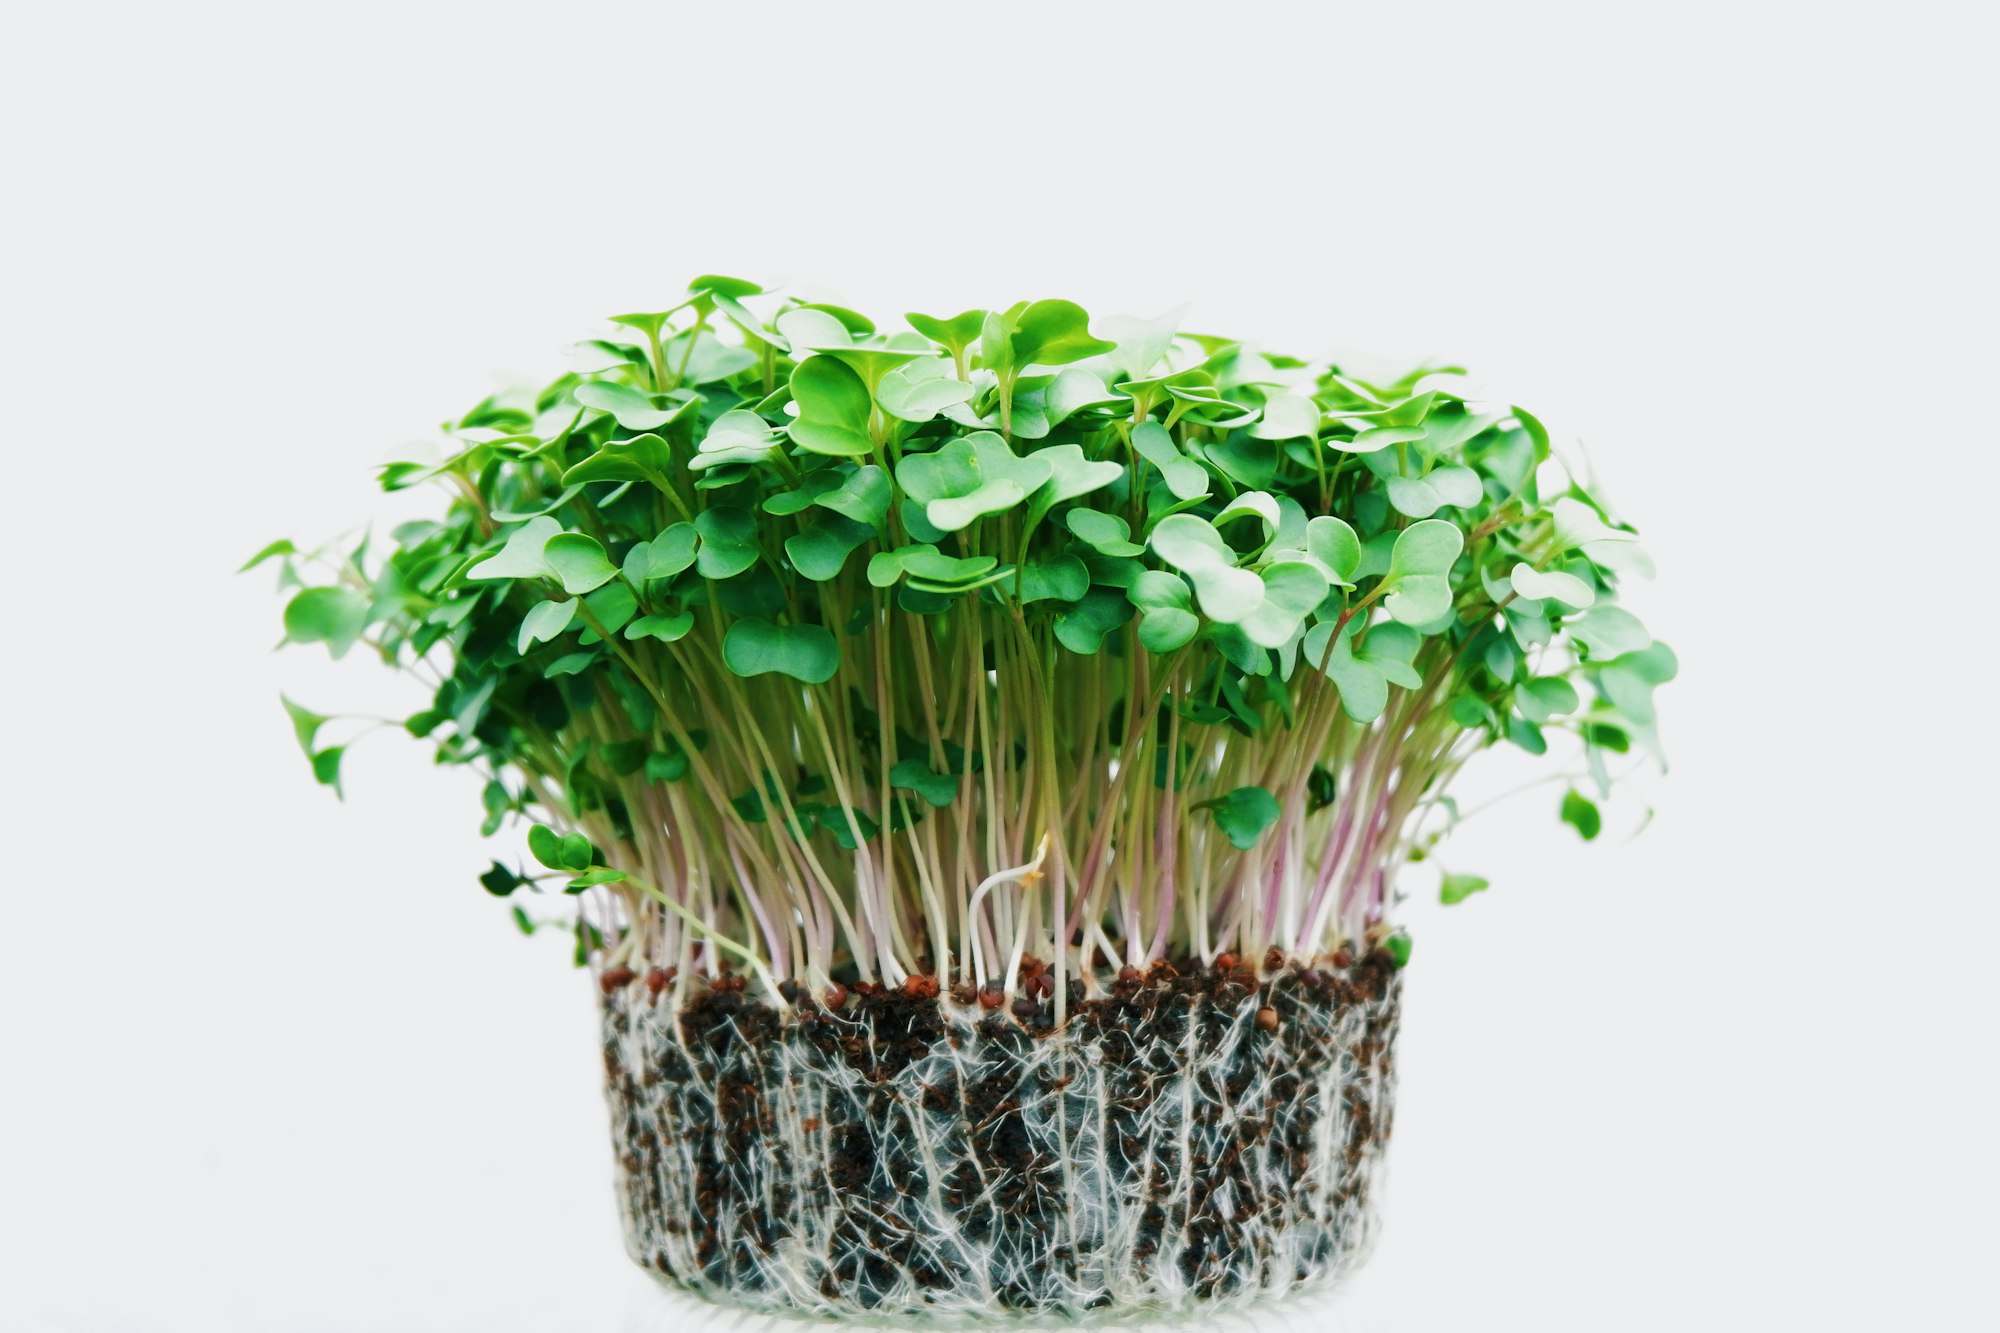
The Complete Guide to Microgreens Cultivation: Your Path to Success
Whether you’re harvesting your first tray or scaling to commercial production, successful microgreens cultivation hinges on mastering a handful of fundamental techniques. These nutrient-packed young greens can be grown year-round in just about any space, from kitchen counters to dedicated grow rooms. Today’s growers have access to revolutionary tools like precision LED lighting and IoT monitoring systems that were once reserved for industrial operations. But the core principles remain beautifully simple: quality seeds, proper moisture, adequate light, and good air circulation. Let’s dive into the practical steps that will transform your microgreens from tentative sprouts into lush, productive harvests.
Getting Started: Essential Setup for Microgreens Cultivation
The foundation of successful microgreens cultivation begins with understanding your growing environment. You’ll need shallow trays (2-4 inches deep) with drainage holes, a quality growing medium, and a consistent light source. For beginners, check out our guide on mastering microgreens cultivation basics to understand the essential equipment needed for consistent results. While fancy gear isn’t necessary to start, investing in a simple LED grow light (full spectrum, 30-40 watts) will eliminate guesswork and ensure year-round productivity.
Choose your growing containers wisely. Food-grade plastic trays work well for beginners, but consider fabric grow bags or reusable containers for sustainability. The growing medium should be lightweight, sterile, and well-draining. Many successful growers use a mix of coconut coir and perlite, which provides excellent moisture retention while preventing waterlogging. Fill trays to within half an inch of the rim – this gives seedlings room to grow without overflow.
Seed Selection and Preparation for Optimal Microgreens Cultivation
Not all seeds are created equal for microgreens cultivation. Focus on varieties known for prolific growth and excellent flavor: broccoli, radish, sunflower, pea shoots, and wheatgrass lead the pack. These varieties typically germinate uniformly and produce generous biomass within 7-14 days. When purchasing seeds, choose reputable suppliers who guarantee viability and haven’t treated seeds with pesticides or chemicals.
Seed density is crucial for maximizing yield without overcrowding. Scatter seeds evenly across your growing medium, aiming for about 1-2 seeds per square inch for large-seeded varieties like sunflower, and slightly more for smaller seeds like radish. Press seeds gently into the medium rather than burying them – microgreens need light to germinate. A useful trick: mist seeds lightly after sowing, then cover trays with another tray or dome for the first 48 hours to maintain humidity.
Water Management: The Heart of Healthy Microgreens Cultivation
Water quality and timing make or break your microgreens cultivation efforts. Use filtered water when possible, as chlorine and excessive minerals can inhibit growth or create bitter flavors. After sowing, water thoroughly until moisture drains from the bottom, then allow the medium to absorb excess water for 30 minutes before emptying saucers.
The watering rhythm evolves throughout the growth cycle. During germination (days 1-3), keep the medium consistently moist but not soggy. Once true leaves emerge (around day 4), reduce watering frequency slightly but increase thoroughness. Many experienced growers use the “Fist Test” – squeezing a handful of growing medium should release only a few drops of water. Overwatering leads to damping-off disease and unhappy microgreens.
Advanced Techniques for Commercial Microgreens Cultivation
Scaling your operation requires attention to timing and efficiency. Check out our analysis of emerging microgreens technologies to understand how automation and precision monitoring are reshaping professional cultivation. Successful commercial growers implement batch scheduling, staggering plantings every 2-3 days to ensure steady harvest flow. This approach eliminates the feast-or-famine cycle that plagues many small operations.
Space optimization becomes critical at scale. Vertical growing systems can multiply your production area by 4-6 times compared to single-tier setups. However, each additional tier requires careful consideration of light penetration and air circulation to prevent humidity buildup and disease issues. Monitor leaf temperature – if leaves feel warm to the touch, your lighting setup may be too intense.
Light Requirements for Vibrant Microgreens Cultivation
Microgreens cultivation demands 12-16 hours of light daily, with intensity varying by growth stage. During germination, low-intensity light or even indirect sunlight works well. Once cotyledons (first leaves) appear, increase light to 150-200 PAR (Photosynthetically Active Radiation) for optimal growth. LED strips positioned 12-18 inches above the canopy provide excellent coverage while remaining energy-efficient.
The light spectrum directly impacts flavor and nutritional content. Blue light (400-500nm) encourages compact growth and strong stems, while red light (600-700nm) promotes leaf expansion and biomass production. For maximum nutrition, consider adjusting spectrum ratios during different growth phases. Red-heavy lighting during early stages can boost antioxidant production in varieties like red cabbage and amaranth.
Harvest Timing and Post-Cultivation Care
Knowing when to harvest transforms good microgreens cultivation into excellent cultivation. Most varieties are ready when the second set of leaves (true leaves) reaches 1-2 inches in height. This typically occurs 7-14 days after sowing, depending on variety and growing conditions. Waiting too long results in tough, fibrous stems and reduced tenderness.
Harvest with sharp scissors or clean knives, cutting just above the growing medium. This technique prevents damage to remaining roots and reduces contamination risk. Harvest in the morning when plants are most hydrated for maximum crispness. After cutting, immediately refrigerate in perforated containers – microgreens continue respiration post-harvest and need airflow to maintain freshness.
Troubleshooting Common Microgreens Cultivation Challenges
Even experienced growers encounter issues. Leggy growth indicates insufficient light – move lights closer or add supplemental illumination. Yellowing leaves often point to overwatering or nutrient deficiency. White mold signals high humidity and poor air circulation – increase spacing between trays and run a small fan for 2-4 hours daily.
Uneven germination usually stems from inconsistent seed distribution or moisture pockets. For patchy growth, sow seeds more deliberately and use a bottom-watering approach to ensure uniform moisture. If seeds fail to sprout after 4-5 days, check viability and water temperature (aim for 65-75°F for most varieties).
Maximizing Your Microgreens Cultivation Investment
Successful microgreens cultivation isn’t just about growing food – it’s about growing smart. Track your inputs: seed costs, electricity usage, and time investment per tray. Most home growers find their break-even point occurs after 6-8 cycles, with subsequent harvests providing essentially free, hyper-local nutrition.
Consider your market when cultivating commercially. Restaurant chefs prize consistent quality and reliable delivery schedules. Retail customers often seek unique varieties and educational experiences. Document everything from germination rates to customer feedback – this data becomes invaluable for refining your cultivation process and identifying profitable niches.
The beauty of microgreens cultivation lies in its accessibility and rapid rewards. Unlike traditional gardening, you’ll see results in under two weeks, and failures provide immediate learning opportunities rather than season-ending disasters. Start small, observe closely, and gradually expand your operation as confidence builds. Your journey to microgreens mastery begins with a single tray – are you ready to plant those first seeds?
Ronaldo AndradeWrites practical notes about growing better microgreens.
[01] keep reading