Guides / Growing techniques
Microgreens Cultivation Mastery: From Seed to Harvest for Maximum Yield and Flavor
Introduction: Why Microgreens Cultivation Matters Microgreens cultivation has evolved from a niche culinary garnish to a mainstream sustainable food
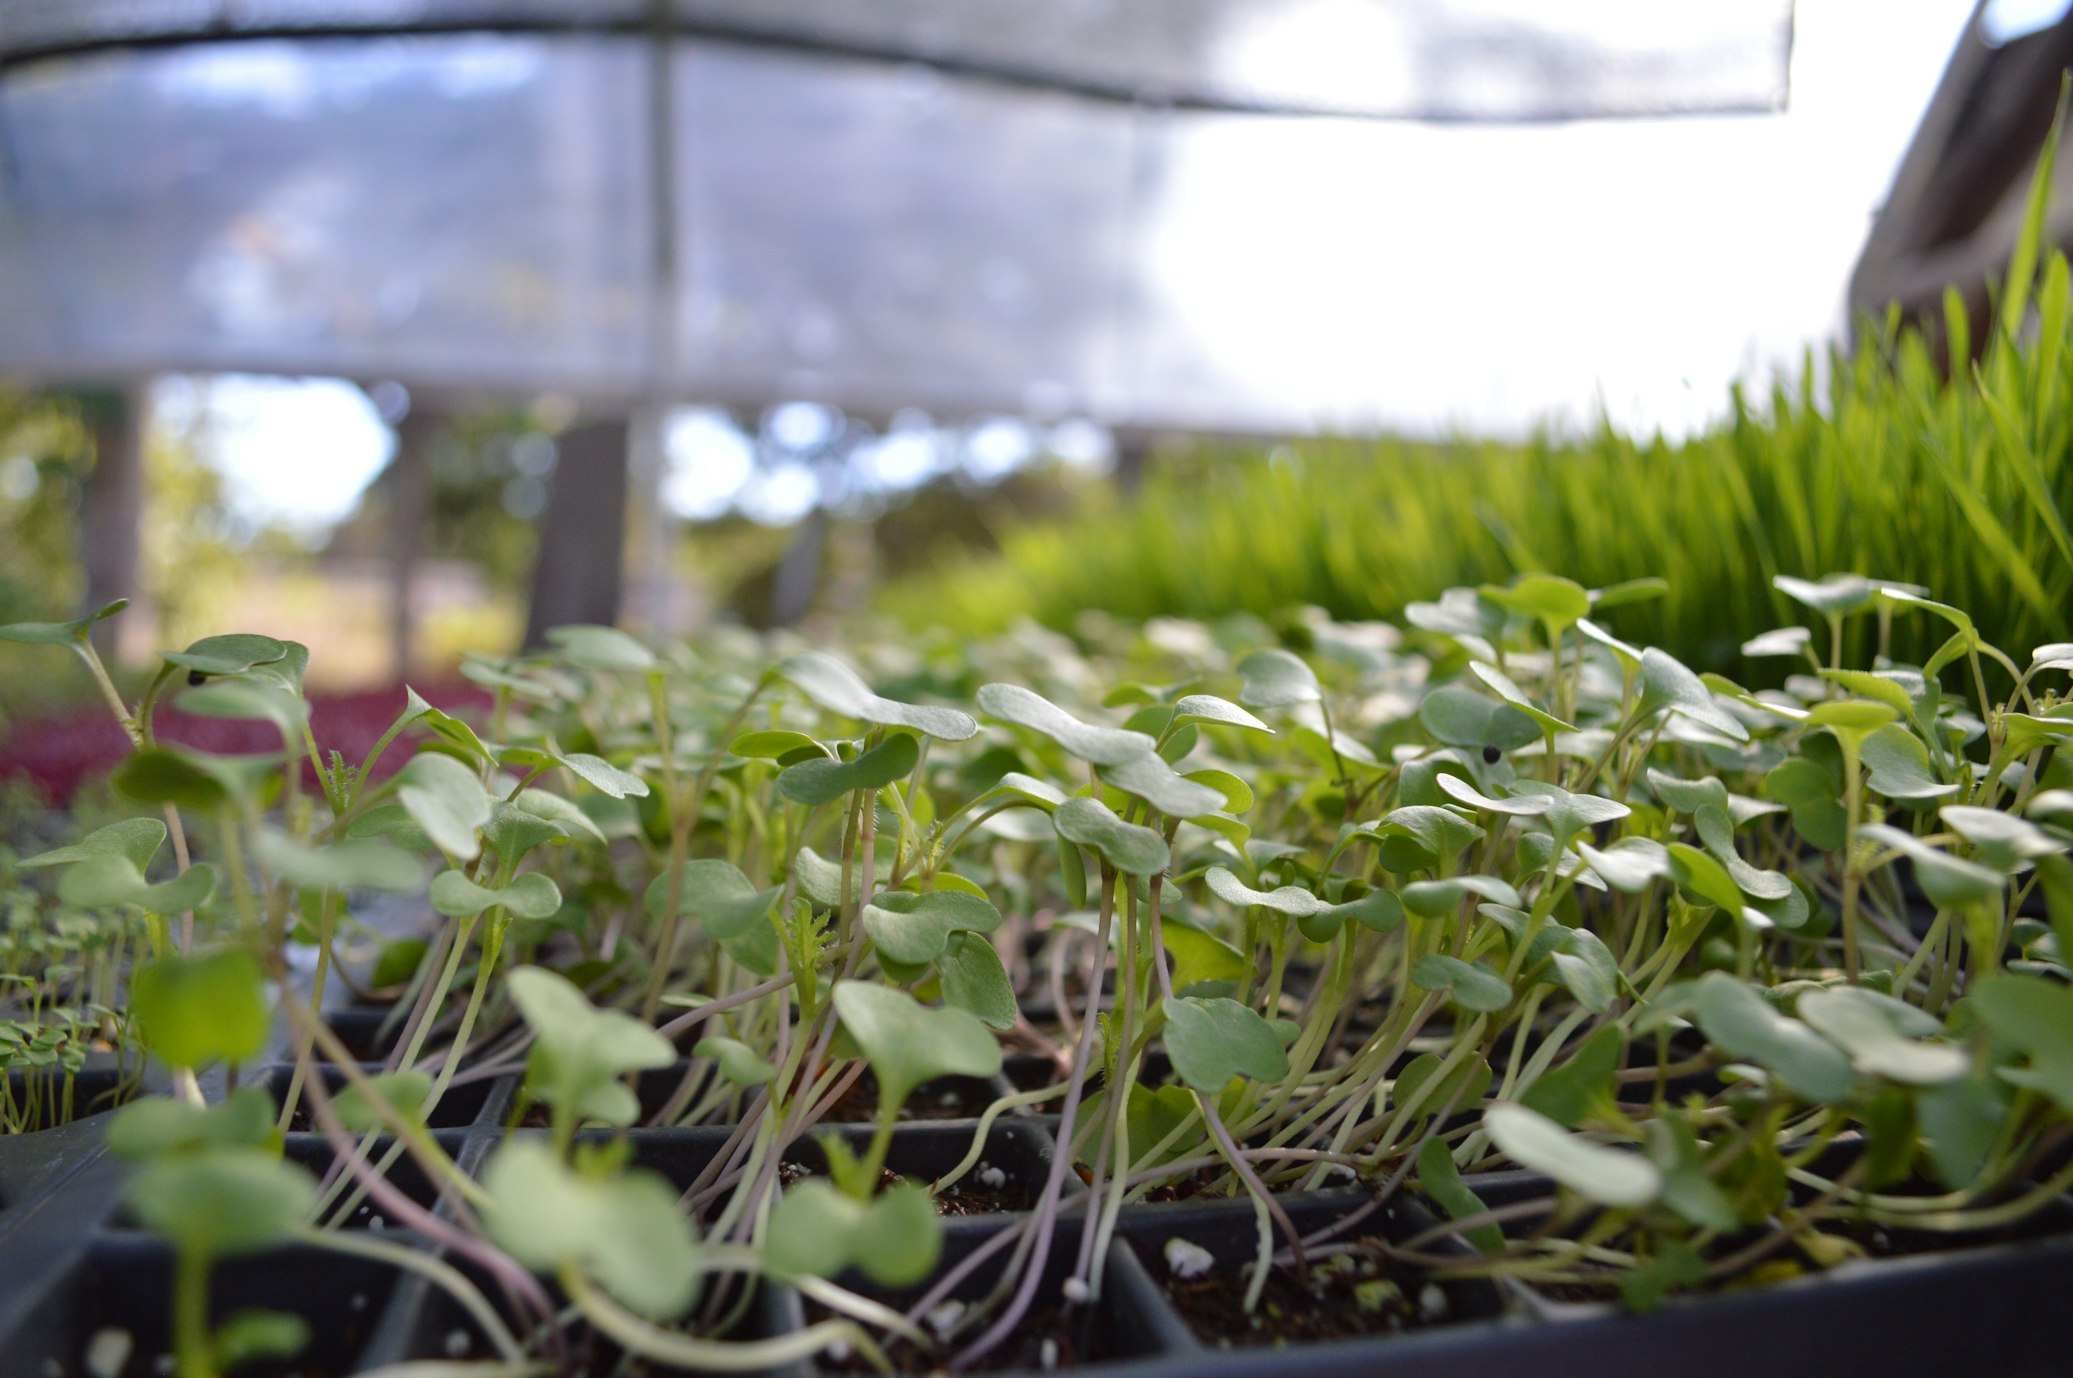
Introduction: Why Microgreens Cultivation Matters
Microgreens cultivation has evolved from a niche culinary garnish to a mainstream sustainable food source, with the global market projected to reach $2.6 billion by 2031. These tiny seedlings pack concentrated nutrients—often 3-4 times more than their mature counterparts—and can be grown year-round in any space. Whether you’re a kitchen counter gardener or scaling a microgreens business, mastering cultivation fundamentals is the key to unlocking consistent, profitable harvests.
The Foundation: Selecting the Right Seeds
Your microgreens journey begins with quality seeds. Heirloom varieties often outperform commercial mixes for both flavor and resilience. Popular choices include:
- Broccoli Microgreens: Rich in sulforaphane, with a mild, slightly peppery flavor
- Radish Microgreens: Fast-growing (7-10 days) with a spicy kick
- Sunflower Microgreens: High in omega-6s and protein, with a nutty taste
- Beet Microgreens: Deep red color and earthy flavor, plus high in betaine
- Arugula Microgreens: Peppery bite perfect for salads
For beginners, start with a free beginner’s course to understand seed characteristics. Remember: organic, non-GMO seeds specifically labeled for microgreens ensure the best germination rates and flavor profiles.
Preparing Your Growing Environment
Growing Mediums: More Than Just Soil
The growing medium affects everything from yield to flavor. While many growers use seed-starting mix, experimenting with different substrates can significantly impact results:
- Standard Seed-Starting Mix: Light, well-draining, and sterile—ideal for beginners
- Coconut Coir: Sustainable alternative with excellent moisture retention
- Hydroponic Mats: Reusable and chemical-free, perfect for soilless growing
The substrate science article reveals how the right medium mix can double your harvest yields while preventing common diseases like mold and damping-off.
Container Selection: The Unsung Hero
Choose trays that are 1-2 inches deep with drainage holes. Food-grade plastic or reusable fabric grow bags work well. The container’s size and material affect airflow, water retention, and ultimately, your crop’s health.
Light Optimization: Spectrum, Intensity, and Duration
Light isn’t just illumination—it’s food for your microgreens. Photosynthesis converts light energy into the sugars and compounds that give microgreens their vibrant flavor and nutritional density.
Natural vs. Artificial Light
Outdoor growers benefit from morning sun (4-6 hours) followed by partial shade. Indoor cultivators should use full-spectrum LED grow lights positioned 6-12 inches above trays. The LED spectrum guide explains how blue-dominant light boosts chlorophyll while red light enhances biomass.
Light Timing Secrets
Provide 12-16 hours of light daily. For maximum nutrition, harvest microgreens when they receive 14-16 hours of light in their final 2-3 days. This triggers secondary metabolite production—compounds that give microgreens their distinctive colors and health benefits.
Watering Mastery: The Fist Test Method
Overwatering and underwatering are the most common causes of crop failure. The ‘Fist Test’ is a simple, reliable method:
- Fully saturate the medium until water drains from the bottom
- Let excess water drain completely (20-30 minutes)
- Spray lightly every 1-2 days thereafter, keeping surface moist but not soggy
- Mist heavily 12 hours before harvest to plump up crispness
This technique prevents waterlogged conditions that promote mold while ensuring consistent moisture for optimal growth. See our detailed watering rhythm guide for deeper insights.
Temperature and Humidity Control
Microgreens thrive in consistent conditions. Maintain daytime temperatures between 70-75°F (21-24°C) and night temperatures no more than 10°F lower.
The 48-Hour Germination Window
The first 48 hours after sowing are critical. Keep the medium consistently moist and warm (75-80°F) for optimal germination. Cover trays with a humidity dome or plastic wrap to create a microclimate, then ventilate daily to prevent fungal issues.
If germination is patchy, your seeds may be old or stored improperly. Pre-treatment techniques can revive marginal seeds and ensure uniform sprouting.
Harvest Timing: When to Cut for Peak Flavor
The harvest moment makes or breaks your crop’s quality. Don’t rely on arbitrary day counts—microgreens develop at different rates based on variety, light, and temperature.
Visual Cues for Perfect Harvest
- Leaves should be 2-4 inches tall with well-developed true leaves
- Stems should be firm, not leggy or weak
- Color should be vibrant, not pale or yellowed
- Radish varieties should show distinct red tops before cutting
For maximum nutrient density, harvest when the main seed head is just beginning to split. The harvest timing guide provides detailed physiological markers for different varieties.
Troubleshooting Common Problems
Mold and Fungal Issues
Prevent mold by maintaining proper air circulation and avoiding overwatering. If you spot fuzzy growth, immediately remove affected areas and improve airflow. The mold prevention guide offers organic solutions.
Leggy or Weak Stems
Leggy microgreens indicate insufficient light or excessive heat. Move lights closer (6-8 inches) and ensure your grow area isn’t overheating. Cool temperatures and bright light create sturdy stems.
Uneven Germination
Patchy growth usually stems from inconsistent moisture or old seeds. Practice the Fist Test watering method and store seeds in cool, dry conditions. For persistent issues, troubleshooting checklist identifies root causes quickly.
Scaling Your Operation: From Hobby to Business
Once you’ve mastered basics, consider yield optimization through these proven strategies:
- Seeding Density: Sow densely (about 1 ounce per 10x10 inch tray) for maximum space utilization
- Succession Planting: Sow new trays every 2-3 days for continuous harvests
- Batch Processing: Harvest multiple trays simultaneously to maximize efficiency
- Post-Harvest Handling: Cool storage (45-50°F) extends freshness by 5-7 days
Those ready to transition from hobbyist to producer should explore our comprehensive growing guide that covers commercial-scale considerations including food safety protocols and packaging solutions.
Conclusion: Your Microgreens Success Roadmap
Microgreens cultivation excellence comes from attention to detail across the entire lifecycle—from seed selection to harvest timing. Start with one variety, master the fundamentals, then gradually expand your repertoire. Track your results, note what works in your specific environment, and don’t be afraid to experiment with different varieties and techniques.
Remember, every expert grower started as a beginner. Your perfect microgreens harvest is closer than you think. With consistent practice and the right knowledge, you’ll soon be enjoying nutrient-dense, restaurant-quality greens grown right in your own space—or supplying your community with fresh, healthy food year-round.
Ronaldo AndradeWrites practical notes about growing better microgreens.
[01] keep reading