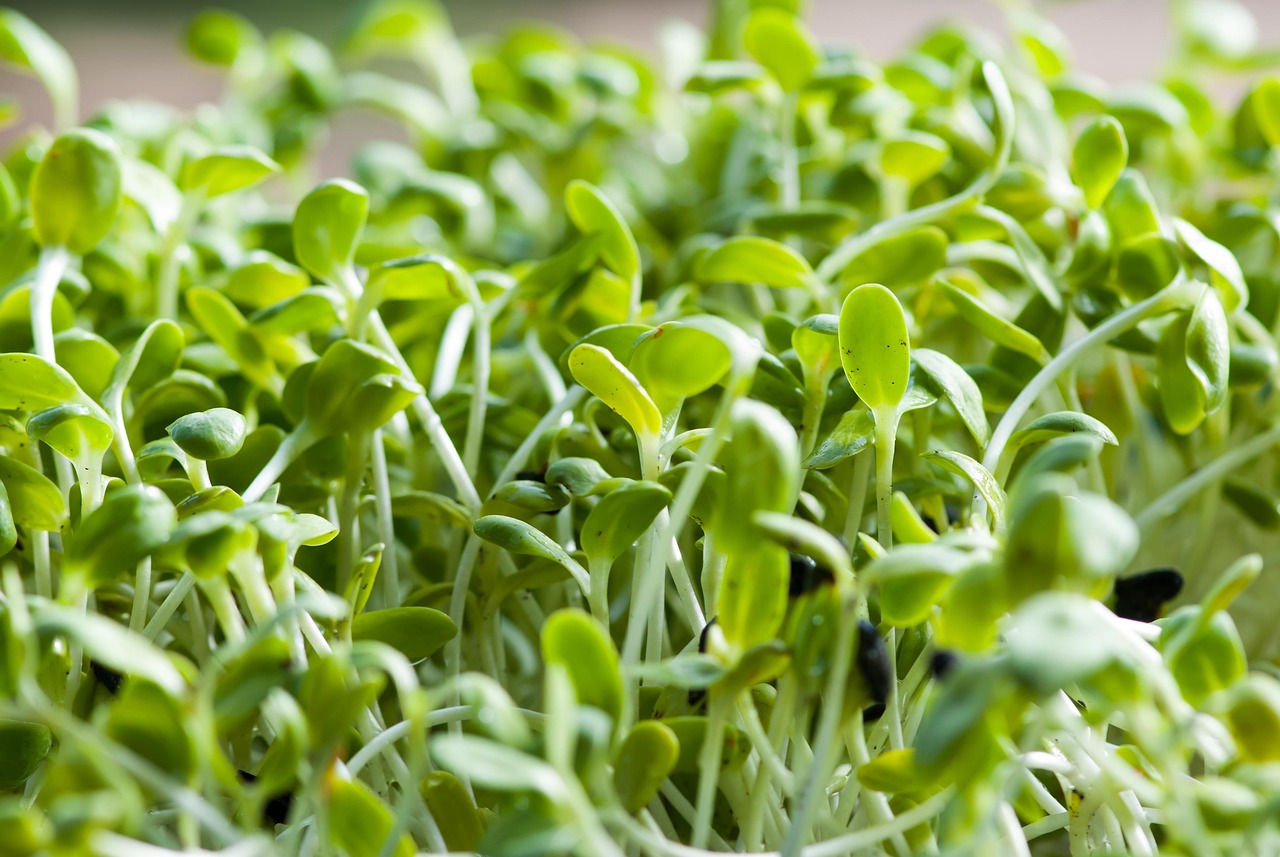
Microgreens Cultivation: Getting Started with the Basics
Microgreens cultivation has exploded in popularity, and for good reason. These nutrient-dense seedlings offer incredible flavor, vibrant color, and impressive health benefits in a remarkably small package. Whether you’re a complete beginner or an experienced grower looking to optimize your yields, understanding the fundamentals of microgreens cultivation is your first step to success.
The beauty of microgreens lies in their simplicity. Unlike full-sized vegetables that require months of growth, microgreens are typically ready to harvest in just 7-14 days. This rapid growth cycle makes them perfect for urban gardeners, kitchen windowsill growers, and small-scale commercial producers alike.
Essential Supplies for Successful Microgreens Cultivation
Before diving into specific techniques, let’s cover what you’ll need to begin your microgreens journey:
- Growing trays: Shallow containers with drainage holes (1-2 inches deep)
- Growing medium: Quality seed-starting mix, coconut coir, or specialized microgreens soil
- Seeds: High-quality, untreated seeds specifically labeled for microgreens production
- Light source: Either a sunny windowsill or affordable LED grow lights
- Watering tool: Spray bottle for gentle misting or a watering can with a fine rose
For those just starting out, we recommend checking out our comprehensive guide to growing micro sprouts and micro radishes, which walks you through the absolute basics with variety-specific tips.
Optimizing Your Microgreens Cultivation Setup
Once you’ve mastered the basics, it’s time to refine your approach for better results. Modern microgreens cultivation has benefited tremendously from technological advances that were once only available to large commercial operations.
Lighting: The Secret to Vibrant, Nutrient-Dense Microgreens
Light quality directly impacts both the yield and nutritional value of your microgreens. Recent advances in precision LED lighting have made it possible to tailor light spectra to specific varieties for optimal results.
Most microgreens thrive under a balanced spectrum with adequate blue light (for compact growth and leaf development) and red light (for stem elongation and biomass). A color temperature between 5000K-6500K mimics natural daylight and works well for most varieties.
If you’re using natural light, south-facing windows provide the best results in the Northern Hemisphere. However, even the sunniest windowsill can benefit from supplemental lighting during shorter winter days or cloudy periods.
For detailed guidance on optimizing your lighting setup, see our article on how LED spectrum ratios let you choose between yield and nutrition.
Watering Techniques That Prevent Common Problems
Proper hydration is perhaps the most critical yet trickiest aspect of microgreens cultivation. Too little water leads to poor germination and stunted growth, while too much invites mold, damping-off, and root rot.
The goal is to maintain consistent moisture without waterlogging. Here’s a proven approach:
- Moisten your growing medium thoroughly before sowing seeds
- After seeding, mist lightly to settle seeds into the medium
- During germination (days 1-3), keep the medium damp but not soggy using a spray bottle
- Once seeds have sprouted (typically day 3-4), transition to bottom-watering by placing trays in a shallow water bath for 1-2 minutes
- Allow trays to drain completely before returning them to their growing position
- Check moisture levels twice daily and adjust as needed based on environmental conditions
Many experienced growers swear by the “finger test” - inserting your finger about 1/4 inch into the medium. If it feels dry at that depth, it’s time to water.
Advanced Microgreens Cultivation Techniques for 2026
For growers looking to push their results to the next level, several cutting-edge techniques have emerged in recent years that can significantly improve yield, flavor, and nutritional density.
Precision Seeding Density for Maximum Yield
One of the most overlooked variables in microgreens cultivation is seeding density. Too sparse, and you waste valuable tray space; too dense, and you invite poor air circulation and disease problems.
The optimal density varies by variety:
- Small seeds (broccoli, kale, cabbage): 1-1.5 oz per 10x20 inch tray
- Medium seeds (sunflower, pea, beet): 2-3 oz per 10x20 inch tray
- Large seeds (corn, wheat, pea shoots): 4-6 oz per 10x20 inch tray
Using a shaker bottle or specialized seed distributor ensures even distribution, preventing clumping that leads to uneven growth.
Microbiome-Based Cultivation: The Frontier of Microgreens Production
Recent research highlighted in industry trends shows promising results from microbiome-based cultivation approaches. By introducing beneficial microorganisms to your growing medium, you can:
- Enhance nutrient uptake and availability
- Improve plant resistance to pathogens
- Potentially increase phytochemical production (the compounds responsible for health benefits)
- Reduce or eliminate the need for synthetic fertilizers
Simple ways to incorporate this approach include using compost tea as part of your watering routine or adding mycorrhizal fungi inoculants to your growing medium.
Troubleshooting Common Microgreens Cultivation Issues
Even experienced growers encounter challenges. Here are solutions to the most frequent problems:
Mold and Fungal Issues
If you notice fuzzy white growth on your microgreens:
- Immediately increase air circulation with a small fan
- Reduce watering frequency and amount
- Consider lowering seeding density for future plantings
- For severe cases, remove affected areas and treat with a hydrogen peroxide solution (1 tsp per cup of water)
Prevention is always better than cure. Ensure good airflow, avoid overwatering, and use clean trays and fresh growing medium for each batch.
Leggy, Pale Growth
When microgreens stretch tall and pale instead of forming compact, colorful shoots:
- Increase light intensity or duration
- Lower temperature slightly (ideal range is 65-75°F for most varieties)
- Check that your light source is close enough to the tray (2-4 inches for LEDs)
- Consider varieties better suited to your light conditions
Uneven Germination
Patchy growth with some areas densely populated and others sparse:
- Ensure even seed distribution during sowing
- Press seeds gently into the medium for good contact
- Maintain consistent moisture during germination
- Use fresh, high-quality seeds with good germination rates
Harvesting and Enjoying Your Microgreens Crop
The moment of harvest is perhaps the most rewarding part of microgreens cultivation. Most varieties are ready when they’ve developed their first true leaves, typically 7-14 days after sowing depending on the variety.
For the best flavor and nutritional value:
- Harvest in the morning when plants are most hydrated
- Use clean, sharp scissors or a knife to cut stems just above the soil line
- Rinse gently in cool water if needed, then spin dry in a salad spinner
- Use immediately for peak flavor, or store properly for later use
Proper storage extends enjoyment of your harvest:
- Place harvested microgreens in a container lined with a dry paper towel
- Cover loosely with another paper towel and seal with a lid
- Store in the refrigerator’s crisper drawer
- Use within 5-7 days for best quality
Microgreens Cultivation: A Year-Round Endeavor
One of the greatest advantages of microgreens cultivation is its independence from outdoor growing seasons. With the right setup, you can enjoy fresh, homegrown microgreens 365 days a year.
For indoor growers, maintaining consistent temperatures (65-75°F) and humidity levels (40-60%) ensures reliable results regardless of outdoor weather. Many growers find that a simple setup with a seedling heat mat, LED grow light, and small fan provides everything needed for year-round production.
Whether you’re growing for personal enjoyment, to enhance your meals, or as a small-scale commercial venture, microgreens cultivation offers a rewarding connection to your food that’s both accessible and deeply satisfying.
Start with a single tray, observe what works in your specific environment, and gradually refine your approach. Remember that every expert grower was once a beginner who planted their first seeds and learned from the experience. Your microgreens cultivation journey begins with that first tray - happy growing!
Ronaldo AndradeWrites practical notes about growing better microgreens.
[01] keep reading