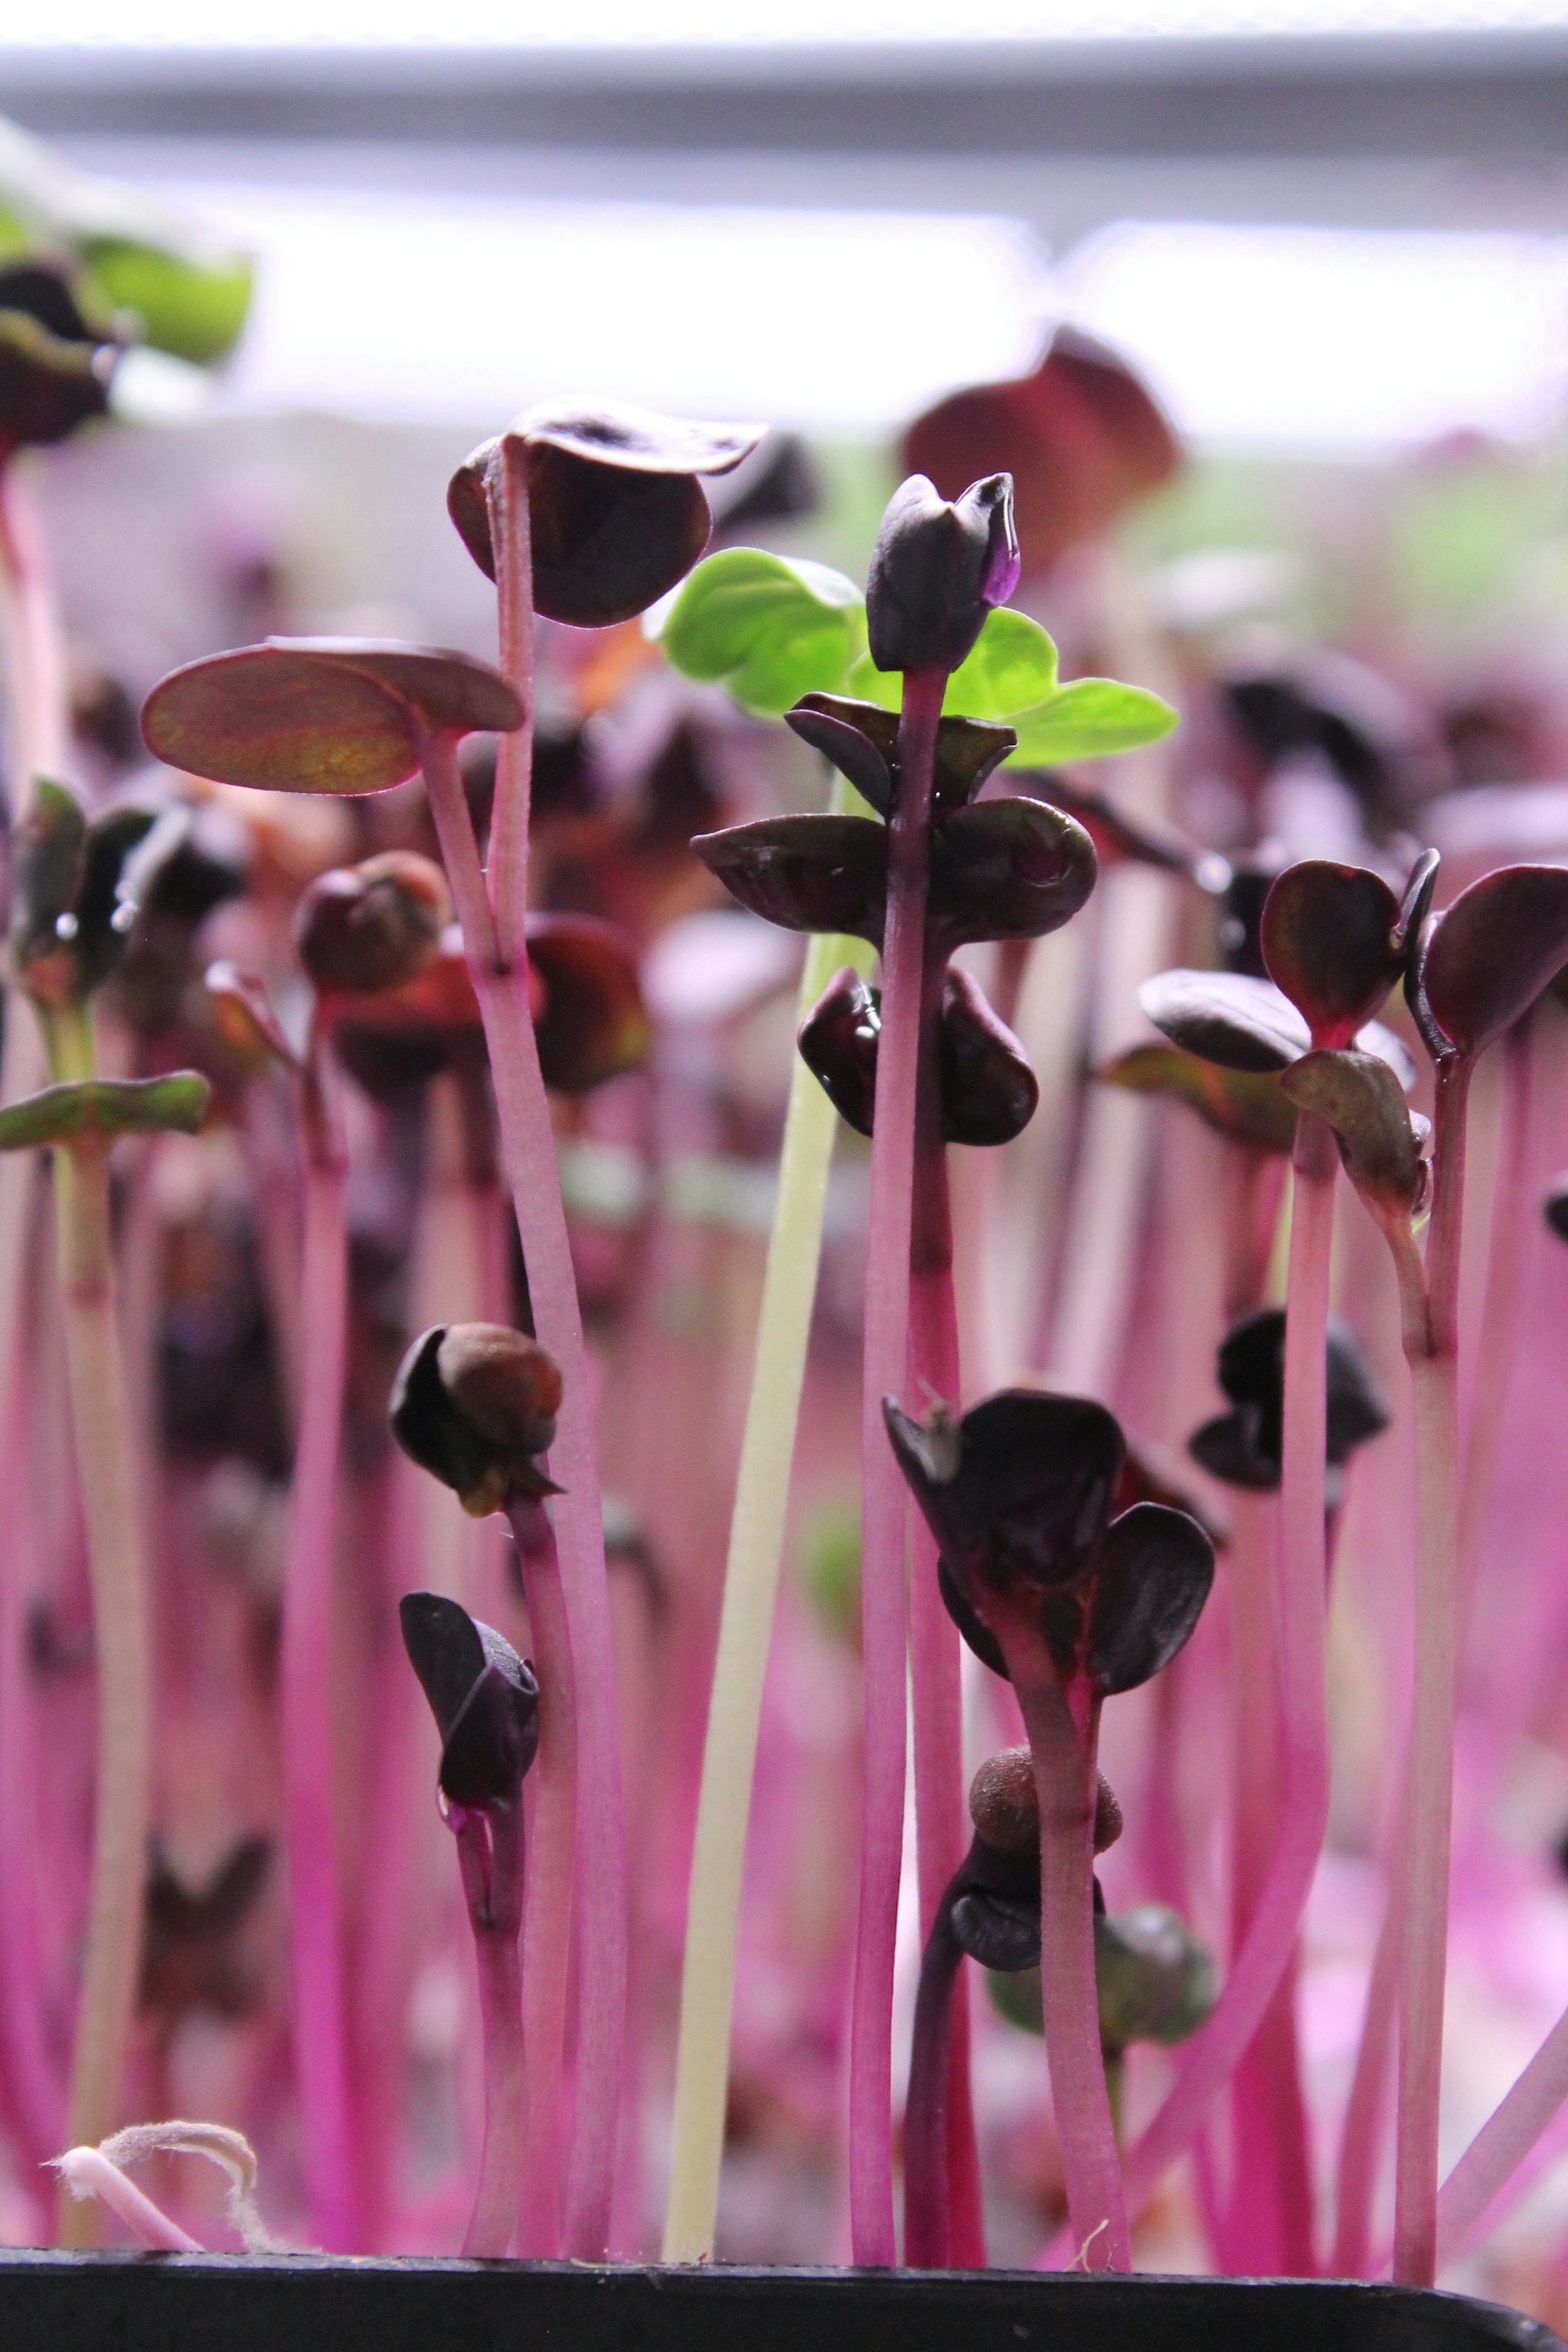
Introduction with keyword
Microgreens cultivation has surged in popularity as growers discover how quickly these tiny greens deliver intense flavor, concentrated nutrients, and a satisfying harvest cycle. Whether you’re setting up a windowsill tray or running a small‑scale urban farm, mastering the fundamentals of microgreens cultivation can transform your space into a steady source of fresh, nutrient‑dense food. In this guide we’ll walk you through every step—from seed selection to harvest—while sharing proven tactics to boost yield and flavor. For a quick refresher on growing specific varieties, check out our guide on micro‑sprouts and micro‑radishes.
Why Microgreens Cultivation Is Worth Your Time
Microgreens are harvested just 7–14 days after germination, yet they can contain up to 40 times more vitamins and minerals than their mature counterparts. This rapid turnover means you can enjoy multiple crops each month, maximize limited space, and experiment with a wide range of flavors—from peppery radish to sweet pea shoots. Moreover, the low startup cost and minimal equipment needs make microgreens cultivation accessible to beginners, while advanced techniques offer seasoned growers a path to higher profits and premium quality.
Setting Up Your Microgreens Growing Space
Choosing the Right Trays and Substrate
Start with shallow trays (1–2 inches deep) that have drainage holes. A lightweight, sterile substrate such as coconut coir, peat‑based mix, or a specialized microgreens mat works well. Avoid garden soil, which can introduce pathogens. For deeper insight on a website linking to our comprehensive substrate guide, see our 2026 mastery post.
Lighting and Water Essentials
Microgreens need consistent, diffuse light—ideally 12–16 hours per day. A simple LED grow light panel positioned 6–12 inches above the tray provides balanced spectrum without overheating. Water from below using a tray reservoir or mist gently to keep the medium evenly moist but not soggy. Proper watering prevents mold and promotes uniform growth.
Step‑by‑Step Growing Process
Seed Selection and Pre‑Treatment
Choose high‑germination, untreated seeds labeled for microgreens. Popular varieties include broccoli, radish, kale, mustard, sunflower, and pea. Some growers improve germination with a 15‑minute hydrogen peroxide soak or a mild bleach rinse, then rinse thoroughly.
Sowing Density and Germination
Spread seeds evenly across the moistened substrate at the recommended density (usually 10–15 grams per 10×20 in tray for small seeds, up to 30 g for larger seeds like sunflower). Lightly press seeds into the surface—do not bury them. Cover with a lid or another tray to maintain darkness and humidity for the first 2–3 days, then remove the cover to expose seedlings to light.
Daily Care: Water, Air, and Light
After uncovering, water from the bottom once or twice daily, ensuring the substrate stays moist. Good air circulation reduces the risk of fungal issues; a small fan on low speed can help. Maintain light exposure of 12–16 hours, adjusting the height of the LEDs as the plants grow to prevent leggy stems.
Optimizing Yield and Flavor
Fine‑Tuning Light Spectrum
Research shows that a higher ratio of blue light promotes compact, sturdy growth, while increased red light can boost biomass. Experiment with adjustable LED panels to find the sweet spot for each variety—many growers report a 20–30 % increase in fresh weight when shifting to a 70 % blue / 30 % red mix during the mid‑growth phase.
Nutrient Boosts and Harvest Timing
Although microgreens derive most nutrients from the seed, a weak hydroponic solution (½ strength nutrient formula) applied during the last 3–4 days can enhance color and vitamin content. Harvest when the first true leaves appear, cutting just above the substrate line with clean scissors. Taste a few samples daily to pinpoint peak flavor—usually 7–10 days for most varieties.
Common Challenges and How to Overcome Them
Preventing Mold and Damping‑Off
Mold thrives in stagnant, overly wet conditions. Prevent it by: using sterile trays, avoiding over‑seeding, watering from below, and providing gentle airflow. If you notice white fuzz, remove affected pods immediately and increase ventilation.
Dealing with Leggy Growth
Leggy, pale stems signal insufficient light. Lower the light source to increase intensity, or add supplemental LEDs. Ensure the light schedule is consistent and reflective surfaces (like white walls or Mylar) are used to maximize photon distribution.
Harvesting, Storing, and Using Your Microgreens
Harvest in the morning for maximum crispness. Rinse gently in cool water, spin dry in a salad spinner, and store between layers of paper towels in a sealed container in the refrigerator. Use within 5–7 days for best texture and nutrition. Add microgreens to salads, sandwiches, smoothies, or as a garnish for soups and omelets to instantly boost flavor and nutrient density.
By following these practical steps and continually refining your approach—light, water, substrate, and hygiene—you’ll enjoy reliable, abundant harvests of microgreens that taste as good as they are good for you. Ready to dive deeper? Explore our advanced technique collection in Microgreens Mastery in 2026 and keep experimenting with new varieties and methods.
Ronaldo AndradeWrites practical notes about growing better microgreens.
[01] keep reading