Microgreens Cultivation Guide 2026: Practical Tips for Beginners and Pro Growers
Introduction: Why Microgreens Are a Game-Changer
Microgreens cultivation has taken the horticultural world by storm, and for good reason. These tiny, nutrient-packed powerhouses are not only easy to grow but also incredibly versatile in the kitchen. Whether you’re a beginner looking to dip your toes into indoor gardening or a pro grower aiming to optimize yields, microgreens cultivation offers a rewarding experience. In this guide, we’ll explore practical tips and advanced techniques to help you grow microgreens successfully in 2026.
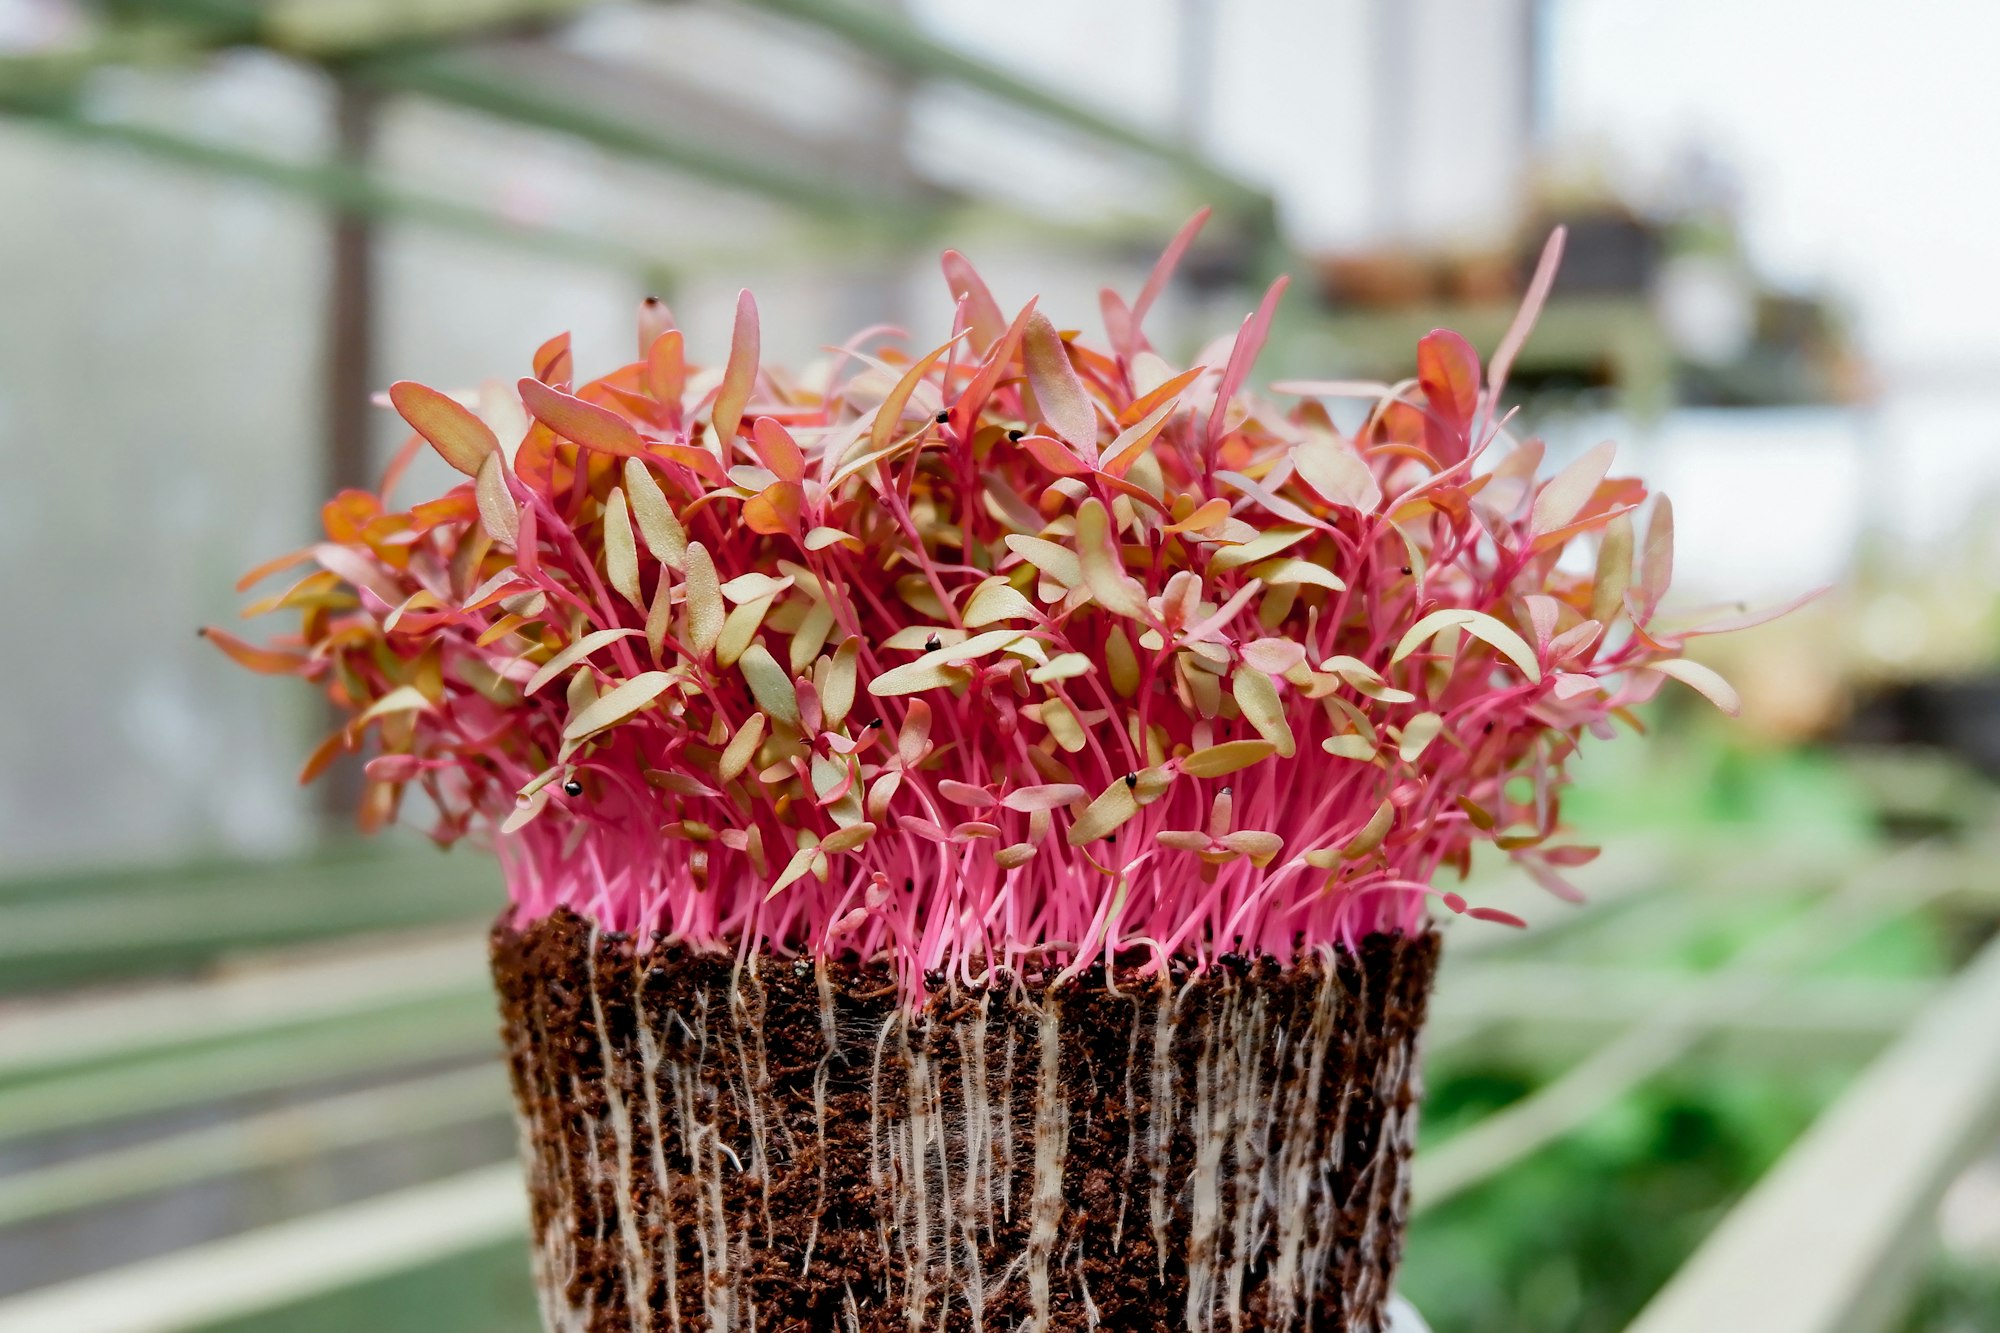
Microgreens are young vegetable greens harvested just after the first true leaves have developed. They are packed with vitamins, minerals, and antioxidants, making them a favorite among health-conscious consumers and chefs alike. Plus, their short growth cycle—typically 7–14 days—means you can enjoy a continuous supply of fresh greens year-round.
Getting Started with Microgreens Cultivation
1. Choosing the Right Seeds
The foundation of successful microgreens cultivation lies in selecting high-quality seeds. Opt for organic, non-GMO seeds from reputable suppliers to ensure the best results. Popular choices include:
- Radish: Fast-growing, peppery flavor, and vibrant color.
- Broccoli: Mild taste, rich in sulforaphane, and packed with nutrients.
- Sunflower: Nutty flavor, high in protein, and great for salads.
- Pea Shoots: Sweet and crunchy, perfect for garnishing dishes.
- Basil: Aromatic and flavorful, ideal for culinary use.
For beginners, we recommend starting with radish or broccoli seeds, as they are forgiving and quick to germinate. If you’re looking to dive deeper into seed selection, check out our guide on Mastering Microgreens Cultivation: A Practical Guide to Growing Micro Sprouts and Micro Radishes.
2. Selecting the Perfect Growing Medium
The growing medium is another critical factor in microgreens cultivation. You have several options to choose from:
- Soil: A traditional choice, but it can be messy and requires sterilization to prevent mold and pests.
- Coconut Coir: A sustainable, soilless option that retains moisture well and is easy to work with.
- Hydroponic Mats: Ideal for those who prefer a clean, soil-free setup. These mats provide excellent moisture retention and are reusable.
- Vermiculite or Perlite: Lightweight and sterile, these mediums are great for improving aeration and drainage.
For beginners, coconut coir or hydroponic mats are excellent choices due to their ease of use and low maintenance. If you’re interested in exploring hydroponic methods further, our article on Microgreens Mastery in 2026: 5 Game-Changing Techniques for Bigger, Healthier Harvests offers valuable insights.
Advanced Microgreens Cultivation Techniques
3. Optimizing Light for Maximum Growth
Light is one of the most important factors in microgreens cultivation. While natural sunlight works well, indoor growers often rely on artificial lighting to ensure consistent results. Here’s how to optimize light for your microgreens:
- LED Grow Lights: Energy-efficient and customizable, LED lights allow you to adjust the spectrum to suit different growth stages. Blue light promotes leafy growth, while red light encourages stretching and flowering.
- Fluorescent Lights: A budget-friendly option, fluorescent lights provide a balanced spectrum suitable for microgreens.
- Light Duration: Microgreens require 12–16 hours of light per day. Use a timer to automate the lighting schedule and ensure consistency.
For a deeper dive into lighting techniques, read our post on Dialing in the Light: How LED Spectrum Ratios Let You Choose Between Yield and Nutrition.
4. Watering Wisely
Overwatering is a common mistake in microgreens cultivation. Too much water can lead to mold, damping-off, and poor growth. Here’s how to water your microgreens effectively:
- Bottom Watering: Place your growing tray in a shallow dish of water and allow the medium to absorb moisture from the bottom. This method prevents overwatering and keeps the leaves dry.
- Misting: Use a spray bottle to mist the seeds and seedlings lightly. This is especially useful during the germination phase.
- Humidity Dome: Cover your tray with a humidity dome or plastic wrap to retain moisture during germination. Remove the cover once the seeds have sprouted to prevent mold.
If you’ve ever struggled with water-related issues, our guide on Water Quality 101: How Your H2O Makes or Breaks Microgreens is a must-read.
5. Harvesting for Peak Nutrition and Flavor
Timing is everything when it comes to harvesting microgreens. Harvest too early, and you’ll miss out on flavor and nutrients. Harvest too late, and the greens may become tough or bitter. Here’s how to get it right:
- Harvest Stage: Microgreens are ready to harvest when the first true leaves appear, typically 7–14 days after sowing. The true leaves are the second set of leaves that emerge after the cotyledons (seed leaves).
- Harvesting Tools: Use sharp scissors or a clean knife to cut the greens just above the soil line. Avoid pulling the greens, as this can disturb the roots and damage the remaining plants.
- Post-Harvest Handling: Rinse the microgreens gently in cold water to remove any debris. Pat them dry with a clean towel or use a salad spinner to remove excess moisture. Store them in an airtight container in the refrigerator for up to a week.
For more tips on harvesting, check out Harvest Timing for Peak Nutrient Density and Flavor.
Troubleshooting Common Issues in Microgreens Cultivation
6. Preventing Mold and Damping-Off
Mold and damping-off are common issues in microgreens cultivation , especially for beginners. Here’s how to prevent them:
- Ventilation: Ensure proper airflow around your growing trays. Use a small fan to circulate air and reduce humidity.
- Sterilization: Sterilize your growing trays, tools, and medium before use to eliminate any potential pathogens.
- Spacing: Avoid overcrowding your seeds. Give them enough space to allow for airflow and reduce competition for resources.
- Watering: As mentioned earlier, bottom watering and misting are effective ways to prevent overwatering and mold.
If you’re dealing with mold or other common issues, our article on Microgreens Gone Wrong: 7 Warning Signs Your Tray Needs Help provides practical solutions.
7. Dealing with Leggy or Weak Growth
Leggy or weak growth is often a sign of insufficient light or overcrowding. Here’s how to fix it:
- Light Intensity: Ensure your microgreens are receiving adequate light. If using artificial lights, position them 6–12 inches above the tray.
- Light Duration: Provide 12–16 hours of light per day to promote strong, compact growth.
- Seed Density: Sow seeds evenly and avoid overcrowding. Follow the recommended seeding density for each type of microgreen.
Scaling Up: From Home Grower to Commercial Producer
8. Automating Your Microgreens Cultivation
If you’re looking to scale up your microgreens cultivation , automation can save you time and effort. Here are some tools and techniques to consider:
- Automated Watering Systems: Use drip irrigation or hydroponic systems to automate watering and ensure consistent moisture levels.
- Climate Control: Invest in a grow tent or climate-controlled room to maintain optimal temperature and humidity levels.
- IoT Monitoring: Use smart sensors to monitor environmental conditions such as light, temperature, and humidity. These devices can alert you to any issues and help you optimize growing conditions.
For more on automation and scaling up, explore our post on Microgreens Trends and Technologies (2024–2026): Key Innovations for Growers.
9. Marketing Your Microgreens
Once you’ve mastered microgreens cultivation , it’s time to share your harvest with the world. Here are some tips for marketing your microgreens:
- Local Farmers Markets: Farmers markets are a great place to sell microgreens. Set up an attractive display and offer samples to attract customers.
- Restaurants and Cafés: Chefs love using microgreens to add flavor and visual appeal to their dishes. Reach out to local restaurants and offer them a steady supply of fresh microgreens.
- Online Sales: Sell your microgreens through an online store or platforms like Etsy. Offer subscription boxes for regular deliveries.
- Social Media: Use platforms like Instagram and Facebook to showcase your microgreens and connect with potential customers. Share behind-the-scenes content and growing tips to engage your audience.
Conclusion: Grow Your Green Thumb with Microgreens
Microgreens cultivation is a rewarding and practical way to grow nutrient-packed greens at home or commercially. Whether you’re a beginner or a pro, the tips and techniques in this guide will help you optimize your yields, improve flavor, and troubleshoot common issues. Remember, the key to success lies in attention to detail—from seed selection to harvesting and beyond.
Ready to take your microgreens game to the next level? Start with the basics, experiment with advanced techniques, and don’t be afraid to scale up. The world of microgreens is full of possibilities, and with the right approach, you can enjoy a continuous supply of fresh, healthy greens year-round.
For more in-depth guides and tips, explore our free course on microgreens cultivation and join a community of growers passionate about sustainable agriculture and indoor gardening.
Ronaldo AndradeWrites practical notes about growing better microgreens.
[01] keep reading