Guides / Growing techniques
Microgreens Cultivation Mastery: A Complete Guide from Seed to Harvest for Maximum Yield
Introduction: Why Microgreens Cultivation is Your Next Culinary Superpower Microgreens cultivation represents the perfect intersection of convenience
Introduction: Why Microgreens Cultivation is Your Next Culinary Superpower
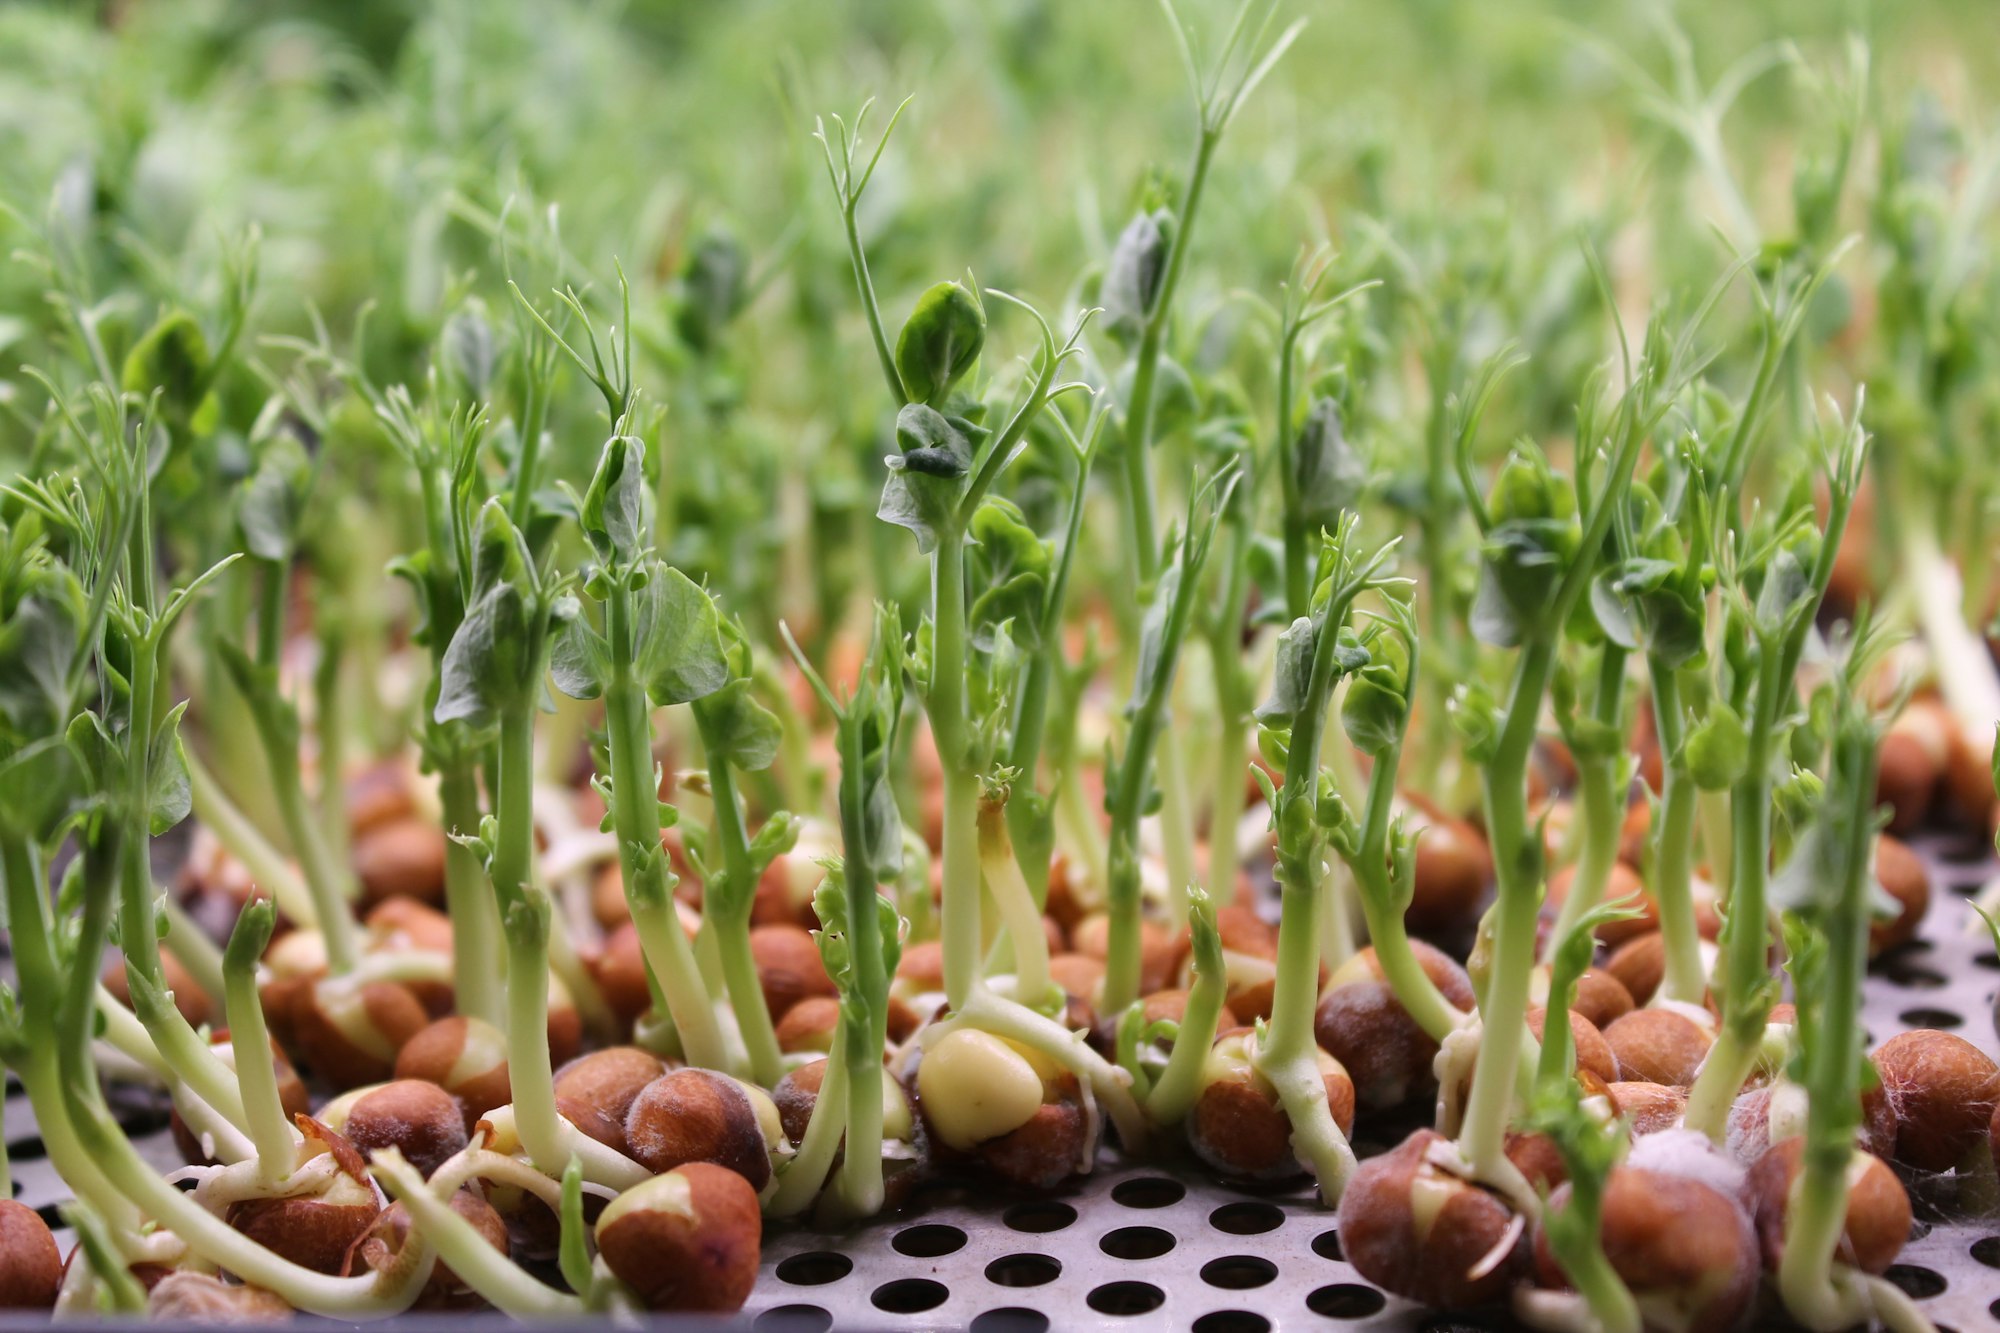
Microgreens cultivation represents the perfect intersection of convenience, nutrition, and culinary artistry. These tender seedlings pack up to 40 times more nutrients than mature vegetables, and the beauty lies in their accessibility—any grower, from complete beginners to seasoned horticulturists, can master them in as little as 7-14 days.
Today, we’re excited to introduce SproutPlanner, our innovative free miniapp designed specifically to help you cultivate consistently successful microgreens. Whether you’re troubleshooting your current setup or planning your first growing cycle, this tool provides personalized guidance that adapts to your space and schedule.
Understanding Microgreens: Beyond the Basics
Microgreens are the young, edible shoots of vegetables and herbs, harvested typically 7-21 days after germination. Unlike sprouts, which are grown submerged in water, microgreens develop their cotyledons and first true leaves while anchored in soil or growing medium.
Think of microgreens as nature’s multivitamin—research consistently shows they contain elevated concentrations of vitamins A, C, and K, along with powerful antioxidants like beta-carotene and glucosinolates. The flavor profile varies dramatically by variety: radish microgreens bring a peppery kick, while broccoli offers subtle, nutty complexity.
Essential Equipment Every Grower Needs
Successful microgreens cultivation begins with the right foundation. You’ll need:
- Containers: Shallow trays (1020 size works perfectly) with drainage holes are ideal. Our detailed tray selection guide explains how substrate choice impacts root health and yield.
- Growing Medium: A lightweight, sterile mix prevents compaction while providing essential nutrients.
- Seeds: Always purchase organic, food-grade seeds specifically labeled for microgreens.
- Lighting: Either 6+ hours of direct sunlight or full-spectrum LED grow lights (4,000-6,500K color temperature).
- Water: Filtered water at room temperature prevents shock to delicate seedlings.
- Misting Bottle: Fine spray nozzle for gentle, frequent watering.
The Critical First 48 Hours: Setting Yourself Up for Success
The initial germination period is non-negotiable for optimal results. Here’s your step-by-step routine:
Step 1: Preparation (Day 0)
Soak your seeds according to package directions (typically 2-4 hours). This hydrates the seed coat and jumpstarts germination. While that happens, prepare your tray by filling it with your growing medium, gently firming it to create a firm, even surface.
Step 2: Sowing Strategically
Drain the soaked seeds and spread them evenly across the tray surface. For most varieties, aim for 25-50 seeds per square inch, depending on mature plant size. Use a seed scatter technique for uniformity, then lightly press seeds into the medium without covering them—they need light for germination.
Step 3: Watering and Covering
Mist the surface gently until soil is consistently moist. Cover with another tray or dome to create a humid microclimate. Check twice daily, misting as needed. Once shoots emerge (4-7 days), remove the cover immediately.
SproutPlanner Integration: Your Digital Growing Companion
This is where SproutPlanner transforms your cultivation journey. Our miniapp tracks your specific varieties, growth stages, and local environmental conditions to provide real-time recommendations. The beauty? It’s completely free and requires no subscription. Simply input your seed variety and preferred harvest date, and SproutPlanner generates a personalized watering and harvesting checklist tailored to your setup.
Optimizing Environmental Conditions
Temperature and humidity are the invisible architects of your microgreens success. Here’s what matters:
The Ideal Environment
Daytime Temperature: 65-75°F (18-24°C) creates optimal enzyme activity. Cooler temperatures slow growth but concentrate nutrients, while warmth accelerates germination.
Relative Humidity: Maintain 50-70% humidity during germination, dropping to 40-50% once shoots emerge. Our temperature control guide provides troubleshooting for both overheating and mold issues.
Air Circulation: The Mold Prevention Secret
Never underestimate the power of gentle air movement. A small oscillating fan on low setting, positioned 2-3 feet away, prevents stagnant air pockets that breed mold. The key is constant, gentle circulation—not direct wind that can stress seedlings.
Watering Mastery: The Science of Moisture Management
The Fist Test: A Simple Gauge for Perfect Soil Moisture
Take a handful of your growing medium and squeeze it gently. Properly moisture-balanced soil should form a loose ball that crumbles when poked. If water drips out, you’re overwatering. If it won’t hold shape at all, it’s too dry.
Watering Frequency by Stage
| Growth Stage | Frequency | Method |
|---|---|---|
| Germination (Days 1-4) | 2-3x daily | Mist continuously |
| Shoot Emergence (Days 4-7) | Once daily | Water until slight runoff |
| Vegetative Growth (Days 7-14) | Daily or every other day | Fist test determines schedule |
Light Optimization: Spectrum, Intensity, and Duration
Light isn’t just illumination—it’s the primary driver of photosynthesis, flavor development, and nutritive density. Whether using natural or artificial sources, quality trumps quantity every time.
Natural Light Strategy
South-facing windows receive the most consistent direct sunlight. Place trays 6-12 inches from the glass, rotating them every other day for even growth. Watch for leggy stems—a clear sign your greens need more light. Our light optimization guide provides detailed troubleshooting for common natural light challenges.
LED Grow Lights: The Modern Choice
Full-spectrum LEDs (4,000-6,500K) provide consistent, energy-efficient lighting. Position lights 6-12 inches above growing trays, adjusting height as plants grow. Modern LEDs prevent the heat stress that plagued older grow lights while delivering the precise spectrum microgreens crave.
Harvest Timing: When to Cut for Peak Nutrition
Recognizing Your Optimal Harvest Window
The art of harvest timing separates good growers from great ones. Here’s your visual checklist:
- Leaf Count: Most microgreens are ready when the first true leaves are fully developed but before flowering begins. This is typically 7-14 days depending on variety.
- Color Intensity: Deep, vibrant greens indicate peak chlorophyll content. Yellowing signals aging.
- Stem Firmness: Healthy microgreens have crisp, sturdy stems. Wilting or soft stems mean they’re past their prime.
The Harvest Technique
Use clean scissors or a sharp knife to cut stems just above the soil line in a single motion. Harvest in batches to maintain freshness, and bring the cut greens immediately into a cool, dry environment for storage.
Troubleshooting Common Issues: Your Quick Reference Guide
| Problem | Signs | Quick Fix |
|---|---|---|
| Mold Growth | Fuzzy white patches, musty smell | Improve air circulation, reduce humidity, harvest immediately if severe |
| Leggy Stems | Tall, weak growth, pale color | Increase light intensity, reduce distance between light and plants |
| Uneven Germination | Patchy, inconsistent growth | Ensure even seeding, consistent moisture, use SproutPlanner’s germination tracker |
| Tip Burn | Yellowed leaf tips | Reduce nitrogen in water, check for salt buildup in medium |
Yield Maximization: Advanced Strategies for Every Grower
Sequential Planting: Double Your Production
Maximize your growing space by planting successive batches. While your current tray is in vegetative growth, prepare the next planting. This technique can triple your microgreens production without additional investment in trays or seeds.
Succession Harvesting
Harvest mature trays every 2-3 days rather than waiting for all varieties to peak simultaneously. This consistent flow reduces waste and ensures you always have fresh produce available.
Storage Best Practices
Transfer harvested microgreens to clean, dry containers lined with paper towels. Store in the crisper drawer at 33-35°F. They maintain peak quality for 5-7 days when properly stored. For extended preservation, consider freezing smoothie packs.
From Hobby to Hustle: Commercial Considerations
Those transitioning from kitchen curiosity to small business venture should consider:
- Seed Sourcing: Bulk purchasing reduces per-unit cost but requires careful rotation to maintain freshness.
- Batch Tracking: SproutPlanner’s production log helps track yields, costs, and harvest dates for profitability analysis.
- Food Safety: Implement proper sanitation protocols including sanitized tools, covered storage, and clear harvest labels.
- Market Timing: Morning harvests sell best at farmers markets where freshness is paramount.
Conclusion: Your Microgreens Journey Begins Now
Microgreens cultivation isn’t just about growing tiny greens—it’s about mastering a skill that rewards precision, patience, and practice. Every expert grower started with a single tray, and your journey begins the same way.
Ready to put these strategies into action? Start your free SproutPlanner trial today and receive personalized growing recommendations that adapt to your space, schedule, and ambitions. Whether you’re growing for family meals or market sales, this tool transforms guesswork into confident cultivation.
Remember: consistency beats perfection every time. Track your successes, learn from challenges, and watch your microgreens mastery grow with each harvest.
Ronaldo AndradeWrites practical notes about growing better microgreens.
[01] keep reading