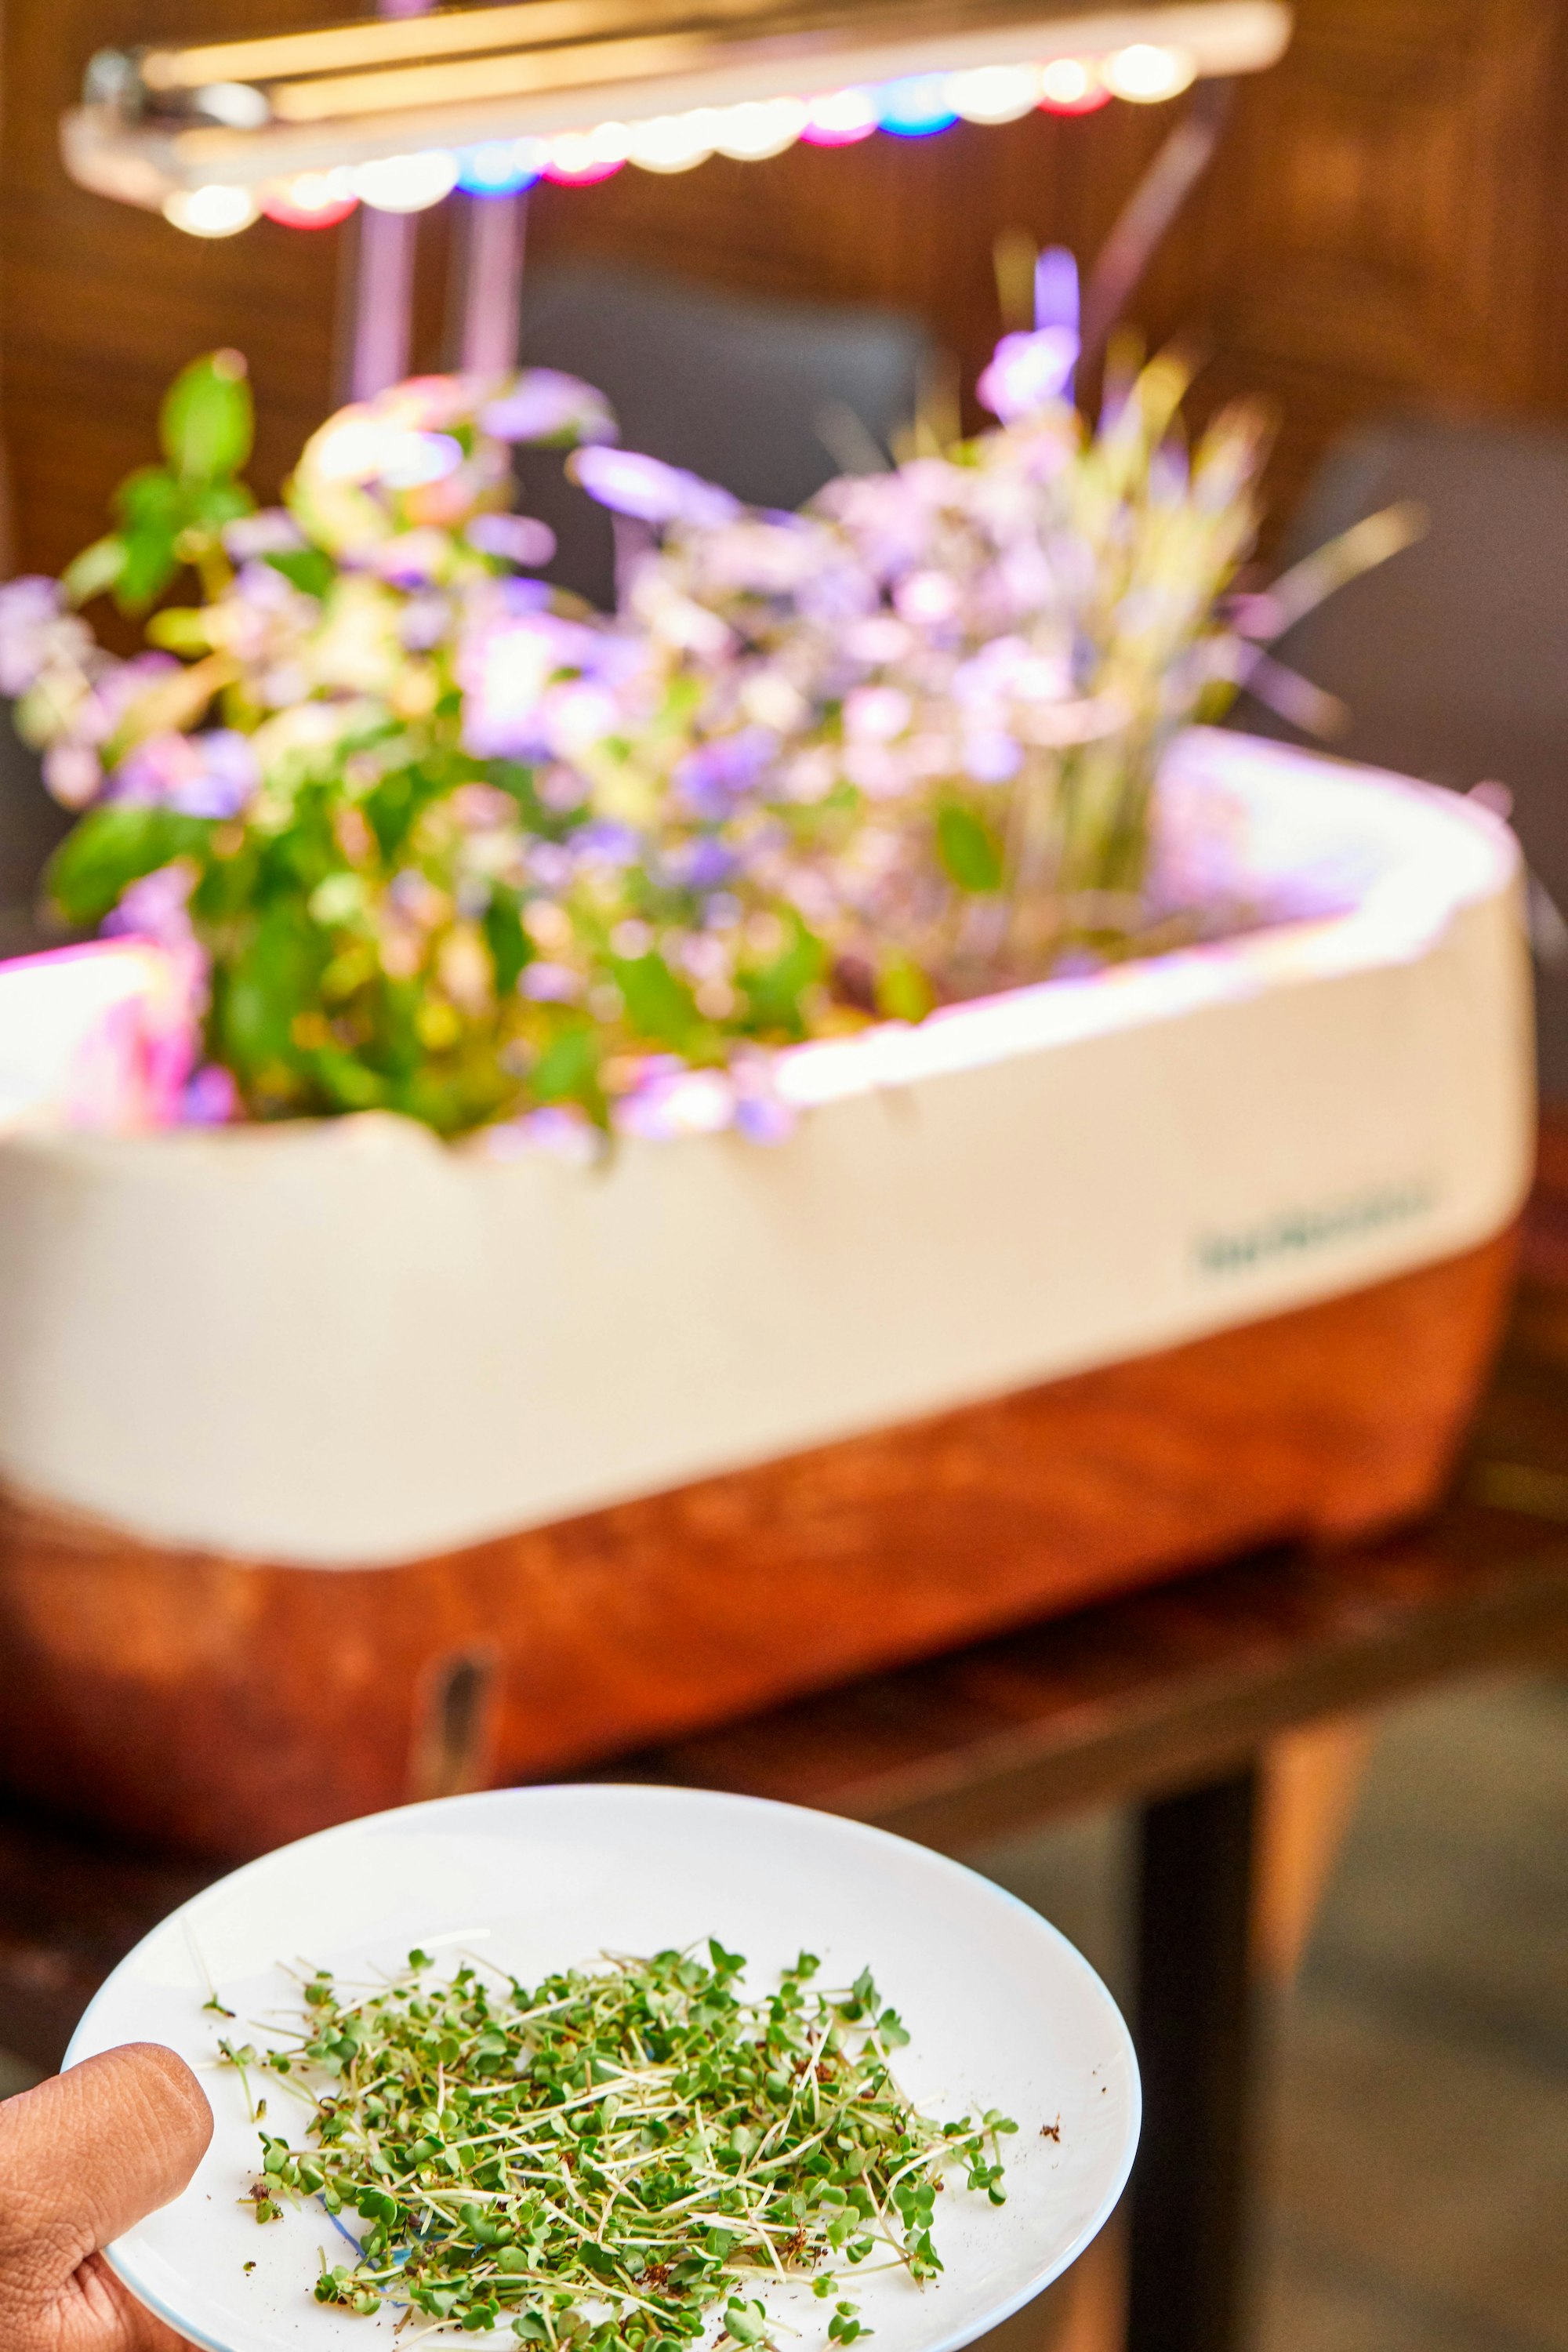
Introduction: Why Microgreens Cultivation Is Exploding in 2026
Microgreens are tiny, edible seedlings harvested just 7 to 21 days after germination, packed with intense flavor and up to 40 times more nutrients than their mature counterparts. In 2026, microgreens cultivation has evolved dramatically, fueled by precision LED lighting, smart IoT monitoring, and a growing appetite for fresh, local food. Whether you’re growing a single tray on your windowsill or managing dozens in a commercial setup, today’s growers have access to more information and better tools than ever before. This guide breaks down everything you need to know—from choosing the right seeds to harvesting at peak flavor—so you can confidently grow thriving, nutrient-dense microgreens at home or at scale.
Choosing the Best Seeds for Your Microgreens Cultivation
Seed selection is the invisible foundation of every successful harvest. While it might seem simple, using high-quality, organic, and disease-free seeds dramatically improves germination rates and reduces the risk of mold or contamination. Some of the most popular varieties for microgreens include broccoli, which offers a robust, slightly peppery flavor; radish, known for its sharp, spicy kick; and sunflower, prized for its nutty taste and impressive texture. Pea shoots and beet greens also deliver unique flavors and impressive nutritional profiles. Always source seeds specifically labeled for microgreens or sprouting—avoid seeds treated with chemicals or fungicides, as these can harm your crop. Properly stored in a cool, dry place, high-quality seeds can remain viable for several years. For more details on selecting the perfect seeds for your microgreens journey, be sure to check out our detailed guide on seed selection.
Optimizing Growing Conditions: Light, Temperature, and Humidity
Light is the engine of microgreens cultivation. As discussed in our ultimate light spectrum guide, microgreens thrive under full-spectrum LED grow lights positioned 6–12 inches above the canopy. Blue light encourages leafy growth, while red light promotes stem elongation and flowering readiness. A balanced 3:1 or 5:1 ratio of red to blue light is ideal for compact, flavorful growth. Temperature should remain between 65–75°F during the day and 55–65°F at night to ensure consistent germination and vigorous growth. Humidity, too, plays a crucial role—too high and you risk mold; too low and your microgreens may wilt. Keep humidity at 50–60% during the growing phase and learn how mastering temperature and humidity can transform your harvests. As noted in our temperature and humidity mastery guide, even slight deviations can cause uneven growth or damping-off disease, so maintaining stable conditions is key.
Watering Techniques for Healthy, Consistent Growth
Watering might seem straightforward, but getting it wrong is one of the most common causes of failure in microgreens cultivation. Overwatering suffocates roots by limiting oxygen intake, leading to root rot and mold. Under-watering stresses plants and reduces final yields. The best approach is to water evenly using a fine mist or gentle spray bottle, aiming for the growing medium—not the leaves—which can invite disease. The “Fist Test,” a popular method where you squeeze the growing medium to gauge moisture, helps prevent both extremes. Water your microgreens once daily during germination and every 1–2 days thereafter, depending on your environment. Always use pH-neutral, chlorine-free water, and consider bottom-watering trays to encourage strong root development and prevent surface mold.
Choosing the Right Substrate for Maximum Root Development
Your growing medium is more than just dirt—it directly affects drainage, nutrient availability, and root health. For soil-based systems, a mix of coconut coir, compost, and perlite works exceptionally well, offering excellent moisture retention while remaining lightweight. For hydroponic setups, a simple combination of grow cubes and a misting system delivers oxygen directly to the roots, promoting faster growth and cleaner harvests. Always sterilize your substrate before use to eliminate pathogens, and avoid garden soil, which can harbor pests and diseases. Learn more about choosing the right growing medium for your microgreens in our dedicated guide.
Preventing Common Problems: Mold, Legginess, and Pest Issues
Even with perfect preparation, microgreens cultivation can encounter setbacks. Mold—often appearing as white, fuzzy patches—is typically caused by excessive moisture or poor air circulation. Prevent it by spacing trays properly, using fans for gentle airflow, and harvesting promptly. Leggy growth usually results from insufficient light or excessive heat, which you can correct by lowering the canopy or adjusting your LED height. Pests such as aphids or fungus gnats are rare indoors but can appear if soil is contaminated. Maintain a sterile environment, inspect regularly, and keep the growing area sealed. If issues arise, act fast—microgreens grow quickly, and problems compound overnight.
Harvesting at Peak Flavor and Nutrition
The timing of your harvest significantly impacts flavor, nutrition, and shelf life. Most microgreens are ready between Day 7 and Day 14, depending on the variety. Harvest when the first true leaves appear and plants reach 1–3 inches tall. The goal is to cut just above the soil line with clean, sharp scissors, leaving roots intact. Harvest in the morning when possible—plants are crispest and most hydrated at this time. For tips on optimizing harvest timing for peak nutrient density, visit our full breakdown of physiological maturity indicators. Avoid washing before storage unless you’re using immediately; instead, store dry in a breathable container lined with paper towels to preserve crispness.
Scaling Up: From Kitchen Counter to Commercial Setup
Once you’ve mastered basic microgreens cultivation, scaling up becomes the next exciting frontier. Whether you’re managing multiple trays on stacked shelves or building a full commercial grow room, efficiency matters more than volume. Focus on consistent environmental control, efficient irrigation systems, and predictable rotation cycles. Data-driven decisions—tracking yield, growth time, and loss rates—are essential for profitability. Our guide to microgreens success metrics walks through the numbers you should track to optimize production and increase revenue. Remember: doubling your harvest isn’t about doubling your space—it’s about refining every detail, from seed density to light intensity, so each tray performs at its peak.
Conclusion: Start Small, Grow Confidently
Microgreens cultivation offers an accessible path to fresh, hyper-nutritious food, whether you’re growing on a sunny windowsill or running a commercial operation. By focusing on seed quality, environmental stability, proper watering, and timely harvesting, you’ll consistently produce vibrant, flavorful greens that elevate both meals and health. Start with one or two trays, experiment with different varieties, and refine your process over time. And remember—you’re not alone! Explore our archive of deep-dive guides, connect with fellow growers, and let microgreens become not just a crop, but a daily ritual of wellness and joy.
Ronaldo AndradeWrites practical notes about growing better microgreens.
[01] keep reading