Guides / Growing techniques
Mastering Microgreens Cultivation: A Practical Guide for Bigger Yields and Healthier Plants
Introduction: Your Complete Guide to Microgreens Cultivation Success Microgreens cultivation has evolved from a niche culinary trend into a sophistic
Introduction: Your Complete Guide to Microgreens Cultivation Success
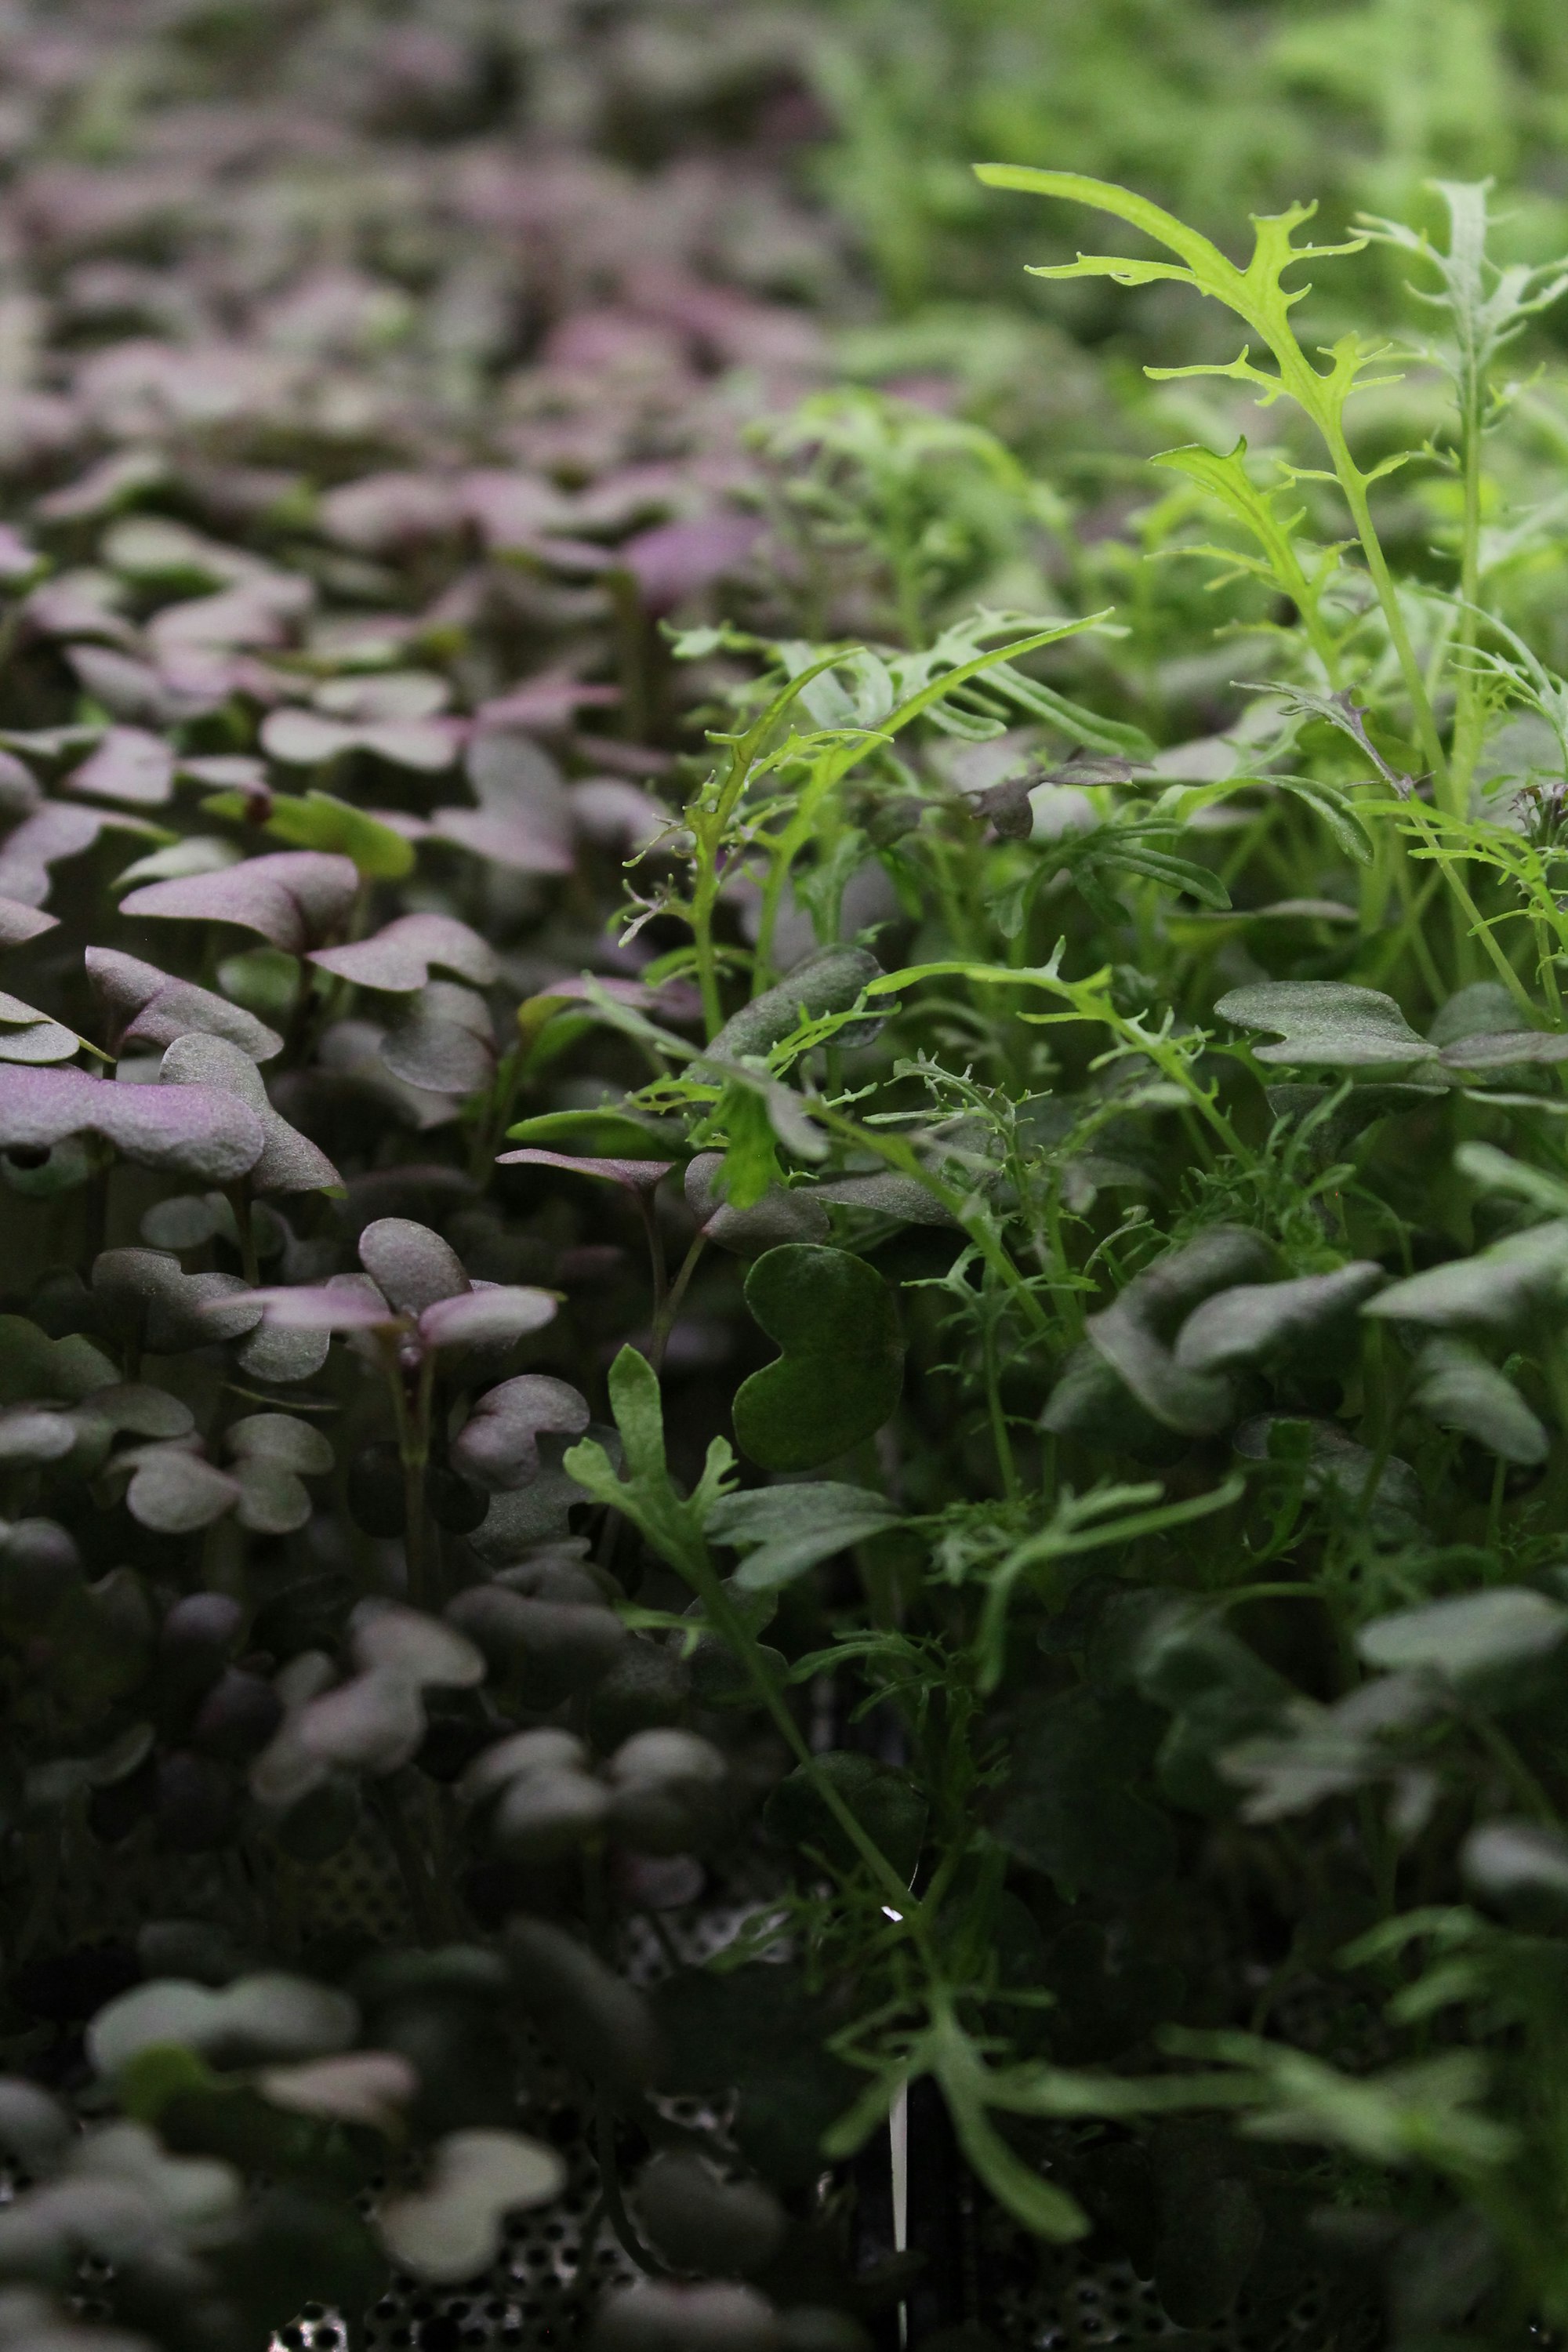
Microgreens cultivation has evolved from a niche culinary trend into a sophisticated indoor farming practice that delivers extraordinary results for growers of all experience levels. Whether you’re a beginner starting your first tray or a seasoned cultivator optimizing yields, this comprehensive guide provides the practical knowledge you need to achieve consistent, high-quality harvests. In 2026, the microgreens industry continues to expand rapidly, driven by advances in precision lighting, IoT monitoring, and optimized growing techniques that make success more accessible than ever.
Understanding Microgreens: What Sets Them Apart
Microgreens are young, nutrient-dense versions of leafy greens and vegetables harvested just 7-21 days after germination. Unlike sprouts, which are grown in water, microgreens develop their root system and shoot structure, making them more resilient and nutritionally potent. They typically contain 40-400% more nutrients than their mature counterparts, including elevated levels of vitamins A, C, and K, as well as powerful antioxidants.
What many growers don’t realize is that microgreens cultivation success hinges on several critical factors working in harmony. Check out our previous guide for science-backed techniques that have transformed how commercial growers increase their yields while maintaining exceptional quality.
Essential Equipment and Setup for Optimal Results
Before diving into techniques, ensure your foundation is solid. Here’s what every successful microgreens grower needs:
Growing Containers and Trays
Choose food-grade plastic trays with drainage holes. The right container selection significantly impacts airflow, moisture control, and overall harvest quality. Standard 10x20 inch trays work perfectly for most microgreens varieties.
Growing Medium Choices
While seeds are the star, your growing medium is the unsung hero. Use a premium seedstarting mix that’s lightweight, porous, and sterilized to prevent mold. Avoid garden soil, which compacts too heavily for microgreens’ delicate root systems.
Light Sources: Natural vs Artificial
Microgreens need 4-6 hours of direct light daily. Windowsill growing works for small operations, but LED grow lights offer consistent spectrum control and year-round reliability. Blue and red spectrums drive photosynthesis most effectively. Learn how LED spectrum ratios can help you choose between maximum yield and enhanced nutrition.
Preparing for Planting: Seed Selection and Pre-Treatment
The foundation of successful microgreens starts with premium, organic seeds. Look for suppliers that test for viability and absence of filler materials. Broccoli, radish, sunflower, and pea shoots are excellent beginner varieties that produce reliable, flavorful harvests.
Seed Pre-Treatment for Faster Germination
A simple 15-minute pre-soak in warm water (not hot) softens seed coats and jumpstarts germination. For even better results, try our proven seed pre-treatment technique that increases germination rates significantly, especially with older or challenging seed varieties.
The Cultivation Process: Step-by-Step Guide
Step 1: Sowing Seeds Evenly
Sprinkle seeds liberally across the moistened growing medium. Use your hands to gently press them into the surface—no covering needed for most microgreens varieties. The goal is uniform distribution for even growth.
Step 2: Initial Moisture and Germination
Mist thoroughly with a fine spray bottle until the surface is evenly moist but not waterlogged. Cover with a weighted lid or another tray to create a humid environment. Germination typically occurs within 3-5 days for most varieties.
Step 3: The Critical First 48 Hours
These first two days determine whether you’ll get a lush, uniform crop or patchy, uneven growth. Maintain consistent moisture, keep temperature between 65-75°F, and avoid direct light until shoots are 1-2 inches tall to prevent drying.
Understanding the science behind this critical period helps immensely. Our detailed analysis of the first 48 hours of germination reveals why this window is make-or-break for your success rate.
Optimizing Growing Conditions for Maximum Yield
Light Management and Timing
Countless growers make the mistake of insufficient or excessive light. Microgreens need bright, indirect light for the first week, then direct light once shoots reach 2-3 inches. Adjust your setup based on season and location—summer may require afternoon shade to prevent bolting.
Water Quality and the Fist Test
Water matters more than you think. Use filtered water when possible, and master the ‘Fist Test’ for proper moisture levels: the medium should feel moist like a squeezed sponge—not dripping, not dry. Overwatering causes mold; underwatering stresses plants and reduces yield.
For detailed guidance on professional watering techniques, refer to our comprehensive guide on mastering microgreens watering rhythm.
Temperature and Humidity Control
Ideal temperature ranges from 65-75°F during germination, dropping to 60-70°F during growth. Humidity around 70-80% prevents drying without encouraging mold. If growing in a small space, a small humidifier orHygrometer can monitor conditions accurately.
Air Circulation is Your Secret Weapon
Gentle air movement prevents mold and strengthens plant stems. Use a small oscillating fan on low setting, positioned to provide light breeze without direct wind. Learn how proper air circulation can dramatically improve your harvest success rate.
Harvesting at the Perfect Moment
Timing is Everything
Harvest microgreens when the first flowers or seed pods appear—this signals peak nutrient density. Most varieties are ready in 7-14 days. Early harvesting produces milder flavors; waiting produces more robust taste but may reduce some nutrients.
Cutting Technique
Use clean, sharp scissors or a knife to cut just above the growing medium. Harvest in morning when moisture levels are optimal. Handle gently to avoid bruising.
Post-Harvest Handling
Harvest your microgreens, then immediately wash your hands, tools, and growing surface. Follow these post-harvest tips to maintain crispness and extend shelf life significantly.
Troubleshooting Common Problems
Mold and Damping-Off
If you see fuzzy white or black mold, it’s usually due to excess moisture and poor air circulation. Remove affected plants immediately, increase ventilation, and adjust watering frequency. For prevention, ensure proper drainage and consider adding beneficial microbes to your growing medium.
Leggy or Stretchy Stems
Long, weak stems indicate insufficient light. Move your setup to a brighter location or add supplemental LED lighting. When using lights, keep them 6-12 inches above the tray.
Uneven Germination
Patchy, inconsistent growth often stems from overwatering, poor seed quality, or inadequate initial moisture. Master the proper soaking technique and ensure your growing medium stays evenly moist but not soggy.
Scaling Your Operation: From Kitchen Counter to Commercial
Batch Scheduling for Continuous Production
Plant new trays every 3-4 days to maintain a constant supply. Label each tray with planting and expected harvest dates to track your production cycle. This system ensures you always have fresh microgreens available.
Storage and Distribution
Store harvested microgreens in perforated plastic bags in the crisper drawer for up to 7-10 days. For sales, package in clear containers with dates visible. Temperature-controlled environments extend freshness significantly.
Making It Profitable
Track your costs: seeds, containers, energy, and labor. Calculate that one ounce of properly grown microgreens costs roughly $0.50 to produce but sells for $3-5 at farmers markets or to restaurants. Focus on high-demand varieties like broccoli, radish, and pea shoots for better margins.
Advanced Techniques for Experienced Growers
Boosting Yield by 30-50%
Once you’ve mastered the basics, experiment with precision techniques: adjust seeding density slightly higher (but not so much that plants crowd), fine-tune your light spectrum ratios, and perfect your watering rhythm. Our guide on achieving 30-50% heavier harvests reveals how small adjustments compound into significant results.
Nutrient Density Optimization
For maximum nutrition, harvest at the ‘first flower’ stage when vitamin C and carotenoid levels peak. Some growers use mild fertilizer solutions (at 1/4 strength) during the second week to enhance biomass without compromising flavor.
Cycle Time Reduction
With optimal conditions, most microgreens can be harvested in just 7 days. Focus on consistent temperature (70°F), perfect moisture balance, and bright light (400-600 foot-candles) to achieve restaurant-quality results faster.
Recipe Ideas and Culinary Uses
Microgreens add tremendous flavor and visual appeal to dishes. Try them on avocado toast, in grain bowls, as garnishes for fish, or blended into smoothies. Their delicate texture and concentrated taste make them a chef’s secret ingredient for elevating everyday meals.
Conclusion: Your Path to Microgreens Success
Microgreens cultivation is one of the most rewarding and productive forms of indoor gardening available today. By implementing these practical techniques—understanding your growing medium, mastering light and moisture management, timing your harvests correctly, and troubleshooting proactively—you’ll consistently produce nutrient-dense, flavorful microgreens that enhance both your health and your culinary creations.
Remember: successful microgreens cultivation combines art with science. Start with these fundamentals, experiment with your specific conditions, and refine your approach over time. The microgreens mastery journey is one of continuous learning and delicious rewards.
Ready to take your microgreens game to the next level? Download our free comprehensive ebook for expanded techniques, growing schedules, and troubleshooting charts designed specifically for cultivators at every level.
Ronaldo AndradeWrites practical notes about growing better microgreens.
[01] keep reading