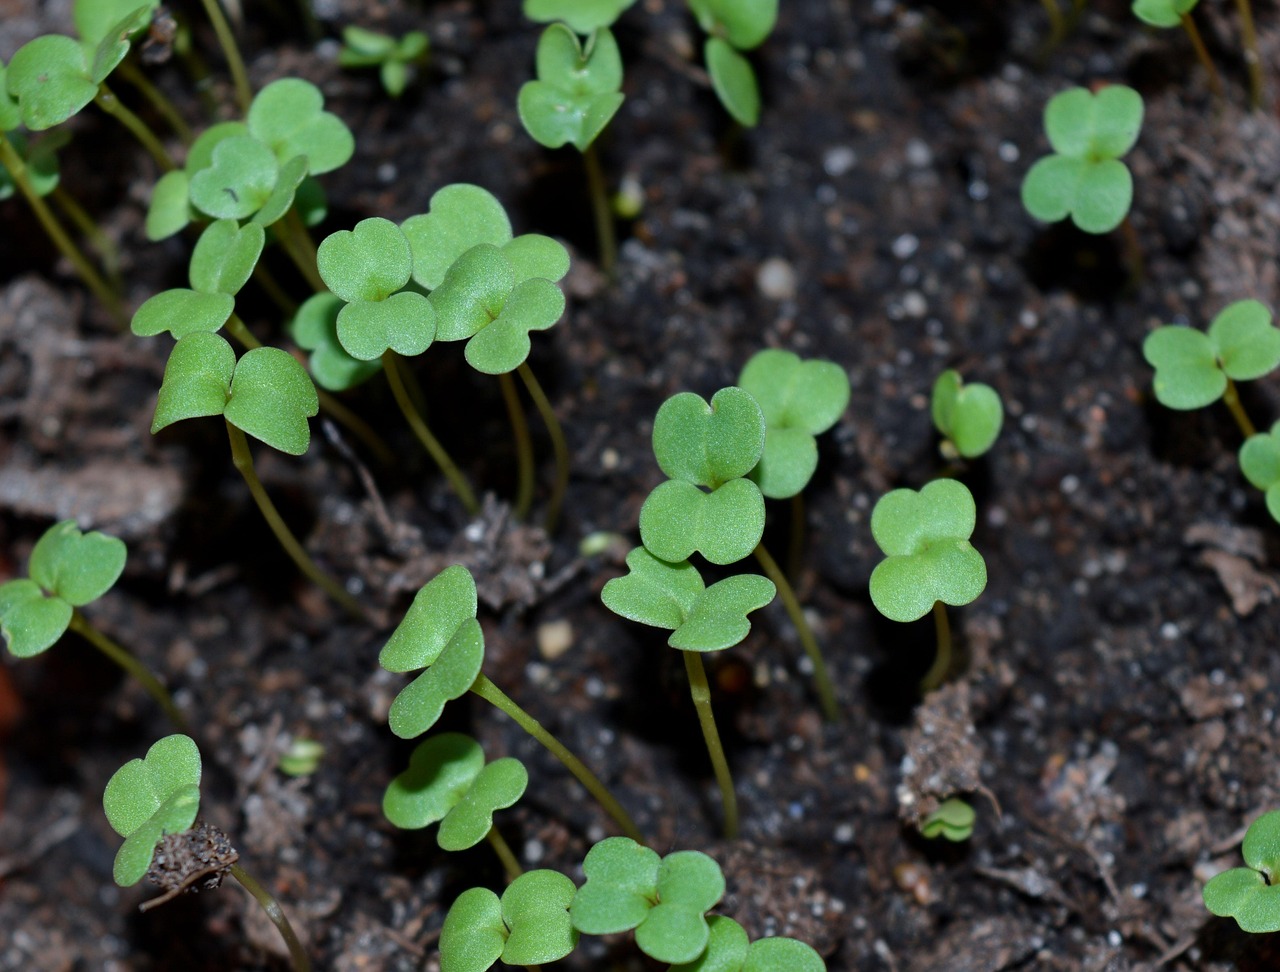
Microgreens Cultivation: A Practical Guide for Beginners to Expert Growers
Microgreens cultivation has exploded in popularity as more people discover these nutrient-dense powerhouses that can be grown right on your kitchen counter. Whether you’re just starting out or looking to optimize your existing setup, this practical guide will walk you through everything you need to know to grow vibrant, flavorful microgreens consistently. From seed selection to harvest timing, we’ll cover the essential techniques that work for growers of all experience levels.
Why Grow Microgreens? The Benefits Beyond Nutrition
Before diving into the how, let’s explore the why. Microgreens aren’t just trendy garnishes – they’re nutritional powerhouses packed with vitamins, minerals, and antioxidants often in concentrations higher than their mature counterparts. What makes them particularly appealing for home growers is their incredible efficiency: you can go from seed to harvest in just 7-14 days, requiring minimal space, equipment, and expertise.
For urban dwellers, microgreens represent the perfect entry point into food production. A single windowsill can yield enough greens to supplement your weekly salads, sandwiches, and smoothies. For those interested in scaling up, the low startup costs and rapid growth cycles make microgreens an attractive option for small-scale commercial ventures.
Getting Started: Essential Supplies for Microgreens Cultivation
One of the beauties of microgreens cultivation is how little you need to get started. Here’s what you’ll need for a basic setup:
- Growing trays: Shallow containers with drainage holes (1-2 inches deep work best)
- Growing medium: Quality potting soil, coconut coir, or specialized microgreens mats
- Seeds: Untreated, high-germination seeds specifically labeled for microgreens production
- Light source: Natural sunlight from a south-facing window or affordable LED grow lights
- Watering tool: A spray bottle for gentle misting or a small watering can with a fine rose
While you can certainly start with household items, investing in proper equipment pays dividends in consistency and yield. If you’re looking to take your setup to the next level, check out our guide on mastering microgreens cultivation with specific varieties that thrive in different conditions.
Step-by-Step Microgreens Cultivation Process
Follow these proven steps for successful microgreens cultivation every time:
- Prepare your tray: Fill with 1-2 inches of moistened growing medium, leveling the surface gently.
- Seed sowing: Distribute seeds evenly across the surface. Density varies by variety – smaller seeds like broccoli need denser sowing than larger seeds like sunflower or pea shoots.
- Cover and germinate: Lightly cover seeds with a thin layer of medium or use a germination dome. Keep in darkness or low light for 2-3 days until germination occurs.
- Expose to light: Once sprouts emerge, move to bright light (12-16 hours daily) to prevent leggy, pale growth.
- Water consistently: Keep medium moist but not soggy. Bottom watering (placing tray in shallow water) works well to prevent disturbing delicate seedlings.
- Monitor growth: Watch for uniform development and address any issues promptly (more on troubleshooting below).
- Harvest at peak: Most microgreens are ready when first true leaves appear, typically 7-14 days after sowing depending on variety.
This process works remarkably well across most varieties, but subtle adjustments can make a significant difference in your results. For those ready to refine their technique, our article on 5 game-changing techniques for bigger, healthier harvests dives into advanced methods that can dramatically improve your yields.
Common Microgreens Cultivation Challenges and Solutions
Even experienced growers encounter issues. Here are the most common problems and how to fix them:
Mold and Fungal Issues
Problem: Fuzzy white growth on soil or seedlings
Solution: Improve air circulation, reduce seeding density, ensure proper drainage, and consider using hydrogen peroxide diluted in water (1 tsp per cup) for watering.
Leggy, Pale Growth
Problem: Tall, spindly stems with pale leaves
Solution: Increase light intensity or duration, ensure lights are close enough to seedlings (2-4 inches for LEDs), and avoid overcrowding.
Uneven Germination
Problem: Patchy growth with some areas dense and others sparse
Solution: Ensure even seed distribution, pre-soak larger seeds like peas and sunflowers, and maintain consistent moisture during germination.
Slow Growth
Problem: Seedlings taking longer than expected to develop
Solution: Check seed freshness and viability, ensure optimal temperature (65-75°F for most varieties), and verify adequate light exposure.
Remember, most issues stem from just three factors: light, water, and air circulation. Mastering these elements will solve 90% of cultivation challenges.
Advanced Techniques for Optimizing Your Microgreens Yield
Once you’ve mastered the basics, these strategies can help you push your yields to the next level:
Precision Seed Density
Finding the optimal seeding rate for each variety is crucial. Too dense leads to mold and competition; too sparse wastes space and potential yield. Start with recommended rates and adjust based on your observations:
- Small seeds (broccoli, kale, cabbage): 1-1.5 oz per 10x20 inch tray
- Medium seeds (radish, mustard, arugula): 1-2 oz per 10x20 inch tray
- Large seeds (sunflower, pea, beet): 2-4 oz per 10x20 inch tray
Light Spectrum Optimization
Not all light is created equal for microgreens. While they’ll grow under any reasonable light source, optimizing the spectrum can improve both yield and nutritional density:
- Blue light (400-500nm): Promotes compact growth and leaf development
- Red light (600-700nm): Encourages stem elongation and overall biomass
- Full spectrum: Provides balanced growth closest to natural sunlight
Many growers find that a balance skewed slightly toward blue (especially in early growth) produces sturdier, more nutrient-dense plants.
Water Quality and Technique
The way you water can significantly impact your results:
- Use filtered or dechlorinated water when possible
- Water from below to strengthen root systems and prevent seed displacement
- Consider the “fist test”: squeeze a handful of medium – it should hold shape but release only a few drops of water
- Water in the morning to allow foliage to dry before evening, reducing fungal risk
Harvesting and Storage for Maximum Freshness
Harvesting at the right time and using proper techniques ensures you get the maximum nutritional value and shelf life from your microgreens:
When to Harvest
Most microgreens are ready when:
- The first true leaves have fully emerged (distinct from the initial cotyledon leaves)
- Plants reach 1-3 inches in height (varies by variety)
- Colors are vibrant and stems are sturdy
- Before flowering begins (which can cause bitterness)
How to Harvest
Use clean, sharp scissors or a knife to cut stems just above the soil line. Harvest in the morning when plants are most hydrated for maximum crispness.
Storage Tips
For best results:
- Harvest only what you’ll use immediately for peak nutrition
- If storing, place unwashed microgreens in a sealed container with a dry paper towel to absorb moisture
- Refrigerate at 35-40°F and use within 5-7 days
- Wash gently just before use to prevent premature spoilage
Beyond the Basics: Creative Ways to Use Your Homegrown Microgreens
Once you’ve mastered cultivation, the fun begins with incorporating these nutritional powerhouses into your diet:
- Salads and sandwiches: The classic application – adds texture, flavor, and nutrition
- Smoothies and juices: Blend in for a nutrient boost without overpowering flavors
- Garnishes: Elevate soups, omelets, avocado toast, and grain bowls
- Cooked applications: Stir into stir-fries during the last minute of cooking or fold into scrambled eggs
- Snacks: Enjoy straight from the tray as a fresh, living food
Experiment with different varieties to discover flavor profiles that complement your favorite dishes. Spicy radish microgreens add kick to tacos, while sweet pea shoots complement Asian-inspired dishes beautifully.
Conclusion: Your Microgreens Journey Starts Now
Microgreens cultivation offers an accessible gateway into food production that rewards patience and attention to detail with incredible nutritional and culinary benefits. Whether you’re growing on a windowsill for personal use or considering scaling up for local markets, the principles remain the same: quality seeds, proper moisture, adequate light, and good air circulation.
Start small with easy varieties like broccoli, radish, or sunflower shoots to build confidence. As you gain experience, experiment with different seeds, techniques, and varieties to find what works best in your specific environment. Remember that every grower encounters challenges – what matters is learning from each crop and refining your approach.
The most successful microgreens growers aren’t those with the most expensive equipment, but those who pay close attention to their plants and respond to their needs. By observing your microgreens daily and making small adjustments based on what you see, you’ll develop the intuition that separates consistent success from occasional luck.
Your microgreens journey begins with a single tray. Start today, and in just two weeks, you’ll be harvesting your first homegrown superfood – a tangible reminder of your growing capabilities and a delicious addition to your meals.
Ronaldo AndradeWrites practical notes about growing better microgreens.
[01] keep reading