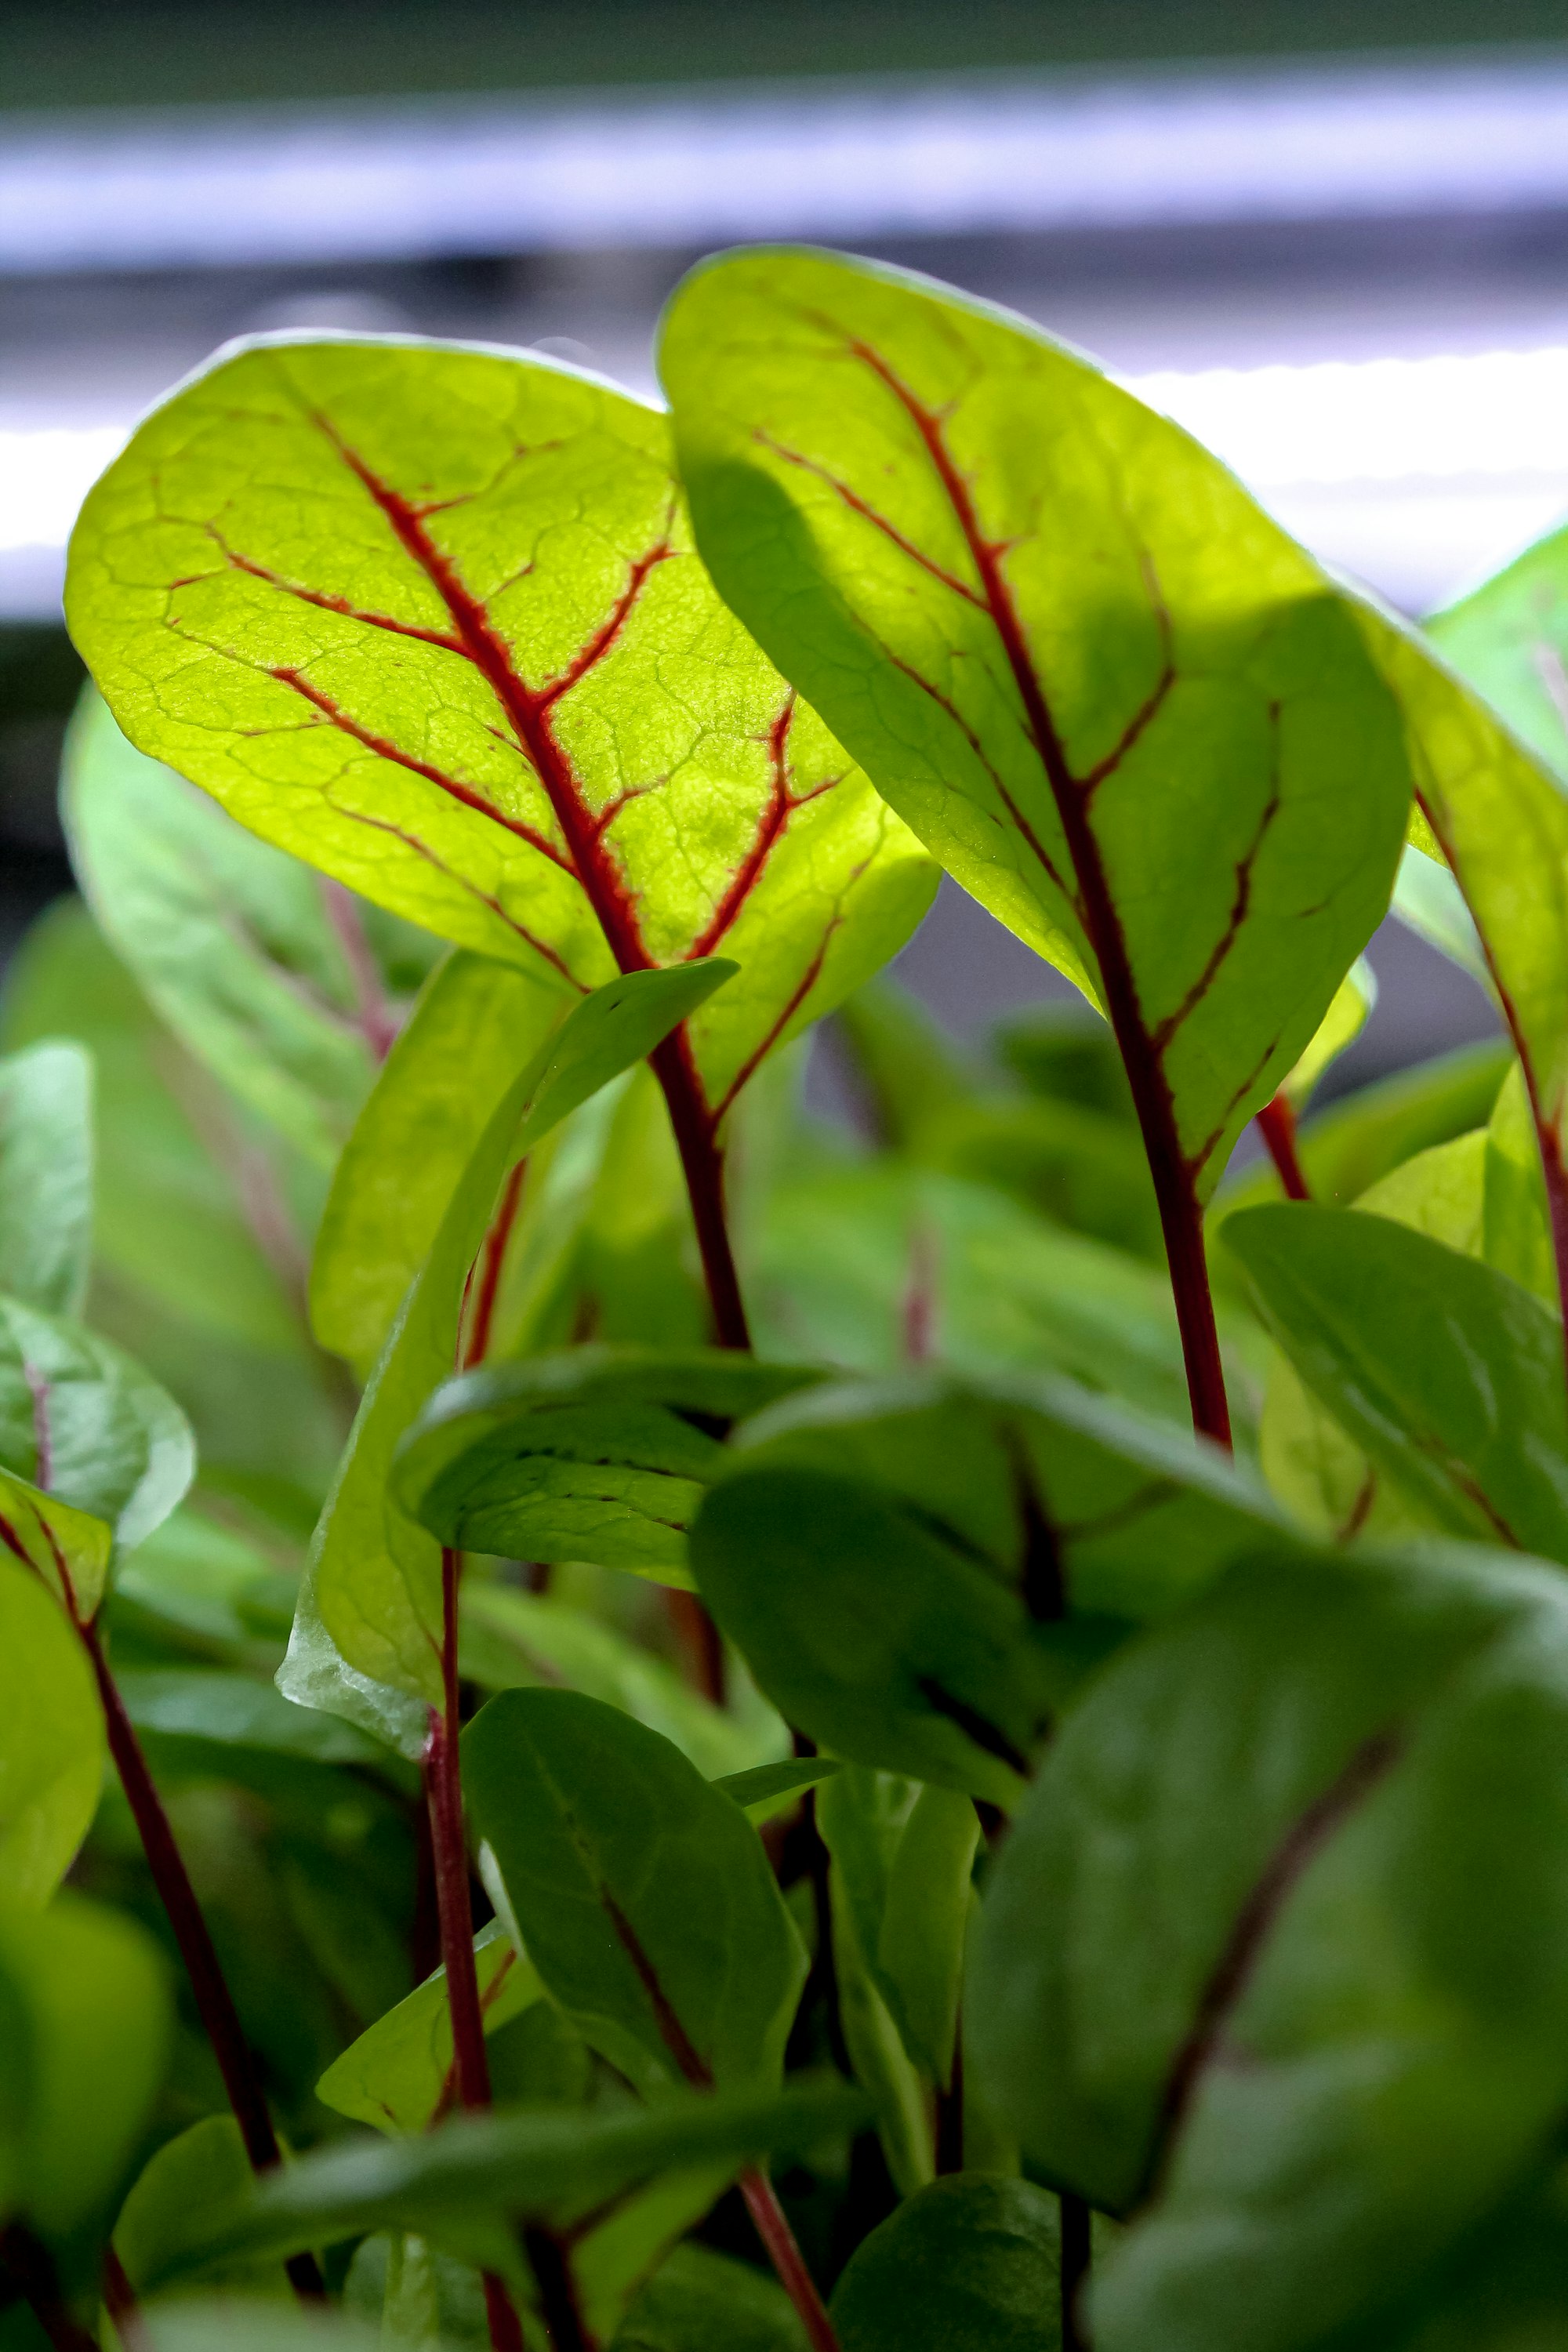
Introduction to Microgreens Cultivation in 2026
Microgreens cultivation has evolved dramatically in recent years, becoming more accessible and efficient for both home growers and commercial operations. These tiny, nutrient-packed greens are harvested just 7-14 days after germination, delivering an intense concentration of vitamins, minerals, and flavor in every bite. Whether you’re growing on a kitchen windowsill or managing a commercial microgreens operation, understanding the fundamental principles of microgreens cultivation is essential for consistent success. Our comprehensive cultivation guide covers the journey from seed to harvest, ensuring you achieve lush, vibrant results every time.
In 2026, microgreens cultivation incorporates cutting-edge techniques like precision lighting, IoT monitoring, and automation. These technological advances are making it easier than ever to produce high-quality microgreens with minimal resource input. But regardless of your setup, the foundation remains the same: proper seed selection, optimal growing conditions, and attentive care throughout the growth cycle.
Choosing the Right Seeds for Microgreens Cultivation
The foundation of successful microgreens cultivation begins with seed selection. Not all seeds are suitable for microgreens production - you need varieties that germinate quickly, grow uniformly, and develop rich flavors in their juvenile stage. Broccoli, radish, pea shoots, sunflower, and arugula remain the most popular choices for beginners, offering robust growth and excellent flavor profiles.
When selecting seeds, always choose organic, chemical-free varieties specifically labeled for microgreens or sprouting. Avoid seeds treated with fungicides or pesticides, as these can be absorbed by the young plants. For commercial operations, consider bulk purchasing high-quality seed lots and testing germination rates before large-scale sowing. The investment in premium seeds pays dividends through higher germination rates, uniform growth, and reduced waste from failed batches.
Understanding Seed Germination Requirements
Germination is the critical first phase of microgreens cultivation, setting the stage for everything that follows. Most microgreens varieties germinate optimally between 65-75°F (18-24°C) with consistent moisture. The process typically takes 2-5 days for most varieties, though some, like sunflower and pea shoots, may require longer soaking periods before sowing.
To maximize germination success, pre-soak seeds for 2-4 hours before sowing, except for very small seeds like basil or cilantro which should be sown dry. Press seeds gently into the growing medium and mist with water to ensure good seed-to-medium contact. Cover trays with a humidity dome or plastic wrap during the germination phase, removing it once the first signs of sprouting appear.
Mastering Growing Medium and Tray Systems
Your choice of growing medium significantly impacts microgreens cultivation success. For soil-based systems, use a lightweight, sterile potting mix that retains moisture without becoming waterlogged. Coconut coir is an excellent alternative, offering consistent moisture retention and natural antimicrobial properties. For hydroponic cultivation, consider hemp grow mats or hydroton clay pebbles as inert substrates that provide excellent drainage while supporting root development.
Selecting the right growing medium is crucial for preventing common issues like damping-off disease and uneven growth. Ensure your containers have adequate drainage holes and consider using mesh bottoms to prevent water accumulation. Shallow food-grade trays work well for most microgreens varieties, while deeper trays accommodate species like sunflower and pea shoots that develop longer root systems.
Environmental Conditions for Optimal Growth
Maintaining proper environmental conditions is essential for successful microgreens cultivation. Temperature should remain between 65-75°F during both germination and growing phases. Humidity levels should start high (70-80%) during germination and gradually decrease to 40-50% as plants develop. Good air circulation prevents mold growth and strengthens plant stems while reducing disease pressure.
Lighting becomes critical once seedlings emerge from the soil. Most microgreens require 12-16 hours of light daily, whether from natural sunlight or artificial sources. Seedlings should receive light immediately after emergence to prevent leggy, weak growth. Position lights 2-4 inches above the canopy and adjust height as plants grow to maintain optimal light intensity.
Watering Techniques That Make the Difference
Proper watering is perhaps the most crucial factor in successful microgreens cultivation. Overwatering leads to root rot and damping-off disease, while underwatering causes stress and poor growth. The key is maintaining consistent moisture without waterlogging the root zone. Use a fine mist sprayer or gentle watering can to avoid disturbing seeds and young seedlings.
Mastering the watering rhythm involves understanding your specific growing environment and adjusting accordingly. In humid conditions, water less frequently but more thoroughly. In dry environments, more frequent, lighter watering sessions work better. A simple test - insert your finger into the growing medium; if the top inch feels dry, it’s time to water.
Managing Light for Maximum Nutrition and Flavor
Light is the driving force behind photosynthesis in microgreens cultivation, directly impacting growth rate, nutritional content, and flavor development. Natural sunlight works well for many home growers, but supplemental lighting may be needed during winter months or in low-light environments. LED grow lights have become the preferred choice for commercial operations due to their energy efficiency and spectrum control capabilities.
Blue spectrum light (400-500nm) promotes compact, leafy growth and strong stems, while red spectrum light (600-700nm) encourages flowering and fruiting characteristics. For microgreens, a balanced approach using both spectra maximizes both yield and nutritional density. Precision lighting strategies can increase antioxidant levels by up to 30% while reducing growth time by 10-15%.
Harvesting and Post-Harvest Handling
Timing your microgreens harvest correctly is crucial for achieving peak flavor, nutritional density, and optimal texture. Most varieties are ready to harvest 7-14 days after sowing, when they’ve developed their first true leaves but before flowering begins. Harvest in the morning when possible, as plants contain higher sugar levels and better flavor at this time.
Use clean, sharp scissors or a sanitized knife to cut microgreens just above the soil line, leaving roots intact in the growing medium. This method preserves the integrity of the growing system for potential secondary harvests from varieties like pea shoots and sunflower. Immediately after harvesting, gently rinse the greens if grown in soil, then dry thoroughly using a salad spinner or commercial dryer.
Storage and Shelf-Life Optimization
Proper post-harvest handling can extend microgreens shelf-life from 3-5 days to 7-10 days. Store harvested microgreens in clean containers with ventilation holes, lined with dry paper towels to absorb excess moisture. Maintain storage temperature between 32-36°F (0-2°C) with high humidity (90-95%).
For commercial operations, consider modified atmosphere packaging (MAP) which replaces oxygen with nitrogen or carbon dioxide, significantly extending shelf-life while preserving nutritional content. Wash microgreens only when ready to consume, as moisture accelerates spoilage and reduces storage duration. These storage techniques ensure your harvested microgreens maintain their vibrant color, crisp texture, and nutritional potency until they reach the consumer’s plate.
Troubleshooting Common Microgreens Cultivation Issues
Even experienced growers encounter challenges in microgreens cultivation. The most common issues include mold growth, leggy stems, uneven germination, and damping-off disease. Mold typically results from excessive moisture and poor air circulation - address this immediately by increasing ventilation and reducing watering frequency. Leggy growth indicates insufficient light intensity - lower your light source or increase exposure duration.
Uneven germination often stems from inconsistent soil moisture or temperature fluctuations. Understanding the critical first 48 hours of germination helps prevent these issues. If seeds fail to sprout uniformly, check seed viability, ensure consistent moisture, and maintain steady temperatures. For damping-off prevention, use sterile growing medium, provide adequate air circulation, and avoid overwatering during the delicate germination phase.
Scaling Up Your Microgreens Operation
As you gain confidence with basic microgreens cultivation techniques, consider expanding your production for higher yields and greater variety. Start by optimizing your current space before investing in additional equipment. Vertical farming systems with multiple tiers can dramatically increase production per square foot, making them ideal for commercial operations with limited space.
Automation tools like timer-controlled lighting, drip irrigation systems, and environmental monitors help maintain consistency across multiple trays. Small-scale automation solutions can be implemented gradually, allowing you to test effectiveness before full-scale adoption. Focus on perfecting your most profitable varieties first, then expand your offerings based on market demand and your production capacity. Remember that consistency and quality matter more than quantity when building a sustainable microgreens business.
Conclusion: Your Microgreens Journey Starts Now
Microgreens cultivation offers an incredibly rewarding experience for growers at every level, from kitchen counter beginners to commercial operations. By mastering fundamental techniques like proper seed selection, optimal growing conditions, and attentive care throughout the growth cycle, you’ll consistently produce vibrant, nutritious microgreens that outperform store-bought alternatives. The key is starting simple and gradually building your skills and confidence with each harvest.
Remember that every expert grower started as a beginner. Don’t be discouraged by initial failures - they’re valuable learning experiences that will make you a better cultivator. As you refine your technique and experiment with different varieties, you’ll discover that microgreens cultivation is not just about growing food; it’s about connecting with nature, understanding plant biology, and developing a sustainable source of fresh, nutritious produce year-round. Your microgreens journey starts with that first seed - sow it confidently and watch your skills flourish alongside your greens.
Ronaldo AndradeWrites practical notes about growing better microgreens.
[01] keep reading