Introduction: Why Microgreens Cultivation Matters in 2026
Microgreens cultivation has evolved significantly in recent years, becoming one of the most accessible and rewarding forms of urban agriculture. Whether you’re a complete beginner looking to grow nutrient-dense greens on your windowsill or an experienced grower aiming to optimize your yields, understanding the fundamentals of microgreens cultivation is essential for success. In 2026, advances in precision lighting, automated monitoring systems, and refined growing techniques have made it easier than ever to produce consistent, high-quality harvests.
This comprehensive guide walks you through every stage of microgreens cultivation, from selecting the right seeds to harvesting at peak nutritional value. We’ll cover practical, science-backed methods that work for both home growers and small-scale commercial operations, helping you avoid common pitfalls while maximizing flavor, nutrition, and yield.
Getting Started with Microgreens Cultivation
Before diving into the technical details, it’s important to understand what makes microgreens unique. Microgreens are young vegetable greens harvested just after the cotyledon leaves have developed, typically 7-21 days after germination depending on the variety. Despite their small size, they pack a nutritional punch that often exceeds their mature counterparts by 4-40 times in vitamins, minerals, and antioxidants.
The beauty of microgreens cultivation lies in its simplicity and speed. Unlike traditional gardening that requires months of waiting, you can go from seed to harvest in as little as one week for fast-growing varieties like radish or mustard. This rapid turnover makes microgreens ideal for continuous production systems where you’re always harvesting and replanting.
For those looking to stay current with the latest developments in the field, our recent article on microgreens trends and technologies from 2024-2026 provides valuable insights into how precision LED lighting, IoT monitoring, and microbiome engineering are transforming cultivation practices.
Essential Equipment and Setup
One of the advantages of microgreens cultivation is that you don’t need expensive equipment to get started. However, having the right tools can significantly improve your consistency and yields. Here’s what you’ll need:
- Growing trays: Standard 1020 nursery trays (10” x 20”) work perfectly, or you can use repurposed food containers with drainage holes
- Growing medium: Options range from soil-based mixes to hydroponic substrates like coconut coir or specialized microgreens mats
- Lighting: While a sunny windowsill can work for some varieties, LED grow lights provide the most consistent results, especially during winter months
- Watering tools: A spray bottle for gentle misting and a watering can with a fine rose for established trays
- Labels and markers: Essential for tracking different varieties and planting dates
For optimal results, consider setting up a dedicated growing space with good air circulation. Even a small corner of a kitchen or spare room can be transformed into a productive microgreens farm with proper ventilation to prevent mold and mildew issues.
Seed Selection and Preparation
The foundation of successful microgreens cultivation begins with high-quality seeds. Not all seeds are created equal when it comes to microgreen production, and selecting the right varieties can make a significant difference in your success rate.
Popular microgreens varieties include:
- Fast growers (7-10 days): Radish, mustard, cress, arugula
- Medium growers (10-14 days): Broccoli, kale, cabbage, bok choy
- Slower growers (14-21 days): Beet, chard, amaranth, basil
- Specialty varieties: Sunflower, pea shoots, corn, and various herbs
When selecting seeds, look for those specifically labeled for microgreen or sprouting use. These seeds are typically tested for higher germination rates and are free from fungicides that could inhibit growth. Many experienced growers recommend buying from reputable suppliers who specialize in microgreen seeds to ensure quality and purity.
Before planting, some varieties benefit from pre-soaking. Larger seeds like sunflower, pea, and beet generally germinate more evenly when soaked for 4-8 hours before planting. Smaller seeds like broccoli or radish typically don’t require pre-soaking and can be planted dry.
Growing Medium and Substrate Options
The choice of growing medium significantly impacts your microgreens cultivation success. Each option has its advantages and considerations:
Soil-Based Mixes
Traditional potting mixes or seed starting mixes work well for most microgreens. Look for lightweight, sterile mixes that provide good drainage while retaining adequate moisture. Avoid garden soil, which can compact and introduce pathogens.
Soilless Mediums
Coconut coir has become increasingly popular due to its sustainability and excellent water retention properties. It’s sterile, pH-neutral, and provides a clean growing environment. Other options include peat-based mixes (though environmental concerns have reduced their popularity) and specialized hydroponic mats made from materials like hemp or jute.
Hydroponic Systems
For those interested in soilless cultivation, hydroponic microgreens cultivation offers precise control over nutrients and water. Simple systems can be created using trays with nutrient film technique or deep water culture approaches. While these systems require more initial setup, they can produce exceptionally clean products and reduce the risk of soil-borne diseases.
Regardless of your medium choice, ensure it’s moistened evenly before planting. The medium should feel like a damp sponge—not soggy, but not dry enough to crumble when squeezed.
Lighting Requirements for Optimal Growth
Lighting is perhaps the most critical factor in microgreens cultivation after seed quality. Proper lighting affects not only growth rate but also nutritional content, flavor, and color development.
Natural Light Options
A south-facing windowsill can provide sufficient light for many microgreens varieties, especially during spring and summer months. However, natural light can be inconsistent, leading to leggy growth as plants stretch toward the light source. Rotating trays daily can help mitigate this issue.
Artificial Lighting Solutions
LED grow lights have revolutionized indoor microgreens cultivation by providing customizable spectrums that optimize both growth and nutritional value. Full-spectrum LEDs that mimic natural sunlight work well, but many growers find that adjusting the blue-to-red ratio can influence specific outcomes:
- Higher blue light (400-500nm): Promotes compact growth, stronger stems, and higher antioxidant production
- Higher red light (600-700nm): Encourages stem elongation and can increase biomass production
For most microgreens varieties, a balanced spectrum or slight emphasis on blue light works best. Position lights 6-12 inches above the trays and provide 12-16 hours of light per day. Using a timer ensures consistency, which is crucial for uniform growth.
If you’re interested in optimizing your lighting setup further, our guide on 5 game-changing techniques for bigger, healthier harvests includes detailed recommendations on precision lighting strategies that can significantly improve your results.
Watering Techniques and Humidity Control
Proper watering is where many microgreens growers encounter challenges. Too much water leads to mold and damping-off, while too little results in poor germination and stunted growth. The key is maintaining consistent moisture without waterlogging.
The Germination Phase
During the first 2-3 days after planting, seeds need consistent moisture to germinate. Cover trays with a humidity dome or another tray inverted on top to create a dark, humid environment that encourages germination. Mist lightly once or twice daily to keep the medium moist but not saturated.
Post-Germination Care
Once seeds have sprouted (usually visible as tiny white roots), remove the cover and expose them to light. At this stage, switch from misting to bottom-watering when possible. Place trays in a shallow container of water for 1-2 minutes, allowing the medium to absorb moisture through the drainage holes. This method reduces the risk of disturbing delicate seedlings and helps prevent fungal issues on the foliage.
As a general rule, check moisture levels daily by touching the medium. It should feel evenly moist like a wrung-out sponge. Adjust frequency based on your environmental conditions—warmer, drier air will require more frequent watering than cool, humid conditions.
Air Circulation and Humidity Management
Good air circulation strengthens plant stems and helps prevent mold growth. A small oscillating fan set on low, positioned to create gentle air movement (not direct blasts on the plants), can make a significant difference. Aim for humidity levels between 40-60% for most microgreens varieties.
Harvesting and Storage Best Practices
Timing your harvest correctly maximizes both yield and nutritional value. Most microgreens are ready to harvest when they’ve developed their first true leaves, typically 7-21 days after planting depending on the variety.
Signs of Readiness
- Cotyledon leaves are fully expanded and vibrant
- First true leaves are beginning to emerge (for varieties where this applies)
- Plants are 1-3 inches tall (varies by species)
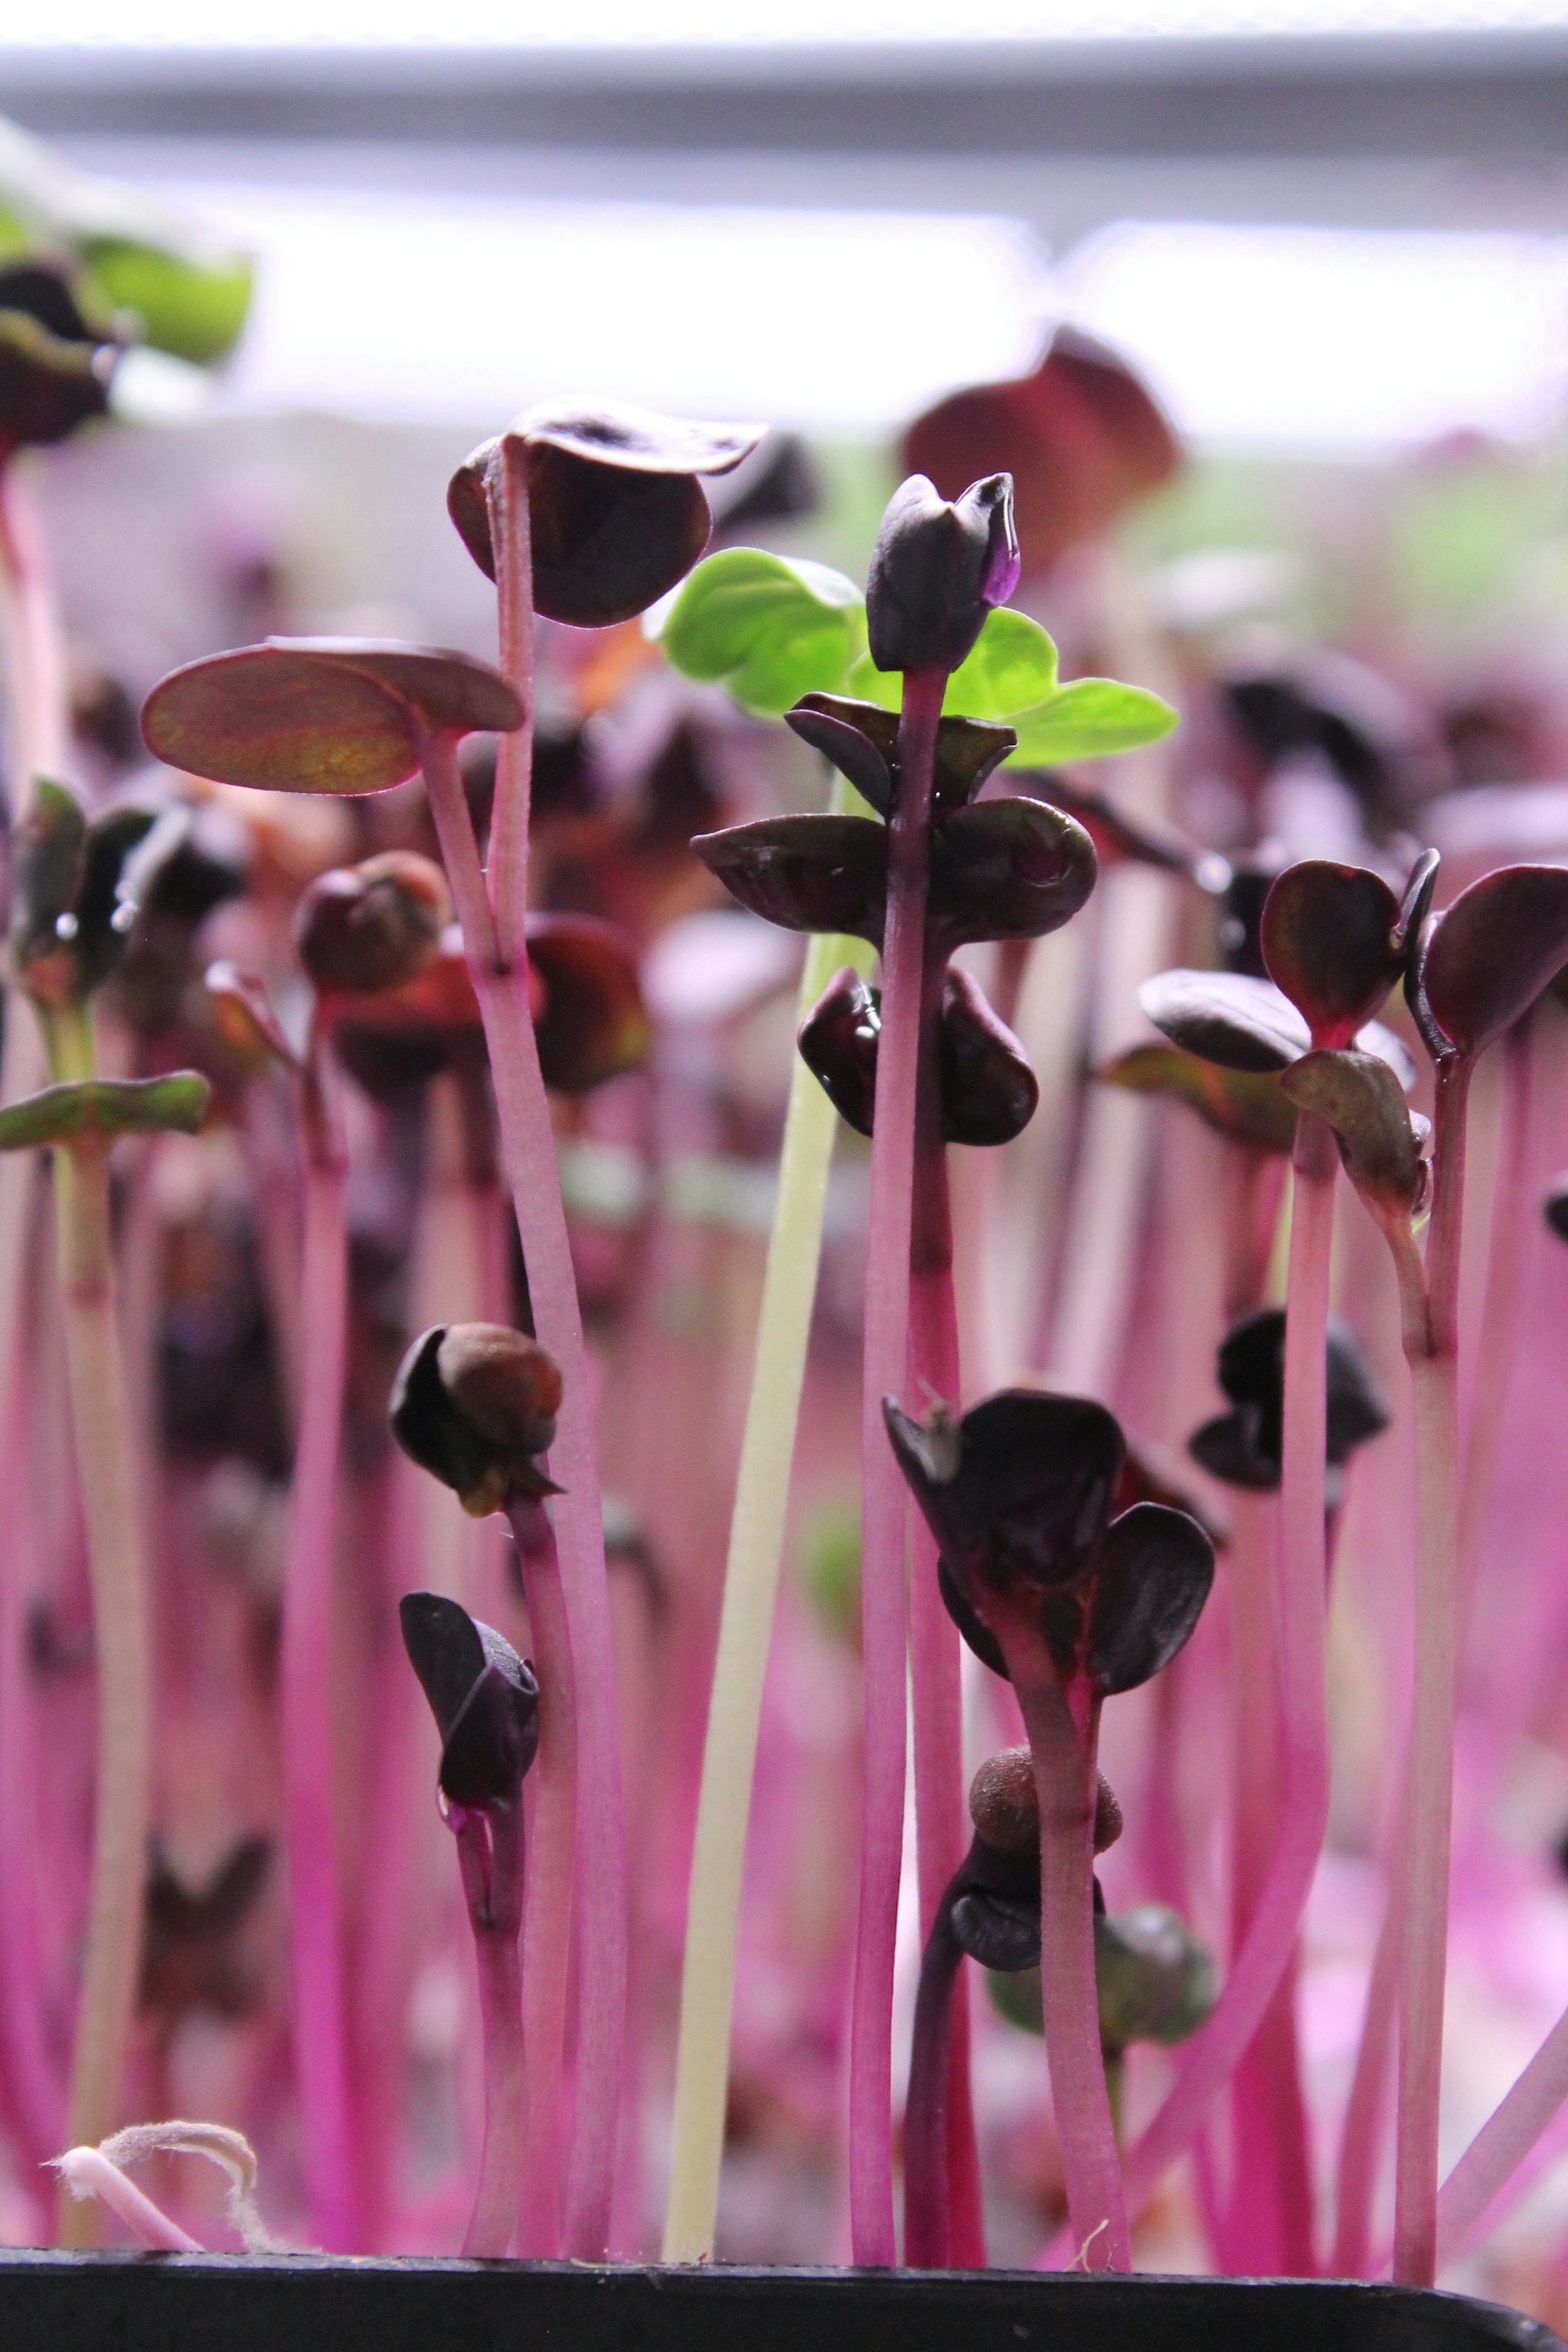
- Color is characteristic of the variety (deep green for most, red/purple for certain cultivars)
Harvesting Technique
Use sharp, clean scissors or a knife to cut microgreens just above the soil line or growing medium. Harvesting in the morning after any dew has dried but before the heat of the day often yields the crispiest product. Cut only what you plan to use immediately for maximum freshness, or harvest the entire tray if you’ll be using it within a few days.
Post-Harvest Handling
Proper storage extends the enjoyment of your harvest. Place harvested microgreens in a container lined with a dry paper towel to absorb excess moisture, then cover loosely with a lid or plastic bag. Store in the refrigerator’s crisper drawer where temperatures are stable and humidity is controlled.
Most microgreens maintain peak quality for 5-7 days when stored properly. Avoid washing until just before use, as excess moisture accelerates spoilage. If you must wash before storage, ensure they’re thoroughly dried using a salad spinner or by patting gently with clean towels.
Troubleshooting Common Issues
Even experienced growers encounter challenges. Here are solutions to the most frequent microgreens cultivation problems:
Mold or Fungal Growth
Appearance: Fuzzy white or gray growth on soil or stems
- Improve air circulation with a fan
- Reduce watering frequency and ensure proper drainage
- Use sterile growing medium and clean trays
- Consider applying a food-safe hydrogen peroxide solution (1 tsp per cup of water) to affected areas
- Leggy, Pale Growth Appearance: Tall, weak stems with pale yellow or white colorationIncrease light intensity or durationLower the temperature slightly (65-75°F is ideal for most varieties)Ensure seeds aren’t planted too deeply
- Poor or Uneven Germination Appearance: Sparse growth or patches with no growthCheck seed viability and storage conditionsEnsure consistent moisture during germinationVerify appropriate planting depth (generally 1-2 times seed diameter)Consider pre-soaking larger seeds
- Yellowing or Browning Tips Appearance: Discoloration at leaf edges or tipsCheck for nutrient deficiencies (particularly nitrogen)Ensure water isn’t too hard or high in mineralsFlush growing medium with plain water if fertilizer burn is suspectedVerify appropriate pH (5.5-6.5 for most microgreens)
Keeping a simple grow journal to track varieties, planting dates, environmental conditions, and results can help you identify patterns and continuously improve your microgreens cultivation technique.
Advanced Tips for Optimizing Your Yield
Once you’ve mastered the basics, these strategies can help you take your microgreens cultivation to the next level:
Seeding Density Optimization
Finding the sweet spot for seed density balances yield with air circulation and disease prevention. Too dense leads to mold and competition; too sparse wastes space and medium. Start with recommended densities for each variety (usually provided by seed suppliers) and adjust based on your observations:
- Small seeds (broccoli, kale): 1-2 oz per 1020 tray
- Medium seeds (radish, mustard): 2-3 oz per 1020 tray
- Large seeds (sunflower, pea): 4-6 oz per 1020 tray
Succession Planting for Continuous Harvest
To maintain a steady supply, plant new trays every 2-3 days rather than all at once. This staggered approach ensures you’re always harvesting at peak freshness while maintaining a consistent workflow.
Nutrient Enhancement
While microgreens get most of their nutrients from the seed itself, adding a dilute nutrient solution can boost growth and nutritional content for longer-growing varieties. Use a balanced hydroponic nutrient formula at 1/4 to 1/2 strength, applied via bottom-watering once true leaves have formed.
For those looking to dive deeper into advanced techniques, our collection of mastery guides offers specific strategies for boosting yield, improving flavor, and increasing profitability through methods like precise watering management, substrate optimization, and environmental control.
Conclusion: Your Microgreens Cultivation Journey
Microgreens cultivation offers a unique combination of accessibility, speed, and nutritional reward that few other gardening endeavors can match. Whether you’re growing for personal enjoyment, health benefits, or small-scale commercial production, the skills you develop will serve you well throughout your growing journey.
Remember that every experienced grower started exactly where you are now—with a tray of seeds and a willingness to learn. Embrace the learning process, observe what works in your specific environment, and don’t be afraid to experiment with different varieties and techniques. The rapid growth cycle of microgreens means you’ll quickly see the results of your adjustments, allowing for continuous improvement.
Start with one or two easy varieties like radish or sunflower to build confidence, then gradually expand your repertoire as you gain experience. With the foundational knowledge provided in this guide and a commitment to consistent observation and adjustment, you’ll be well on your way to producing vibrant, nutrient-dense microgreens that enhance your meals and your well-being.
Ready to put your knowledge into practice? Gather your supplies, select your first seeds, and enjoy the satisfaction of watching life emerge from those tiny beginnings. Your microgreens cultivation adventure awaits!
Ronaldo AndradeWrites practical notes about growing better microgreens.
[01] keep reading