Guides / Growing techniques
Microgreens Cultivation in 2026: From Seed to Harvest — A Practical Guide for Every Grower
A Beginner-Friendly Yet Advanced Roadmap to Microgreens Cultivation Success Microgreens cultivation has exploded in popularity — and for good reason.
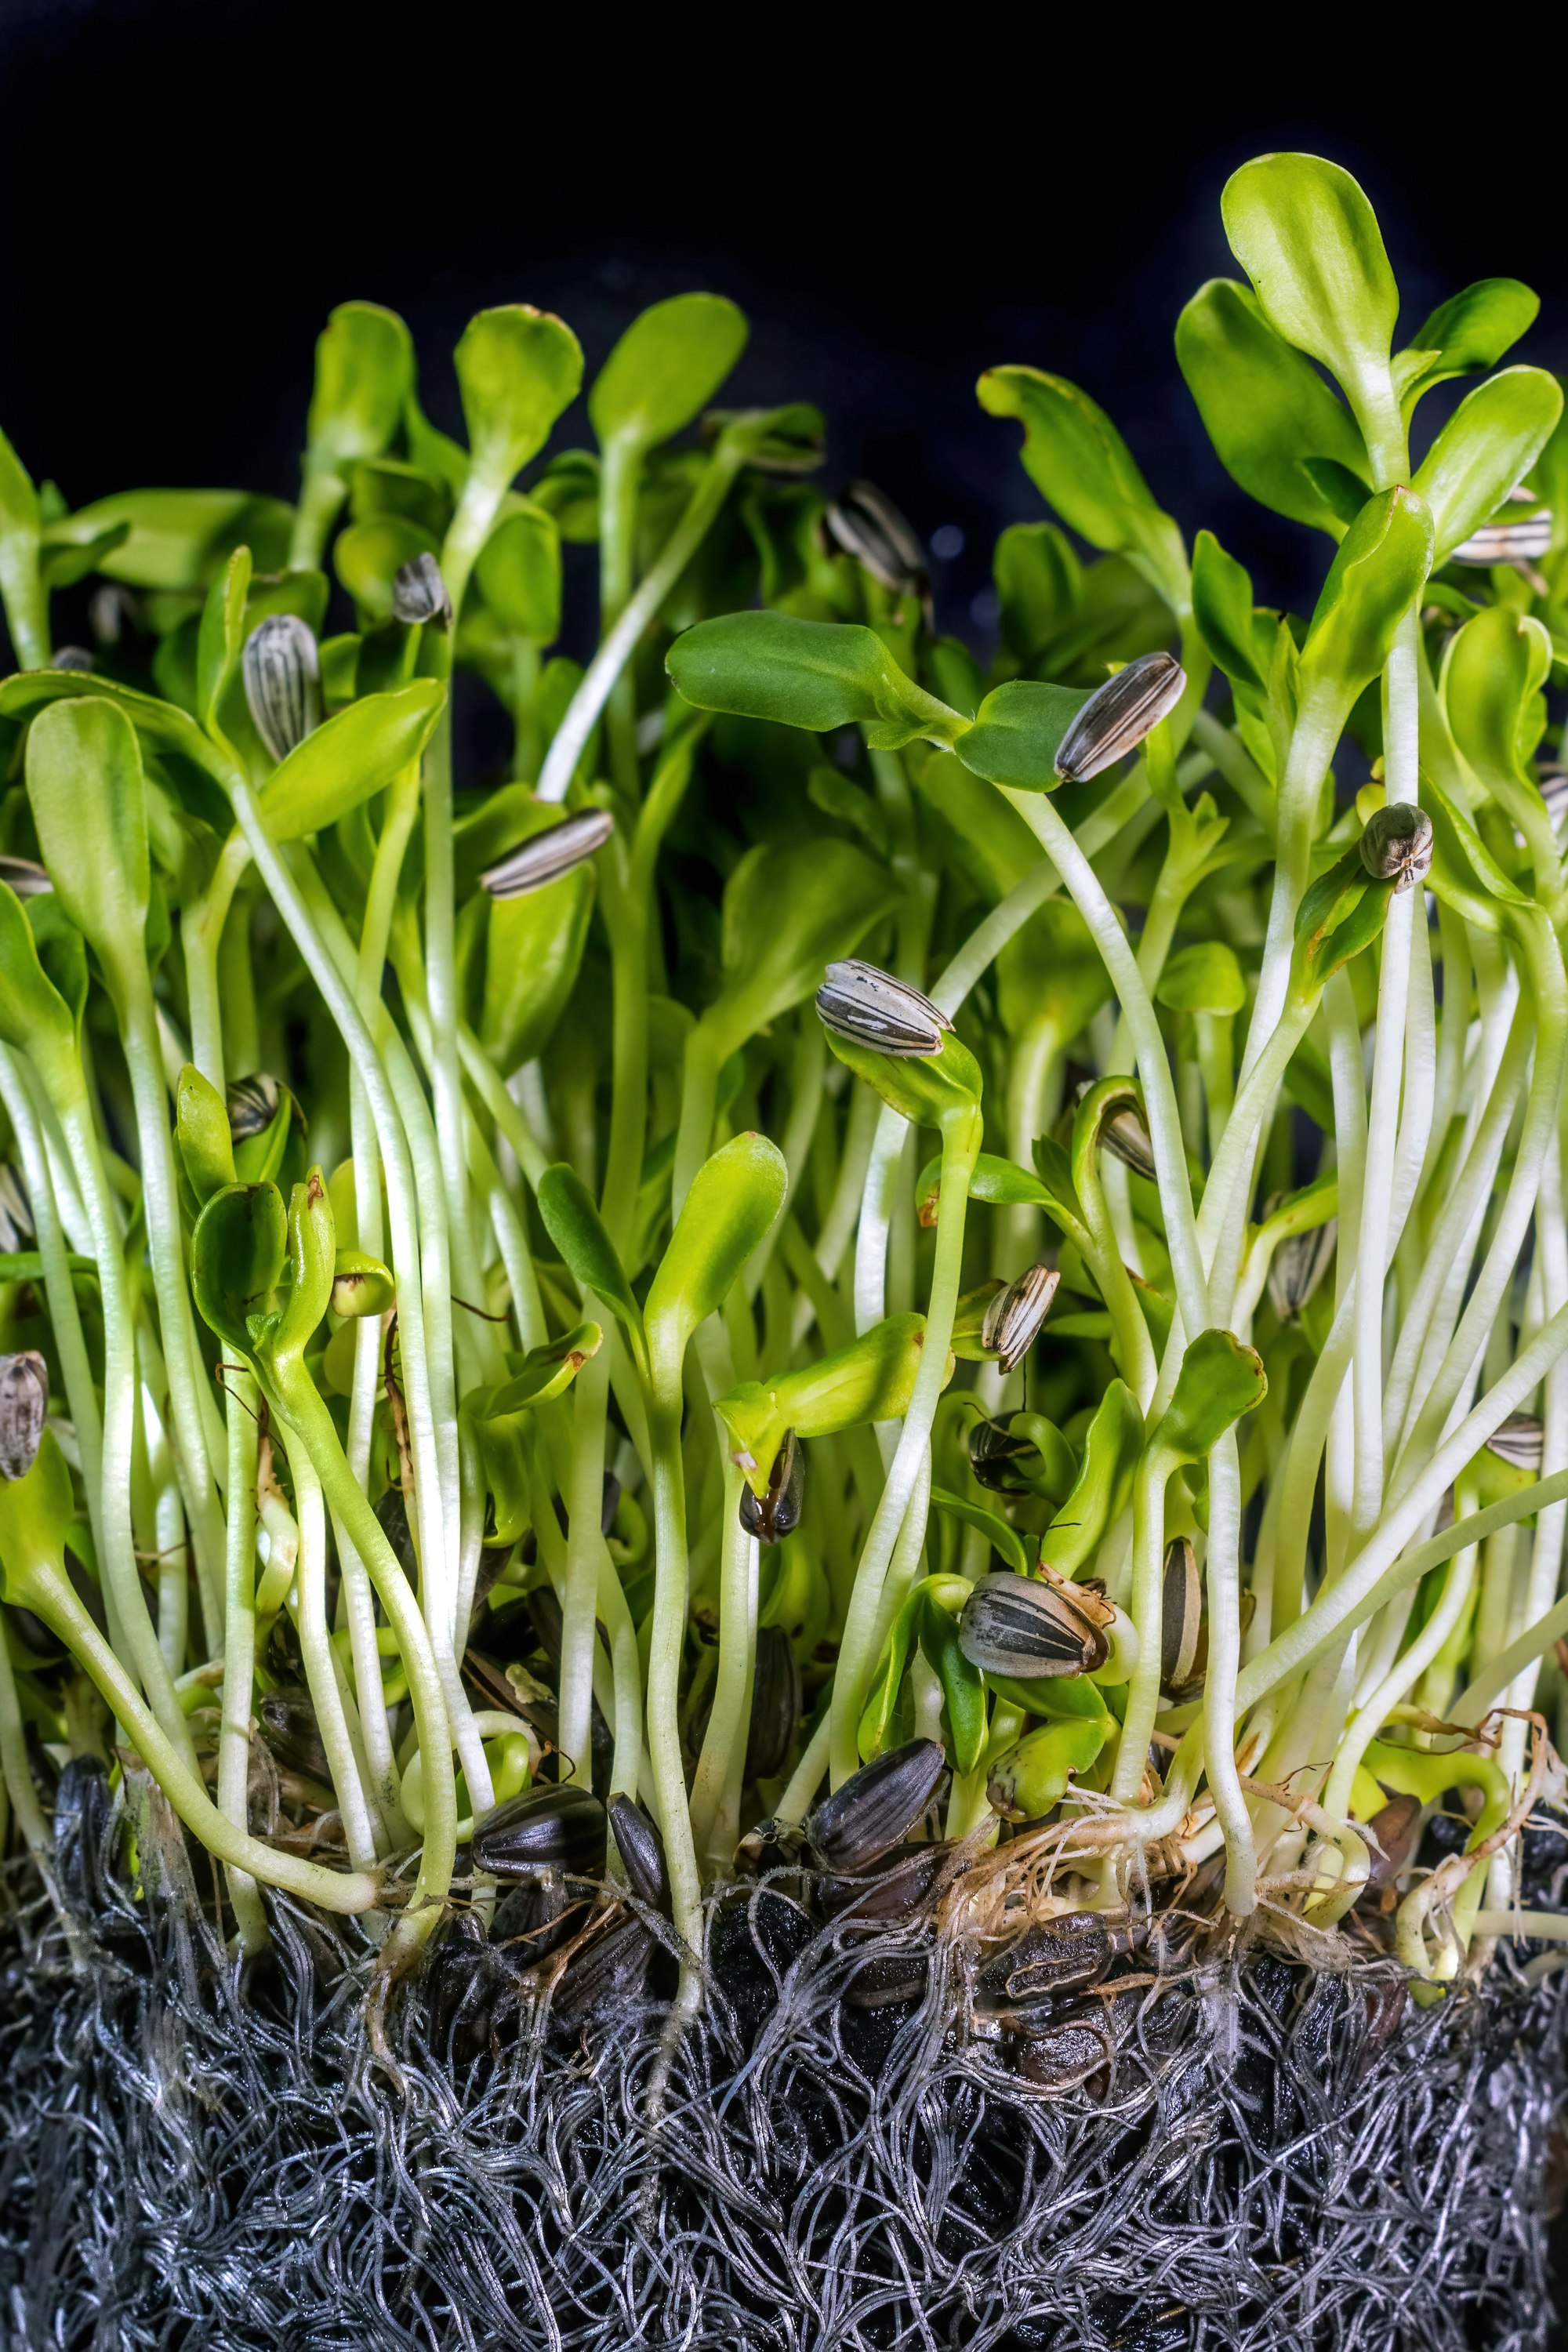
A Beginner-Friendly Yet Advanced Roadmap to Microgreens Cultivation Success
Microgreens cultivation has exploded in popularity — and for good reason. The global microgreens market, valued at $1.8 billion in 2025, is projected to nearly triple by 2033. Whether you’re a home grower harvesting a single tray on your kitchen counter or a small-scale commercial producer filling dozens of trays per week, the fundamentals of microgreens cultivation remain the same: precision, consistency, and a willingness to learn from each harvest. In this guide, we’ll walk you through every stage of the process — from selecting the right seeds to harvesting at peak flavor — while weaving in the latest 2026 trends that are reshaping how growers achieve bigger, healthier, and more nutritious yields.
Why Microgreens Cultivation Is Booming in 2026
The microgreens sector has been transformed by advances in precision LED lighting, IoT (Internet of Things) environmental monitoring, microbiome-based cultivation techniques, and improved food safety testing. These innovations mean that even hobby growers can now access tools and knowledge that were once the exclusive domain of commercial farms. But you don’t need fancy tech to get started — you just need the right approach. For a deeper dive into the trends driving the industry forward, check out our coverage of microgreens trends and technologies from 2024 to 2026.
What makes microgreens so appealing is their speed. Most varieties are ready to harvest in just 7 to 14 days, they require minimal space, and they pack up to 40 times the nutrient density of their mature counterparts. That means you can grow a meaningful amount of food — real, nutrient-dense food — in a footprint no larger than a baking sheet. Let’s break down the cultivation process into its core stages.
Stage 1: Seed Selection — The Foundation of Every Great Harvest
Everything begins with the seed. If you’re new to microgreens cultivation, start with forgiving, fast-growing varieties like radish, broccoli, sunflower, or pea shoots. These germinate reliably, grow vigorously, and tolerate a wide range of conditions. As you gain confidence, you can branch out into more delicate varieties like basil, cilantro, or amaranth, which require more precise environmental control.
Here are some practical tips for seed selection:
- Buy from reputable suppliers: Seed quality directly affects germination rates and final yield. Look for seeds specifically labeled for microgreens use, as they’re tested for uniformity and pathogen-free status.
- Check germination rates: Most quality suppliers list germination percentages on the packet. Aim for 90% or higher for consistent, dense trays.
- Consider seed density: Different varieties require different sowing densities. As a general rule, small seeds (like broccoli or mustard) are sown at 10–15 grams per 10”×20” tray, while larger seeds (like sunflower or pea) need 20–30 grams per tray.
If you’ve ever struggled with uneven germination or patchy growth, our guide on a 15-minute seed pre-treatment technique that doubles germination rates is well worth your time.
Stage 2: Choosing Your Substrate — The Unsung Hero of Microgreens Cultivation
Your growing medium (or substrate) is the literal foundation of your microgreens. It holds water, provides aeration for roots, and — in the case of soil-based mixes — supplies a small but meaningful amount of nutrients. The three most common substrates are:
- Hemp or jute mats: Clean, mess-free, and ideal for beginners. They drain well but hold less water, so you’ll need to monitor moisture more closely.
- Coco coir: A renewable, pH-neutral option made from coconut husk fibers. It retains moisture beautifully and provides excellent root aeration. Many experienced growers prefer coco coir for its consistency.
- Soil-based mixes: A blend of peat or coco coir with compost and perlite. These provide additional nutrients that can boost flavor and yield, but they’re messier and require pasteurization to prevent soil-borne pathogens.
For a comprehensive breakdown of how substrate science affects your final yield, we highly recommend reading our deep dive on the exact substrate mix that can double your harvest.
Stage 3: Sowing and Germination — Getting the First 48 Hours Right
The germination phase is where many growers win or lose their harvest. During the first 48 hours after sowing, your seeds are absorbing water, breaking dormancy, and initiating root development. Here’s how to set them up for success:
- Spread seeds evenly: Overcrowding leads to competition for light and water, resulting in leggy, weak stems. Under-seeding wastes tray space. Use a shaker jar or a small sieve for uniform distribution.
- Apply weight during germination: Cover your freshly sown tray with a second tray and add 2–3 pounds of weight on top. This creates seed-to-substrate contact, mimics the natural pressure of soil, and encourages stronger root development. Leave this weight on for 2–4 days.
- Maintain darkness and humidity: Most microgreen seeds germinate best in dark, humid conditions. Cover your trays and keep the ambient temperature between 65°F and 75°F (18°C–24°C).
- Mist, don’t flood: Lightly mist the seeds with a spray bottle before covering. Overwatering at this stage can lead to damping-off, a fungal disease that kills seedlings at the soil line.
For more on the critical first 48 hours and how to achieve even germination, our article on the 48 hours that define your harvest goes into granular detail.
Stage 4: Lighting — The Engine of Photosynthesis and Flavor
Once your seedlings have pushed through the substrate and developed their first true leaves (cotyledons), it’s time to introduce light. This is where microgreens cultivation gets exciting — and where 2026’s precision LED technology truly shines.
Here’s what you need to know:
- Duration: Aim for 12–16 hours of light per day. A simple outlet timer is all you need.
- Intensity: Position grow lights 8–12 inches above the tray canopy. Too far and your greens will stretch (become leggy); too close and you risk tip burn.
- Spectrum: A combination of red (630–660nm) and blue (430–450nm) light promotes both biomass production and compact, sturdy growth. Full-spectrum white LEDs also work well and are more visually appealing for home growers.
The spectrum you choose doesn’t just affect growth — it also influences nutritional content. Red light drives biomass, while blue light enhances anthocyanin production (those beautiful red and purple pigments that signal higher antioxidant levels). To understand how to fine-tune your spectrum for yield versus nutrition, read our guide on LED spectrum ratios for microgreens.
Stage 5: Watering — Precision Over Guesswork
Overwatering is the number one cause of crop failure in microgreens cultivation. The goal is to keep the substrate consistently moist — never soggy, never bone dry. Here’s a practical framework:
- Bottom-watering: Pour water into the tray beneath your growing tray (if using a two-tray system). Capillary action draws water upward into the substrate, keeping the leaves dry and reducing mold risk.
- The weight test: Lift your tray. If it feels light, it needs water. If it feels heavy, wait. Over time, you’ll develop an intuitive sense for your trays’ moisture levels.
- Water quality matters: Use filtered or reverse-osmosis water if your tap water is heavily chlorinated or has a high mineral content. Hard water can cause tip burn and affect flavor.
For a comprehensive, science-based approach to watering, our guide on microgreens watering mastery covers the exact rhythms and techniques that professional growers use to achieve consistent, mold-free harvests.
Stage 6: Harvest Timing — When to Cut for Maximum Flavor and Nutrition
Harvesting isn’t just the final step — it’s a critical decision point that affects flavor, texture, nutritional density, and shelf life. Most microgreens are ready to harvest 7–14 days after sowing, when the first set of true leaves begins to emerge (or when cotyledons are fully developed). Here’s how to nail the timing:
- Look for the true leaves: Cotyledons (the first seed leaves) are typically smooth and heart-shaped. True leaves are more serrated and resemble the mature plant’s foliage. Harvesting just as true leaves appear gives you the best balance of tenderness and flavor.
- Harvest in the morning: Plants’ starch content is lowest in the early morning, which means your microgreens will taste sweeter and less bitter.
- Use a sharp knife or scissors: Cut just above the substrate line. A clean cut reduces cell damage and extends shelf life. Avoid pulling plants by hand, which tears roots and introduces substrate into your harvest.
- Cool immediately: Place harvested microgreens in a ventilated container and refrigerate within 30 minutes. Properly stored, most varieties stay fresh for 5–7 days.
If you want to go deeper into the science of harvest timing — including how to read your plants’ physiological signals rather than relying on a calendar — our article on harvest timing for peak nutrient density and flavor is essential reading.
Common Pitfalls and How to Avoid Them
Even experienced growers face setbacks. Here are the three most common problems in microgreens cultivation and how to address them:
- Mold: White, fuzzy growth on the substrate surface is almost always a sign of excessive humidity and poor airflow. Increase air circulation with a small fan, reduce watering frequency, and ensure your growing space isn’t sealed off. For a complete troubleshooting guide, check out our article on the 7 warning signs your tray is in trouble.
- Leggy growth: Tall, weak stems indicate insufficient light. Move your lights closer or increase the photoperiod. Leggy greens are also more prone to lodging (falling over).
- Uneven germination: This typically points to inconsistent seed distribution, uneven substrate moisture, or temperature fluctuations. Use a level surface for sowing, pre-wet your substrate thoroughly, and keep germination temperatures steady.
Optimizing Yields: Taking Your Cultivation to the Next Level
Once you’ve mastered the basics, you can start fine-tuning your process for higher yields and better quality. The areas with the highest ROI for optimization are:
- Seeding density: Finding the sweet spot for each variety ensures maximum canopy coverage without crowding. Too sparse and you waste space; too dense and you invite mold and competition.
- Temperature and humidity control: Maintaining 65–75°F (18–24°C) with 40–50% relative humidity during the growing phase creates ideal conditions for most varieties. Our guide on mastering temperature and humidity provides detailed ranges for popular microgreen varieties.
- Air circulation: A gentle breeze from a clip-on fan strengthens stems and discourages mold. This is one of the most overlooked yet impactful upgrades you can make.
- Post-harvest handling: Proper washing, drying, and packaging extends shelf life by days. Gently rinse in cold water, spin dry in a salad spinner, and store in containers lined with paper towels.
Final Thoughts: Your Microgreens Cultivation Journey Starts Now
Microgreens cultivation is equal parts art and science. The basics — seeds, substrate, light, water, and timing — are straightforward enough for anyone to start on a Sunday afternoon. But the nuances — the spectrum tuning, the moisture management, the harvest timing — are what separate a good tray from an extraordinary one. The beauty is that each harvest teaches you something new, and each tweak you make brings you closer to that lush, uniform, nutrient-dense carpet of greens every grower aspires to.
Whether you’re growing for your own kitchen, selling at a farmers’ market, or scaling up for restaurant supply, the principles in this guide will serve as your roadmap. Start small, stay consistent, and don’t be afraid to experiment. And remember — every expert grower was once a beginner staring at their first tray of seeds, wondering if they’d sprout.
They did. And yours will too.
Ronaldo AndradeWrites practical notes about growing better microgreens.
[01] keep reading