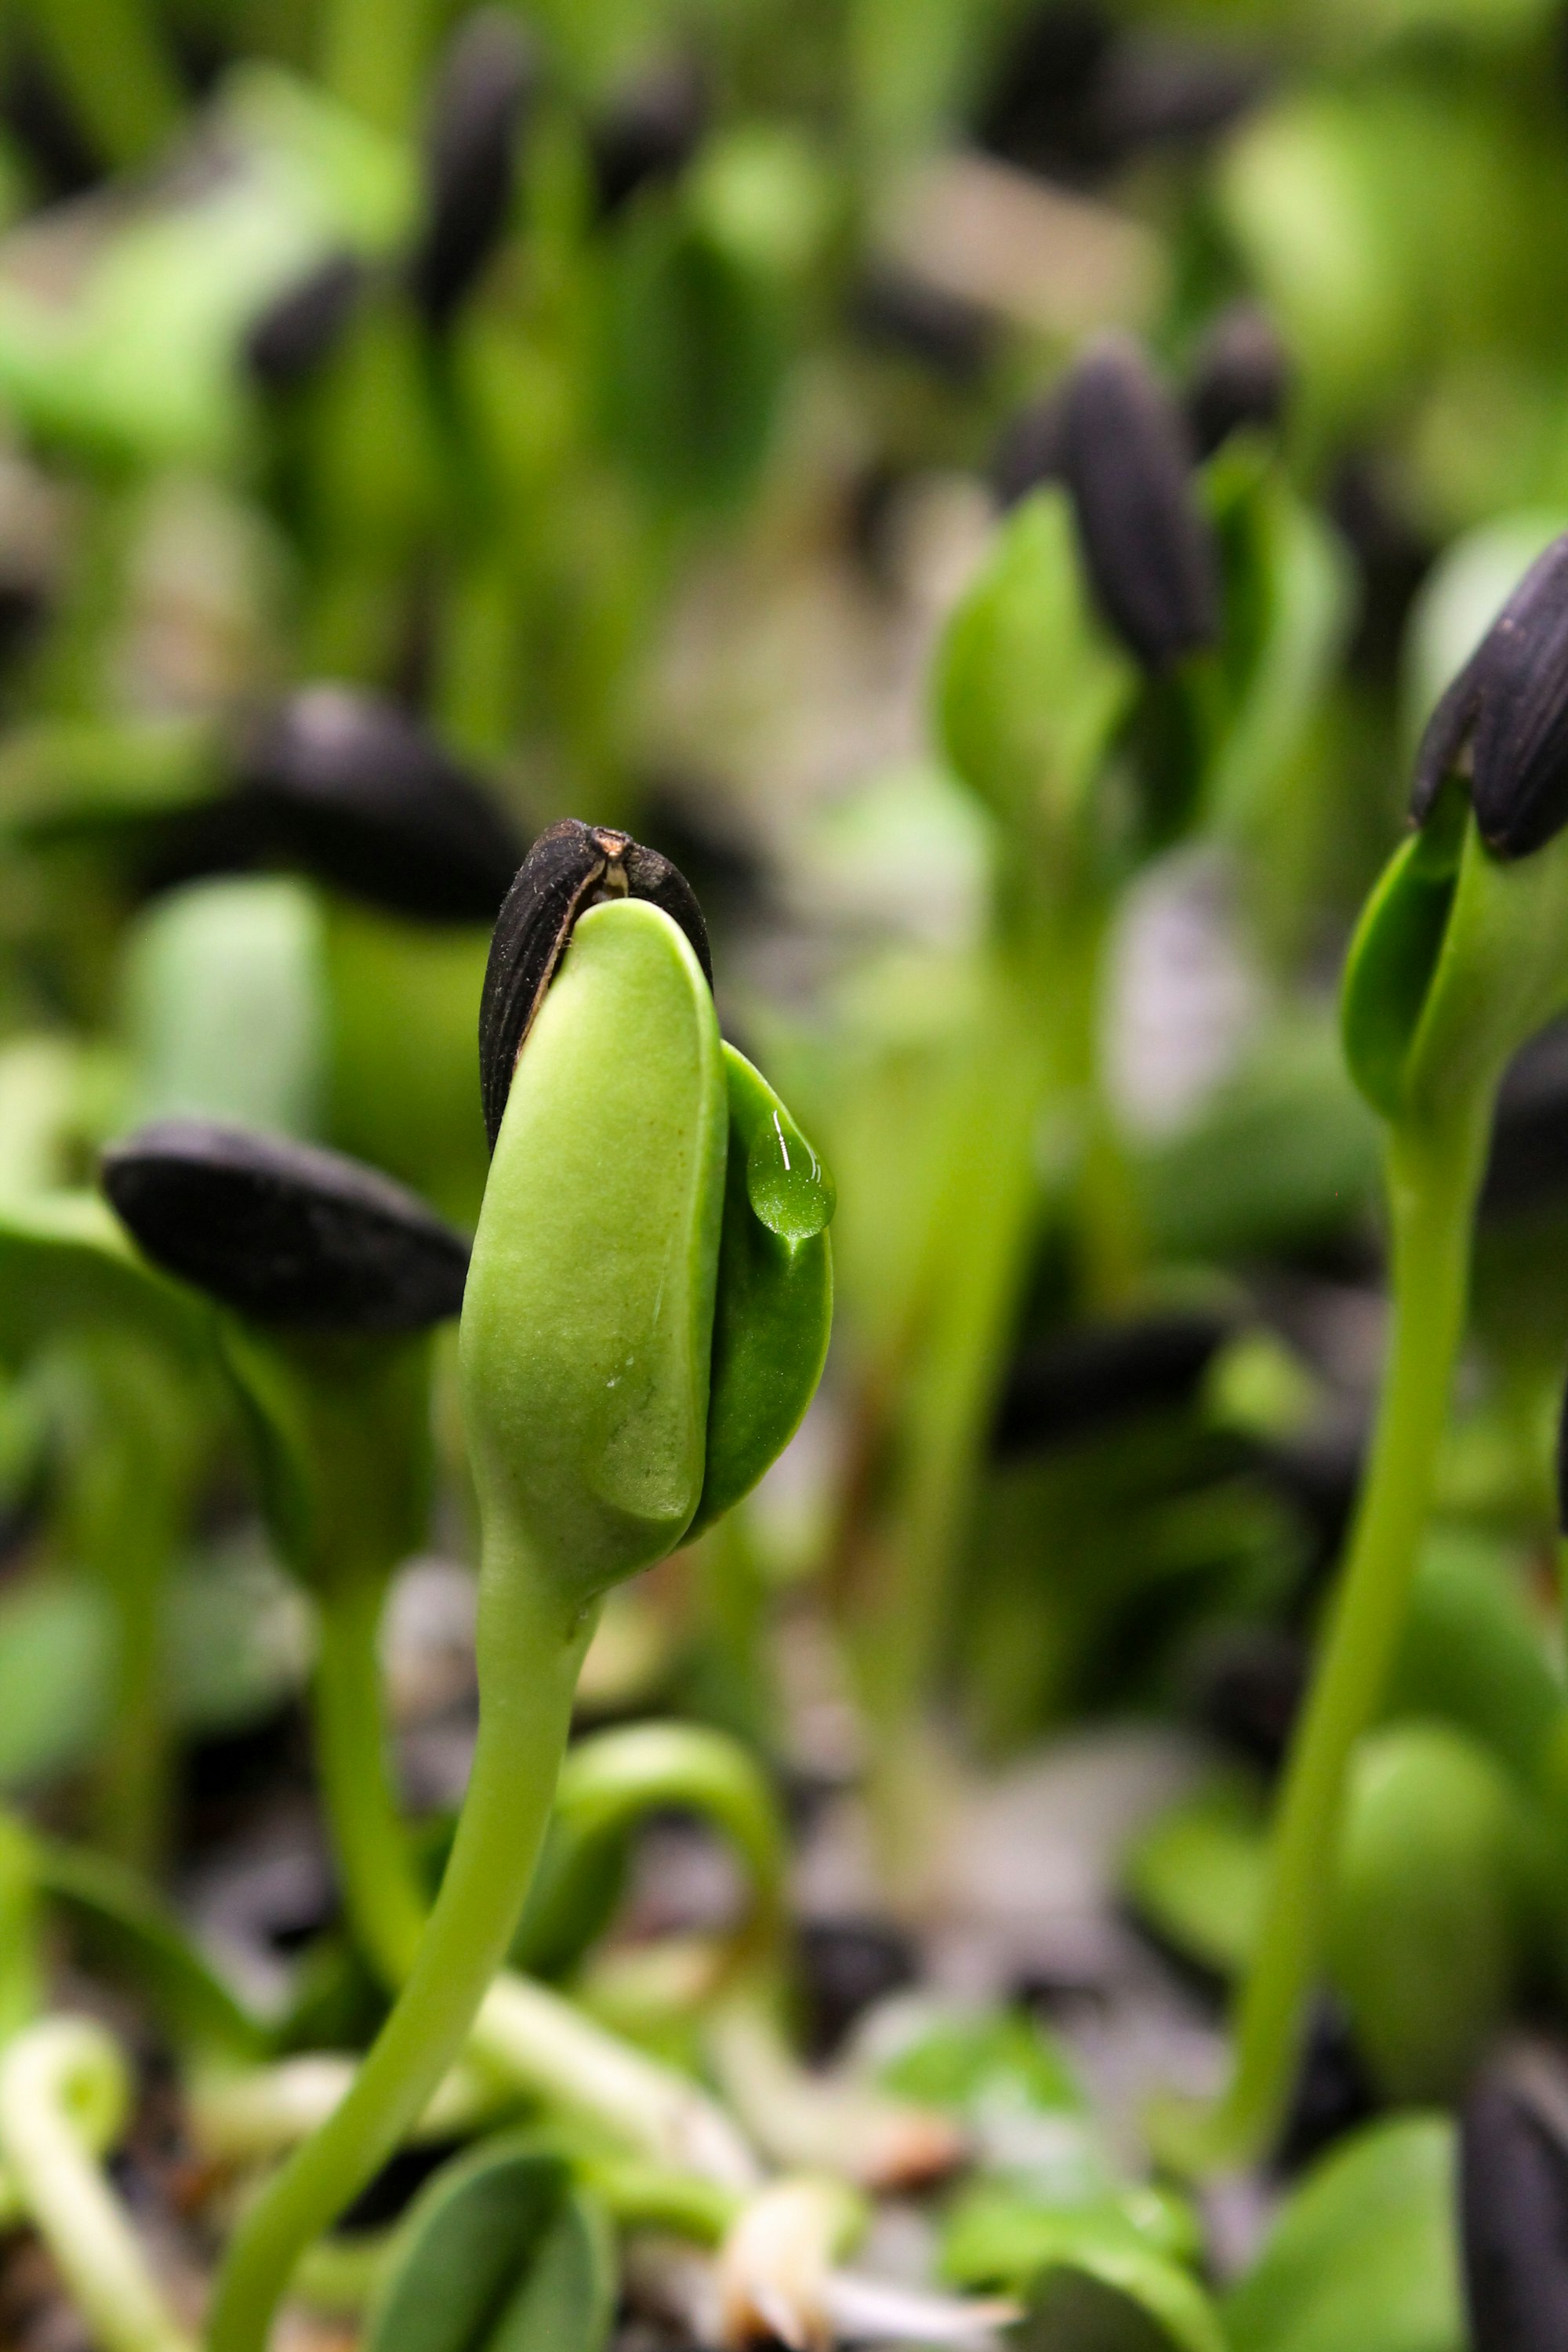
Microgreens Cultivation Guide: Proven Tips for Bigger Harvests in 2026
If you’re looking for a fast, nutrient‑dense crop that fits on a windowsill, microgreens cultivation is the perfect answer. These tiny greens pack up to 40 times more vitamins than their mature counterparts and can be ready to harvest in just 7–14 days. In this guide we’ll walk you through every step—from seed selection to post‑harvest storage—so you can grow consistent, bountiful trays whether you’re a beginner or an experienced grower aiming to optimize yields.
Why Grow Microgreens?
Microgreens are more than a garnish; they are a powerhouse of nutrition, flavor, and versatility. Because they are harvested at the cotyledon stage, they retain higher concentrations of antioxidants, vitamin C, vitamin E, and carotenoids. Moreover, their quick growth cycle means you can enjoy fresh greens year‑round, even in small apartments. For growers interested in scaling up, microgreens offer a low‑space, high‑value crop that can be sold to restaurants, farmers’ markets, or through a CSA.
Getting Started: Seeds, Medium, and Containers
The foundation of a successful microgreen tray begins with quality seeds. Look for untreated, high‑germination varieties specifically labeled for microgreen production. Popular choices include broccoli, radish, pea, sunflower, and basil. For a deeper dive on seed selection and pre‑treatment techniques, see our guide on mastering microgreens cultivation.
Next, choose a growing medium. While soil works, many growers prefer a soilless mix such as coconut coir, peat‑lite, or a specialized microgreen pad. The medium should be fine‑textured, sterile, and retain moisture without becoming soggy. Containers can be simple reuse‑able trays with drainage holes; a standard 1020 seed tray works well for home growers.
Lighting: The Key to Vigorous Growth
Light drives photosynthesis and directly influences stem length, leaf color, and nutritional density. For home setups, a full‑spectrum LED grow light positioned 12–18 inches above the tray provides consistent, energy‑efficient illumination. Aim for 12–16 hours of light per day, using a timer to maintain a regular photoperiod. If you rely on natural light, place trays on a south‑facing windowsill and rotate them daily to prevent etiolation (leggy, pale stems).
To learn more about optimizing light spectra for both yield and nutrition, check out our complete guide for beginners to advanced growers, which covers blue‑red ratios and how to adjust them for different varieties.
Watering and Humidity Management
Microgreens dislike both drought and waterlogging. The most reliable method is bottom watering: fill a tray with a shallow layer of water and let the growing medium wick moisture upward. Check the medium’s surface—it should feel moist but not soggy. Overwatering encourages mold and damping‑off, while underwatering leads to stunted growth.
Maintain relative humidity around 50–70 % during germination, then slightly lower to 40–60 % as seedlings develop. A small hygrometer inside the growing area helps you monitor these levels. Good airflow (see next section) also reduces the risk of fungal issues.
Air Circulation and Temperature
Stagnant air creates a breeding ground for mold. Place a small oscillating fan on low speed near (but not blowing directly on) the trays to encourage gentle air movement. This strengthens stems and helps evaporate excess moisture from the leaf surface.
Temperature preferences vary by species, but most microgreens thrive between 60–75 °F (15–24 °C). Cool‑season crops like broccoli and kale prefer the lower end, while warm‑season varieties such as basil and amaranth do better toward the upper range. Avoid placing trays near heat sources or drafty windows that cause rapid temperature swings.
Seeding Density and Nutrient Boosts
Finding the optimal seeding density is a balancing act: too sparse yields low biomass; too dense increases competition and disease risk. As a rule of thumb, spread seeds evenly so they cover the medium without overlapping—typically 10–15 grams per 1020 tray for small seeds like broccoli, and up to 30 grams for larger seeds like pea or sunflower.
While microgreens can grow successfully in plain water or a basic medium, adding a dilute organic liquid fertilizer (e.g., seaweed extract at ¼ strength) after the first true leaves appear can boost nutrient density and improve flavor. Always flush with plain water a few hours before harvest to avoid any residual taste.
Harvesting at Peak Quality
The ideal harvest window is when the first true leaves are fully expanded but before the stems start to elongate. This usually occurs 7–12 days after sowing, depending on the variety. Use clean scissors or a sharp knife to cut the stems just above the medium. Harvesting in the morning, after the lights have been on for a few hours, yields the crispiest greens.
Post‑harvest, rinse the microgreens gently in cool water, spin dry in a salad spinner, and store them in a sealed container with a paper towel to absorb excess moisture. Properly stored, they stay fresh for 5–7 days in the refrigerator.
Troubleshooting Common Issues
Mold or damping‑off: Increase airflow, reduce humidity, and ensure the medium is not overly wet. Consider a hydrogen peroxide rinse (1 part 3 % H₂O₂ to 3 parts water) before sowing.
Leggy, pale stems: Insufficient light. Move lights closer or increase duration.
Uneven growth: Check seed distribution and medium consistency; gently tamp the surface after sowing to ensure good seed‑to‑medium contact.
Yellowing leaves: May indicate nutrient deficiency or overwatering. Adjust feeding schedule and verify drainage.
Leveraging Technology: The SproutPlanner Mini‑App
To take the guesswork out of scheduling, we’ve launched a free mini‑app called SproutPlanner. This tool helps you calculate optimal sowing dates, track growth stages, and set reminders for watering, light adjustments, and harvest. Simply input your microgreen variety and tray size, and SproutPlanner generates a customized calendar—perfect for busy home growers and small‑scale producers alike.
Advanced Tips for Yield Optimization
Once you’ve mastered the basics, consider these strategies to push yields even further:
- CO₂ enrichment: A small, controlled release of CO₂ (around 800‑1000 ppm) during the light period can increase photosynthesis rates, especially in sealed grow tents.
- Succession sowing: Start a new tray every 2–3 days to ensure a continuous harvest cycle.
- Variety trialing: Keep a log of growth rate, flavor, and yield for each cultivar you try; over time you’ll identify the top performers for your specific conditions.
- Post‑harvest lighting: Exposing cut microgreens to low‑intensity LED light for a few hours after harvest can enhance certain phytochemicals without accelerating senescence.
Implementing even one of these tweaks can result in a noticeable boost in biomass and nutritional content.
Conclusion
Microgreens cultivation offers an accessible, rewarding way to produce nutrient‑rich food year‑round, regardless of space or experience level. By focusing on quality seeds, proper lighting, balanced watering, good airflow, and timely harvesting, you’ll enjoy vibrant, healthy trays with every cycle. Remember to explore our existing resources—like the mastering microgreens cultivation guide and the complete guide for beginners to advanced growers—for deeper insights, and give the free SproutPlanner a try to streamline your workflow. Happy growing!
Ronaldo AndradeWrites practical notes about growing better microgreens.
[01] keep reading