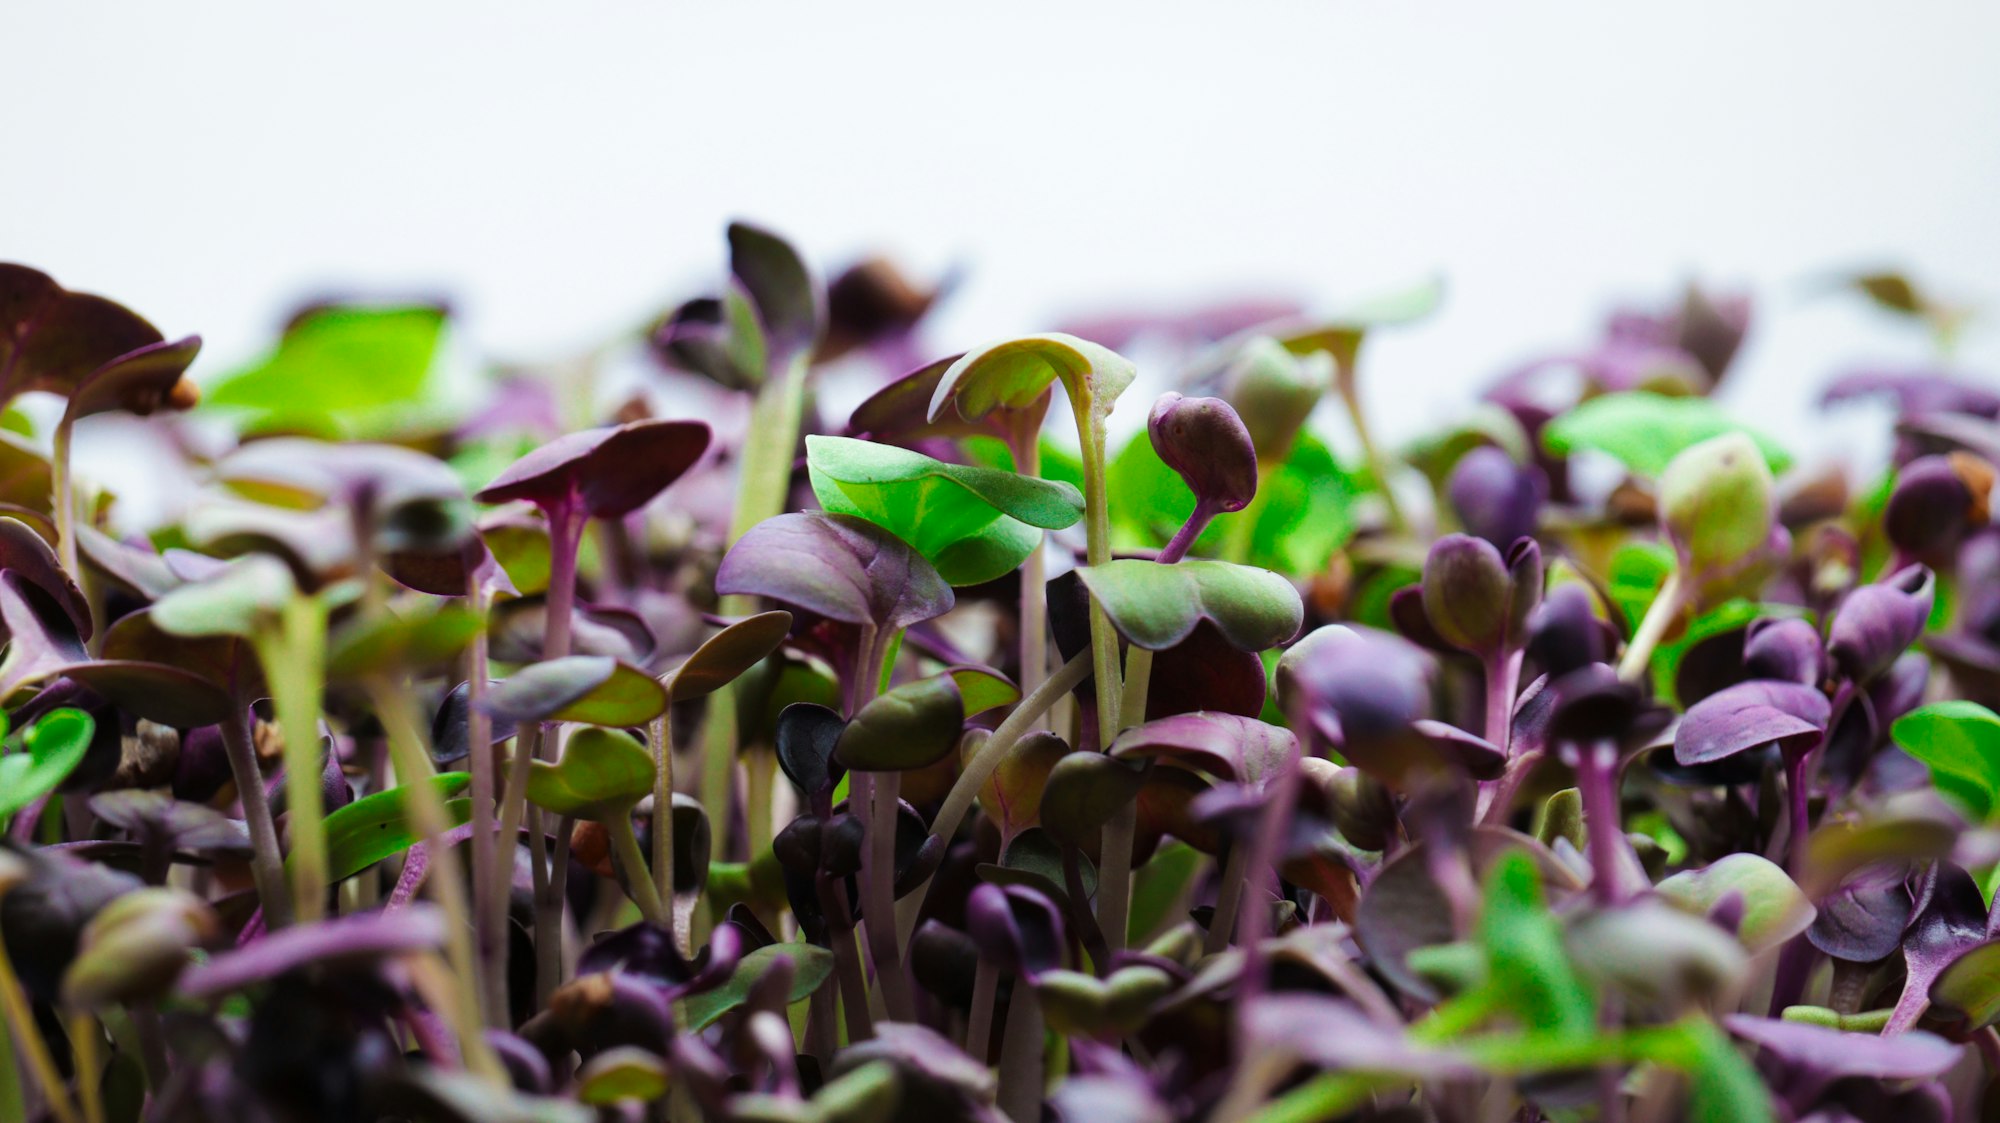
Introduction: Why Microgreens Cultivation Is Booming in 2026
Microgreens have moved from niche gourmet garnishes to mainstream superfoods, and the reasons are clear: they grow fast, pack intense nutrition, and fit perfectly on a kitchen counter. In 2026, the microgreens cultivation space is being reshaped by precision LED lighting, IoT monitoring, and microbiome-based techniques that make it easier than ever to get consistent results. Whether you are sowing your first tray or refining a commercial operation, this guide walks you through every stage of microgreens cultivation with actionable, science-backed advice.
Ready to grow smarter? Try our free SproutPlanner mini-app, designed to help you schedule plantings, track growth, and maximize every harvest.
Get the Basics Right: Seed Selection, Growing Medium, and Spacing
The foundation of any great microgreens harvest starts before you even sow a seed. Choose high-germination seeds labeled for microgreens production — varieties like broccoli, radish, pea shoot, and sunflower consistently deliver strong yields. Pair them with a clean, lightweight growing medium such as coconut coir mixed with a small amount of compost or vermiculite. Proper seeding density matters enormously; overcrowding leads to leggy stems and mold, while too much spacing wastes tray real estate. For beginners, a shallow tray with drainage holes and a lid or humidity dome creates the ideal greenhouse effect during germination.
If you are new to growing microgreens, check out our complete guide for beginners to advanced growers for a step-by-step walkthrough of setup, sowing, and first harvests.
Master Light, Water, and Airflow for Healthier Plants
Once your seeds have germinated and the lid comes off, three factors dominate your success:
- Light: Microgreens need 12–16 hours of bright light daily. Natural south-facing windows work, but full-spectrum LEDs give the most consistent results, preventing stretching and promoting compact, colorful growth.
- Water: Keep the medium evenly moist — not soggy. The “fist test” is a simple trick: press gently into the substrate; it should feel like a damp sponge. Bottom watering reduces the risk of disturbing delicate roots.
- Airflow: Stagnant air invites mold and damping-off. A small USB fan set on low, or strategic tray spacing, keeps humidity moving around your crop.
These variables might sound technical, but they are easy to manage with routine observation. For deeper strategies on boosting yield, read our practical guide to bigger harvests and healthier plants, where we break down lighting, watering, and substrate choices in detail.
Troubleshoot Like a Pro: Mold, Leggy Stems, and Yellowing
Even experienced growers face setbacks. Mold appears as fuzzy patches on the surface — usually a sign of too much humidity and not enough airflow. Leggy, stretched stems mean your light is too weak or too far away. Yellowing leaves often point to nutrient deficiency or overwatering. The fix is rarely dramatic: adjust one variable at a time, observe for 24–48 hours, and let the plant tell you what it needs.
Harvest Timing and Post-Harvest Handling
Most microgreens are ready to cut at the first true leaf stage, typically 7–14 days after sowing. Use clean scissors to cut just above the substrate, rinse gently, and store in a sealed container with a dry paper towel to absorb excess moisture. Proper post-harvest handling keeps your greens crisp for up to a week.
Scale Up with Data and Planning
Commercial growers and serious hobbyists alike benefit from tracking seeding dates, variety performance, and environmental conditions. The SproutPlanner mini-app we launched this week lets you log each crop, set reminders for watering and harvesting, and compare results across varieties — all for free. Planning your rotations systematically is one of the fastest ways to go from sporadic harvests to a steady, profitable microgreens operation.
Microgreens cultivation is equal parts science and intuition. Start small, master the basics, and let each tray teach you something new. With the right seeds, light, water, and a little patience, you will be harvesting vibrant, nutrient-dense greens year-round — no matter your experience level.
Ronaldo AndradeWrites practical notes about growing better microgreens.
[01] keep reading