Guides / Growing techniques
Microgreens Cultivation: The Complete Beginner-to-Pro Guide for Bigger Harvests in 2026
Master Microgreens Cultivation in 2026: From Seed to Superior Harvest Microgreens cultivation is revolutionizing how we think about fresh food at hom
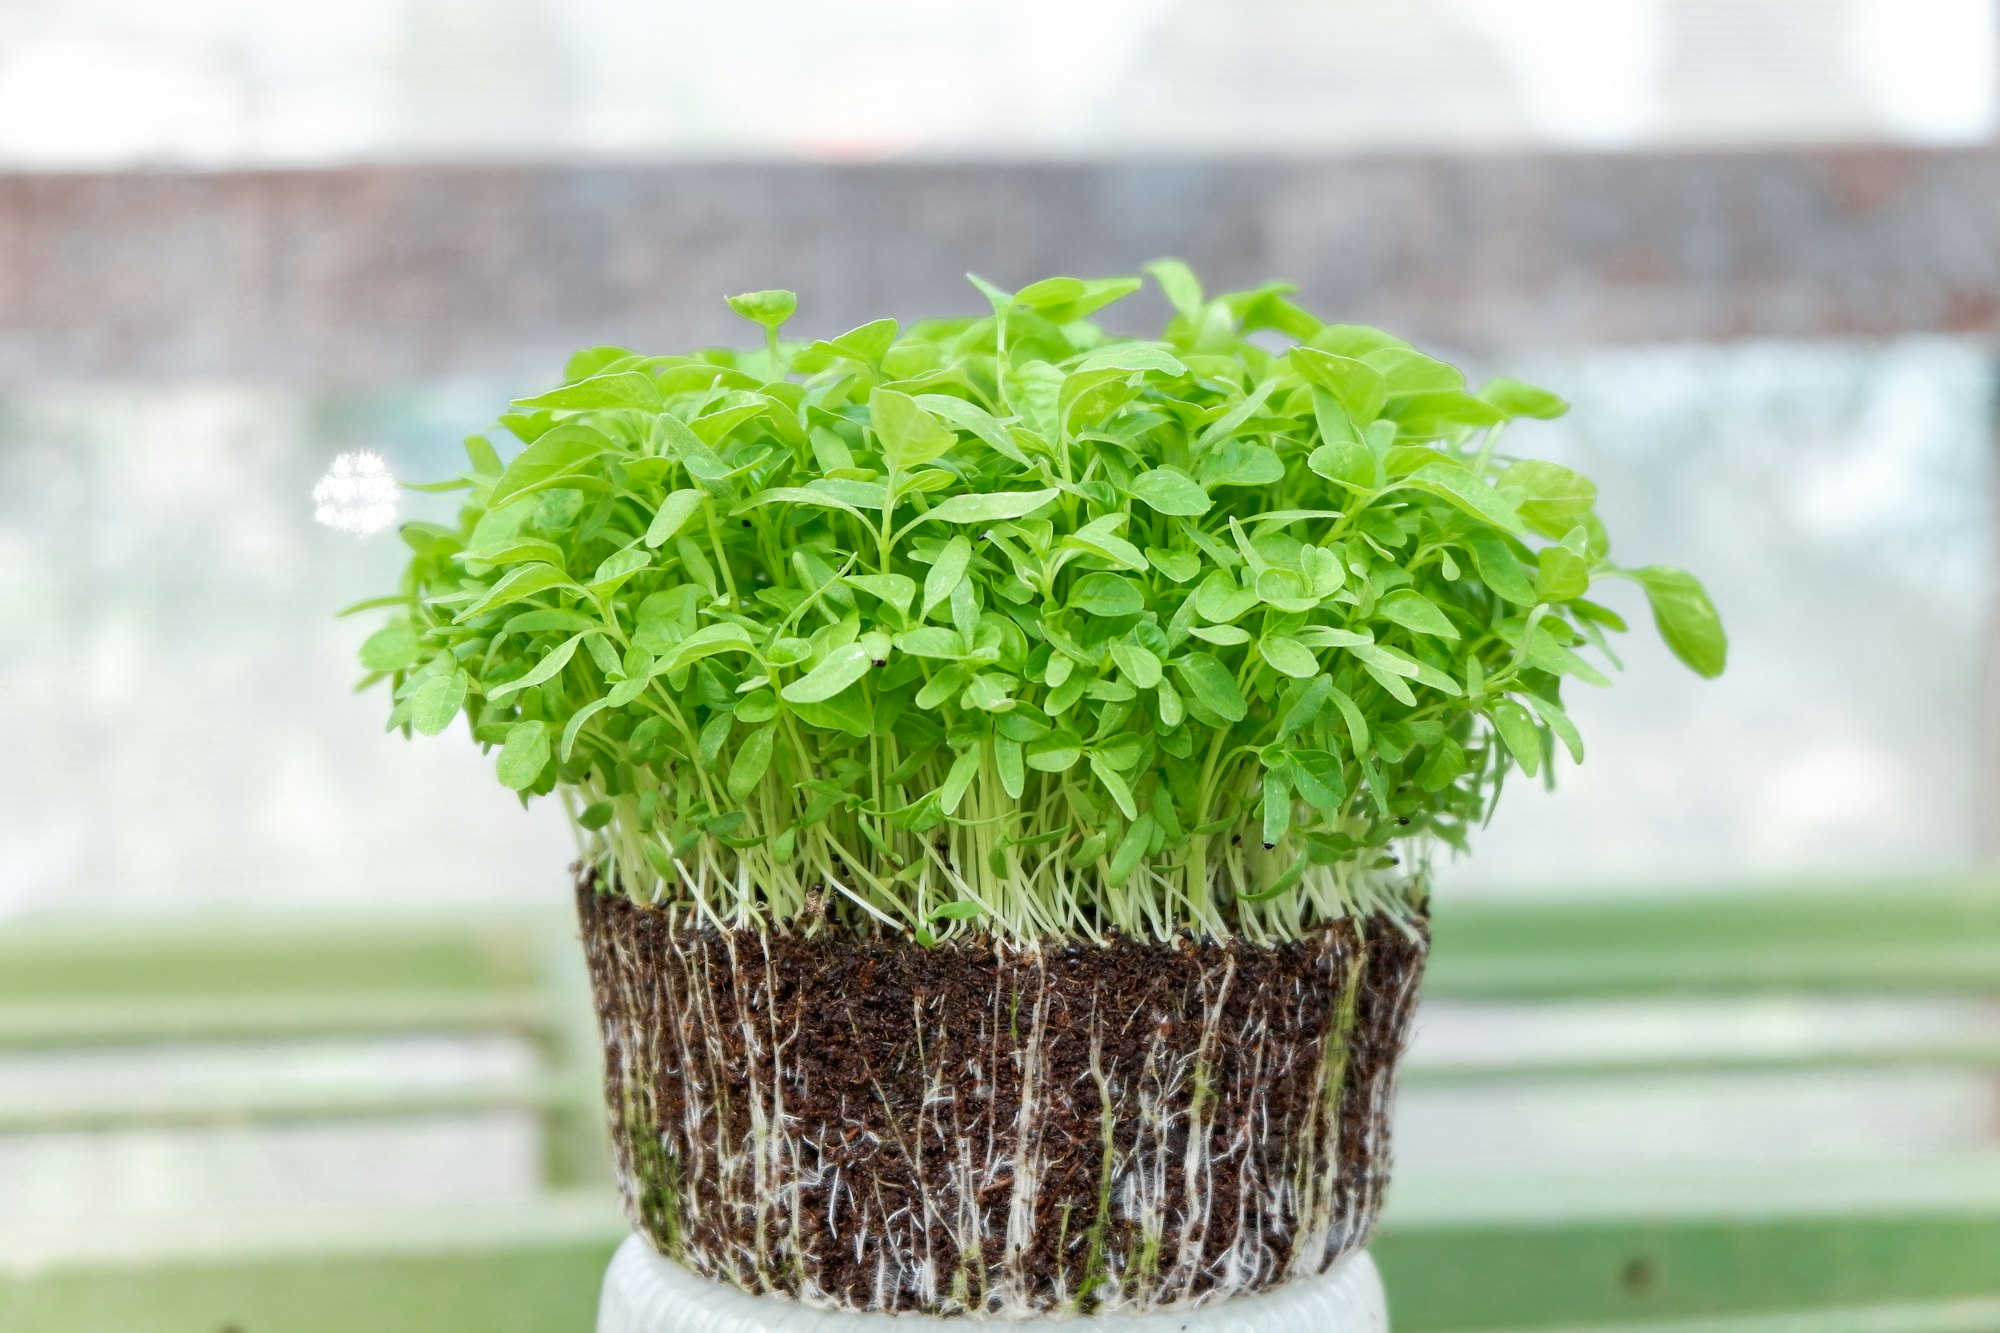
Master Microgreens Cultivation in 2026: From Seed to Superior Harvest
Microgreens cultivation is revolutionizing how we think about fresh food at home and commercially. These tiny, nutrient-dense greens are no longer just a restaurant garnish—they’re a full-fledged superfood movement. Whether you’re a curious beginner or an experienced grower looking to avoid common microgreens growing mistakes, this guide gives you everything you need to know. As microgreens continue to trend in 2026 due to their incredible health benefits, minimal space requirements, and rapid growth cycle, now is the perfect time to master their cultivation.
Choosing the Right Microgreens Varieties for Your Goals
The foundation of successful microgreens cultivation begins with seed selection. Some varieties are naturally more productive and less prone to disease. Popular beginner-friendly options include pea shoots, sunflower, and radish microgreens because they germinate quickly and are forgiving. For continuous harvests throughout the year, check out our complete guide to growing microgreens year-round indoors, which covers seasonal rotation strategies. Don’t forget to use organic, pesticide-free seeds specifically labeled for microgreens cultivation—these are inspected for germination rates and safety.
Setting Up Your Growing Space: Tools, Trays, and Environment
The beauty of microgreens cultivation lies in its simplicity. You only need a few essentials: shallow growing trays (with drainage holes), a quality growing medium (like coconut coir or organic potting soil), and a reliable light source. LED grow lights with full-spectrum output are ideal for indoor setups, providing consistent energy without heat damage. Maintain temperatures between 65-75°F (18-24°C) during germination and emergence. Humidity should be moderate—too much invites mold, which is why proper air circulation is critical. Our article on air circulation secrets dives deeper into preventing this common problem.
Step-by-Step Microgreens Cultivation Process
The microgreens cultivation timeline typically spans 7-21 days, depending on the variety. Start by soaking seeds overnight in clean water to jumpstart germination—this boosts sprouting speed and uniformity. Next, fill your tray with a moist growing medium and sow seeds evenly, pressing them gently into the soil. For dense, even harvests, lightly spray seeds with water using a misting bottle and cover with a humidity dome or plastic wrap for the first few days. Remove the cover once sprouted and introduce light gradually.
Watering and Light: The Dynamic Duo of Growth
Proper watering is essential for successful microgreens cultivation. Overwatering can lead to root rot and fungal issues, while underwatering causes weak, dry plants. Use the ‘Fist Test’ method: stick your finger into the medium about an inch deep—if it feels like a clenched fist, it’s time to water. When it feels like an open hand, wait a day. As for lighting, provide 12-16 hours of daily exposure using full-spectrum LEDs positioned 6-12 inches above the canopy. For more on balancing light quality and nutrition, read our guide on LED spectrum ratios.
Maximizing Yield: Science-Backed Techniques
To significantly boost your microgreens yield, focus on three main levers: seeding density, environmental control, and harvest timing. Higher seeding density (within reason) leads to fuller trays—aim for 15-30 seeds per square inch depending on the variety. Keep consistent moisture levels and airflow to prevent mold. Harvest at peak window: when cotyledons are fully expanded but before true leaves overcrowd. This is when flavor, texture, and nutrition are maximized. Our harvest timing guide breaks down exactly how to identify this moment for each variety.
Troubleshooting Common Problems
Even experienced growers encounter challenges in microgreens cultivation. If your greens appear leggy, they’re likely reaching for light—raise your lights or shorten the distance to the canopy. Mold or fungus indicates excessive moisture, so improve airflow and reduce watering frequency. Yellowing leaves often signal nutrient deficiencies or poor drainage. Patchy growth usually points to inconsistent moisture during germination or uneven seed distribution. For a detailed checklist of problems and fixes, see our troubleshooting guide for warning signs in your trays.
Packaging Your Harvest: Post-Harvest Handling
Once harvested, microgreens have a limited shelf life, making proper post-harvest handling crucial. Rinse gently in cold water and spin dry immediately to remove soil particles and excess moisture. Store in breathable containers lined with paper towels to absorb excess humidity. For commercial growers, consider vacuum-sealing for extended freshness. Our storage mastery guide explains how to preserve crispness and nutritional integrity for longer periods.
Advanced Yield Optimization Tactics
Take your microgreans cultivation to the next level by leveraging automation and planning tools. Consider using smart sensors to monitor humidity, temperature, and light intensity in real time. For serious growers aiming to scale operations, our brand-new free SproutPlanner helps you map out planting schedules, track progress, and calculate profitability—all in one intuitive dashboard. It’s designed to streamline your workflow, reduce guesswork, and maximize efficiency whether you’re working with a single tray or a multi-level grow room.
Conclusion: Your Microgreens Journey Starts Now
Microgreens cultivation offers a unique blend of simplicity and depth—accessible enough for beginners yet rewarding enough for seasoned growers to continuously refine their craft. By focusing on quality seeds, controlled environments, and precise timing, you can achieve consistent, nutritious harvests every time. Remember, every expert was once a beginner. With practice, attention to detail, and the right tools, your indoor garden will soon become a source of pride and nourishment. Download your free SproutPlanner app today and take the first step toward mastering microgreens cultivation in 2026!
Ronaldo AndradeWrites practical notes about growing better microgreens.
[01] keep reading