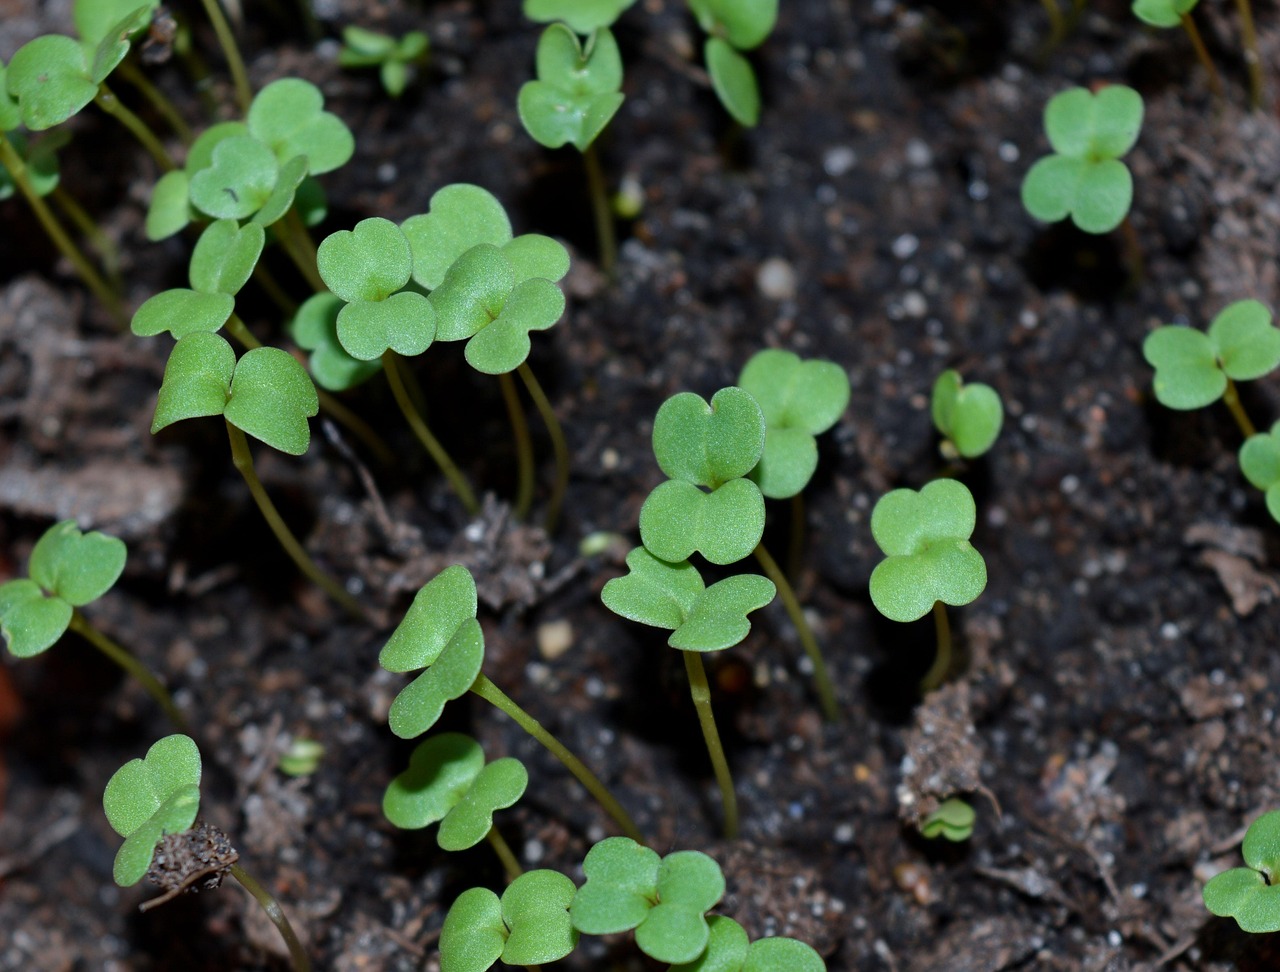
Introduction: Why Microgreens Cultivation is Worth Your Time
Microgreens cultivation has exploded in popularity, and for good reason. These tiny seedlings pack up to 40 times more nutrients than their mature counterparts, making them a powerhouse addition to any diet. Whether you’re a complete beginner or an experienced grower looking to optimize your yields, this guide will walk you through everything you need to know about growing microgreens successfully.
Today, we’re excited to promote our new free tool - the SproutPlanner - designed specifically to help microgreens growers plan and track their cultivation cycles for optimal results.
Getting Started: Essential Supplies for Microgreens Cultivation
Before diving into the growing process, let’s cover the basics you’ll need:
- Seeds: Choose high-quality, untreated seeds specifically labeled for microgreen production
- Growing trays: Shallow containers with drainage holes (1-2 inches deep)
- Growing medium: Soil-based mix, coconut coir, or hydroponic pads
- Light source: Natural sunlight or LED grow lights
- Watering tool: Spray bottle or gentle watering can
For those just starting out, we recommend checking out our comprehensive beginner’s guide: Mastering Microgreens Cultivation: A Practical Guide to Growing Micro-Sprouts and Micro-Radishes. This resource covers the fundamentals in detail and will give you a solid foundation.
Step-by-Step Microgreens Cultivation Process
1. Seed Selection and Preparation
The quality of your microgreens starts with your seeds. Look for:
- Organic, non-GMO seeds when possible
- Seeds with high germination rates (check the packaging date)
- Varieties known for microgreen production (broccoli, radish, sunflower, pea, etc.)
Some growers benefit from seed pre-treatment. Our guide on 15-minute seed pre-treatment techniques can help double germination rates, especially with older or challenging seed varieties.
2. Preparing Your Growing Medium
Fill your trays with 1-2 inches of moistened growing medium. The medium should be:
- Moist but not soggy (like a wrung-out sponge)
- Level and evenly distributed
- Lightly firmed but not compacted
For hydroponic growers, ensure your pads are properly saturated before seeding.
3. Seeding: Density Matters
Seed density significantly impacts your harvest. As a general rule:
- Small seeds (broccoli, kale, cabbage): 1-2 tablespoons per 10x20 inch tray
- Medium seeds (radish, mustard, chia): 2-4 tablespoons per tray
- Large seeds (sunflower, pea, bean): 1/4 to 1/2 cup per tray
Spread seeds evenly across the surface, then lightly press them into the medium. Cover with a thin layer of medium or use a humidity dome.
4. Germination: The Critical First Days
During germination (days 1-3):
- Keep seeds covered and in darkness
- Maintain consistent moisture (mist 1-2 times daily)
- Ideal temperature: 65-75°F (18-24°C)
- Check for mold - white fuzz is normal root hairs; colored fuzz indicates mold
For detailed troubleshooting during this phase, see our guide on The 48 Hours That Define Your Harvest, which focuses on seed quality and treatments that maximize even germination.
5. Light Exposure: Fueling Growth
Once seeds have sprouted (usually day 3-4), it’s time for light:
- Remove covers and expose to light
- Provide 12-16 hours of light daily
- Use full-spectrum LED grow lights or place in a sunny south-facing window
- Keep lights 2-4 inches above the canopy
To dive deeper into lighting optimization, check out our advanced resource: Microgreens Mastery in 2026: 5 Game-Changing Techniques for Bigger, Healthier Harvests. This post covers precision lighting strategies that can significantly boost your yields.
6. Watering: The Goldilocks Principle
Proper watering is perhaps the most critical aspect of microgreens cultivation:
- Water from below when possible (fill tray reservoir)
- If watering from above, use a gentle spray to avoid damaging delicate stems
- Keep medium moist but never soggy
- Listen to your plants - wilting means too dry; yellowing means too wet
For a scientific approach to watering that can double your yield, refer to our guide on Microgreens Watering Mastery: The Exact Science, which focuses on root management as the key factor for success.
7. Air Circulation: Preventing Problems
Good air circulation prevents mold and promotes strong growth:
- Use a small fan on low setting for gentle airflow
- Ensure trays aren’t overcrowded
- Remove any debris or dead plant material promptly
- Monitor humidity levels (ideal: 40-60%)
Our guide on Microgreens Air Circulation Secrets explores how proper airflow significantly increases harvest success rates by preventing mold and improving plant health.
Harvesting: Timing is Everything
Most microgreens are ready to harvest in 7-14 days, depending on the variety:
- Fast-growing (radish, mustard, cress): 5-7 days
- Medium-growing (broccoli, kale, cabbage): 7-10 days
- Slower-growing (sunflower, pea, beet): 10-14 days
Harvest when:
- First true leaves have developed
- Plants are 2-3 inches tall
- Colors are vibrant
- Before flowering or bolting begins
Use clean scissors or a sharp knife to cut stems just above the soil line. Harvest in the morning for best flavor and nutritional content.
Post-Harvest Handling: Maximizing Freshness
To maintain crispness and extend shelf life:
- Rinse gently in cool water if needed
- Spin dry in a salad spinner or pat dry with paper towels
- Store in airtight containers with a paper towel to absorb moisture
- Refrigerate at 35-40°F (2-4°C)
- Use within 5-7 days for peak quality
For detailed post-harvest techniques, see our guide on Keep Your Microgreens Crisp: Simple Post-Harvest Steps, which focuses on maintaining crispness, extending shelf life, and reducing crop waste.
Common Challenges and Solutions
Mold Prevention
Mold is the most common issue in microgreens cultivation. Prevent it by:
- Ensuring proper air circulation
- Not overwatering
- Using clean trays and medium
- Considering food-grade hydrogen peroxide dilution (1 tsp per cup of water) for misting
Our mold prevention guides offer comprehensive solutions: Say Goodbye to Mold! Your Ultimate Guide to Healthy Microgreens and Microgreens Disease Prevention Guide.
Leggy or Pale Growth
This usually indicates insufficient light. Solutions include:
- Increasing light intensity or duration
- Moving lights closer to the canopy
- Using reflective surfaces to maximize light distribution
- Considering higher quality full-spectrum LEDs
Uneven Growth
Often caused by uneven seeding or watering. Address by:
- Ensuring even seed distribution
- Leveling your growing medium properly
- Watering uniformly across the tray
- Rotating trays if using directional light sources
Advanced Techniques for Optimizing Yield
Once you’ve mastered the basics, consider these yield-boosting strategies:
- Precision lighting: Experiment with specific light spectrum ratios (more blue for compact growth, more red for stem elongation)
- Nutrient enhancement: Dilute liquid kelp or compost tea in your water for micronutrients
- Succession planting: Start new trays every 2-3 days for continuous harvest
- Variety experimentation: Try less common microgreens like amaranth, basil, or shiso for unique flavors
- Vertical stacking: Use shelving systems to maximize production in limited space
For those looking to significantly boost their harvest, our guide on Unlock 30% Heavier Microgreen Harvests: 5 Proven Optimization Secrets provides actionable steps that help small farms increase nutrient density and revenue through precise growing adjustments.
Microgreens Nutrition: Why They’re Worth the Effort
The nutritional density of microgreens makes them a superfood:
- Vitamins: High in vitamins C, E, K, and beta-carotene
- Minerals: Rich in potassium, iron, zinc, magnesium, and copper
- Antioxidants: Concentrated polyphenols and glucosinolates
- Enzymes: Live enzymes that aid digestion
- Phytonutrients: Plant compounds with health-promoting properties
Studies show microgreens can contain up to 40 times more nutrients than mature vegetables, making them an efficient way to boost your nutritional intake.
Conclusion: Your Microgreens Journey Starts Now
Microgreens cultivation offers incredible rewards for relatively little effort. Whether you’re growing on a sunny windowsill or under sophisticated LED arrays, the principles remain the same: quality seeds, proper moisture, adequate light, and good air circulation.
Remember that every expert was once a beginner. Start simple, observe what works in your specific environment, and gradually refine your techniques. With practice, you’ll be producing vibrant, nutrient-packed microgreens that elevate your meals and potentially even create a small income stream.
Don’t forget to try our free SproutPlanner tool to help you track your cultivation cycles, optimize your timing, and achieve consistent results. Happy growing!
Ronaldo AndradeWrites practical notes about growing better microgreens.
[01] keep reading