Guides / Growing techniques
Microgreens Cultivation 2026: A Practical Guide from Seed to Harvest for Every Grower
Microgreens Cultivation: Your Complete Guide to Growing Nutrient-Packed Greens If you have ever walked into a grocery store and marveled at the vibra
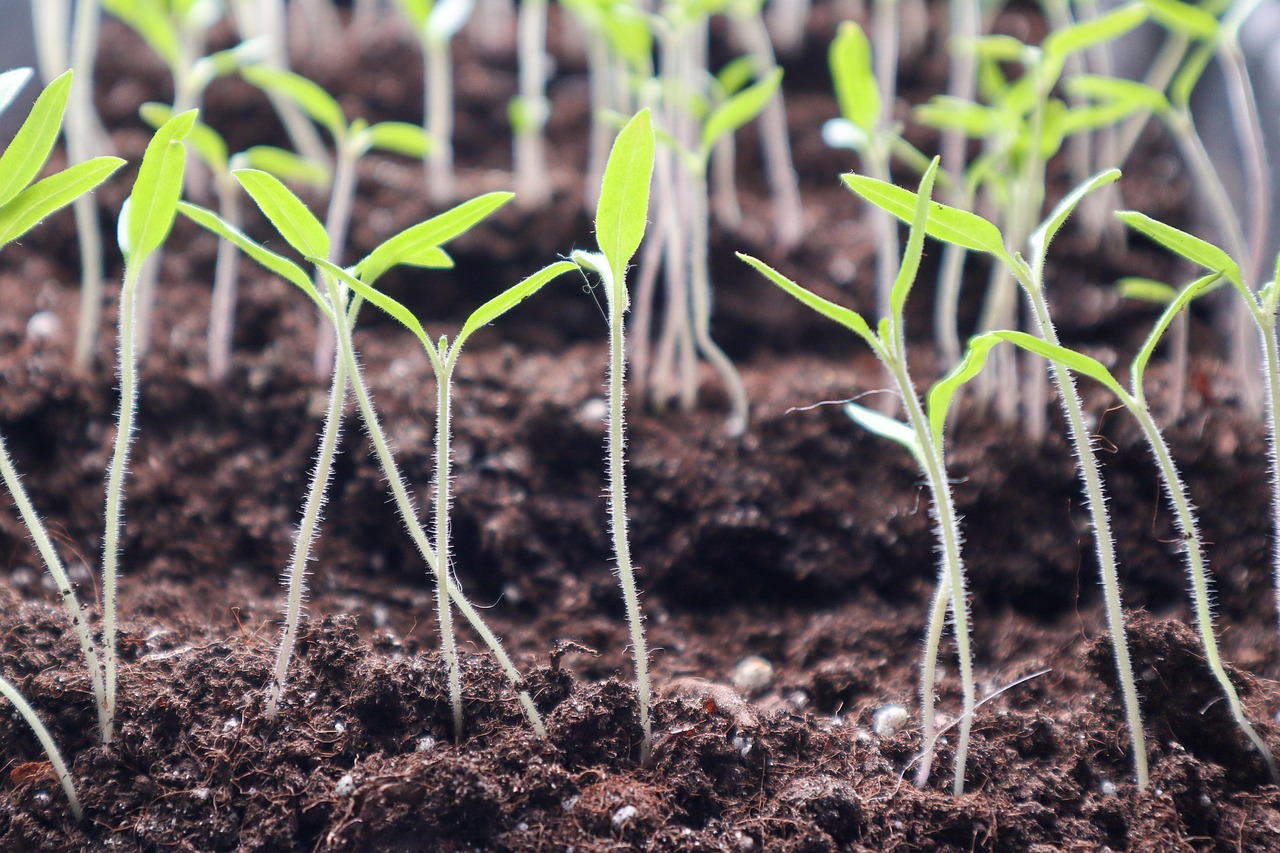
Microgreens Cultivation: Your Complete Guide to Growing Nutrient-Packed Greens
If you have ever walked into a grocery store and marveled at the vibrant, tiny greens adorning gourmet plates — only to think, “I could grow those myself” — you are absolutely right. Microgreens cultivation has exploded in popularity over the past few years, and the global microgreens market is projected to reach USD 2.1 billion in 2026 alone, growing at a CAGR of 14.6%. Whether you are a curious beginner or a seasoned grower looking to optimize yields, this guide covers everything you need to know to succeed.
Today, we are also thrilled to announce the launch of SproutPlanner, our first free miniapp designed to help you plan and track your microgreens cultivation journey from seed to harvest. More on that below.
What Exactly Are Microgreens and Why Cultivate Them?
Microgreens are young vegetable greens harvested just 7–14 days after germination, when they have developed their first true leaves (called cotyledons). They are denser in nutrients than their mature counterparts — studies show they can contain up to 40 times the vitamin and mineral concentration of fully grown vegetables. Think of them as nature’s nutritional powerhouse, packed into a tiny, flavorful package.
The beauty of microgreens cultivation is its accessibility. You do not need a sprawling backyard or expensive equipment. A sunny windowsill, a few trays, quality seeds, and consistent attention are all you need. The global trend toward indoor and vertical farming has only accelerated interest, making this the perfect time to start.
Getting Started: The Essentials of Microgreens Cultivation
Before you sow your first tray, let us cover the foundational elements that separate a thriving harvest from a disappointing one.
1. Choosing the Right Seeds
Not all seeds are created equal for microgreens. Popular varieties include broccoli, radish, sunflower, pea shoots, basil, and amaranth. For beginners, radish and broccoli are excellent choices because they germinate quickly and are forgiving of minor mistakes. Look for seeds labeled specifically for microgreens cultivation — regular garden seeds may carry treatments that inhibit sprouting.
Pro tip: A 15-minute seed pre-treatment can double your germination rate. Soak larger seeds like sunflower or pea in cool water overnight, and use a diluted hydrogen peroxide solution for smaller seeds to break dormancy.
2. The Growing Medium and Containers
Your growing medium is the unsung hero of microgreens cultivation. A lightweight, nutrient-rich substrate — typically a mix of coco coir, peat moss, and perlite — provides the ideal balance of moisture retention and drainage. Avoid heavy garden soils, which can harbor mold and pathogens.
When selecting containers, prioritize trays with drainage holes and shallow depth (roughly 1–2 inches). Proper airflow at the roots prevents the number-one killer of microgreens: damping-off fungus.
3. Light: The Secret Ingredient
If there is one factor that most beginners underestimate, it is light. Microgreens need 12–16 hours of light daily. Natural sunlight works, but LED grow lights offer precision — you can tune the spectrum (blue for leafy growth, red for flowering and maturity) to optimize both yield and nutritional density. In 2026, precision LED lighting remains one of the most impactful advances in microgreens cultivation.
Watering and Environmental Control
Overwatering is the fastest way to lose a tray. The golden rule: keep the growing medium consistently moist but never waterlogged. A simple “fist test” works wonders — press your palm gently against the tray surface; if it feels damp, hold off. Misting in the morning allows foliage to dry before nightfall, reducing mold risk.
Temperature and humidity are equally critical. Most microgreens thrive between 65–75°F (18–24°C) with moderate humidity. If your room is dry, a small humidifier near your growing area can make a significant difference. For deeper insights, check out our guide on mastering temperature and humidity — it is a game-changer for consistent results.
Advanced Techniques to Maximize Your Yield
Once you have the basics down, it is time to level up. Recent research has identified several advanced levers that experienced growers pull to boost harvests by 30–50%:
- Seeding density optimization: More seeds do not always mean more yield. Overcrowding restricts airflow and encourages mold. Find the sweet spot for each variety.
- Light spectrum tuning: Blue-dominant spectra produce compact, leafy greens, while red-infused light promotes stem thickness and antioxidant production.
- Root zone biochemistry: Adding mild nutrient solutions (microgreens-specific fertilizers) during the second week can significantly increase biomass.
- Air circulation: Gentle airflow strengthens plant stems and prevents fungal issues. A small oscillating fan on low setting works wonders.
For a deeper dive into seven proven strategies, be sure to read our article Microgreens Mastery in 2026: 5 Game-Changing Techniques for Bigger, Healthier Harvests — where we break down exactly how to apply these methods in your own setup.
Harvesting at Peak Perfection
Timing your harvest correctly is as important as everything that came before. Most microgreens are ready to cut when they have developed their first set of true leaves and are 1–3 inches tall. Use clean, sharp scissors to cut just above the soil line. Harvesting in the morning, when moisture content is highest, preserves crispness and flavor.
Proper post-harvest handling extends shelf life significantly. Gently rinse, pat dry, and store in a breathable container in the refrigerator. Done right, most microgreens stay fresh for 5–7 days.
Introducing SproutPlanner: Your Free Microgreens Cultivation Tool
We built something special just for you. Today, we are launching SproutPlanner — a free, intuitive miniapp that helps you plan your microgreens cultivation schedule, track germination progress, and get personalized tips based on the varieties you are growing. Whether you are sowing your first tray or managing a dozen, SproutPlanner takes the guesswork out of growing.
Think of it as your pocket grower’s assistant — because microgreens cultivation should be rewarding, not stressful.
Final Thoughts: Start Small, Grow Big
Microgreens cultivation is one of the most accessible, rewarding, and delicious hobbies you can pick up in 2026. The market is booming, the science is advancing, and the tools available to home growers have never been better. Whether you are growing for nutrition, flavor, or the sheer joy of watching a tray transform from seed to greens in just ten days, the journey is incredibly satisfying.
Start with one tray, one variety, and the curiosity to learn. And when you are ready to take your setup to the next level, remember that the resources, tools, and community at Leaftix are here to support you every step of the way.
Ronaldo AndradeWrites practical notes about growing better microgreens.
[01] keep reading