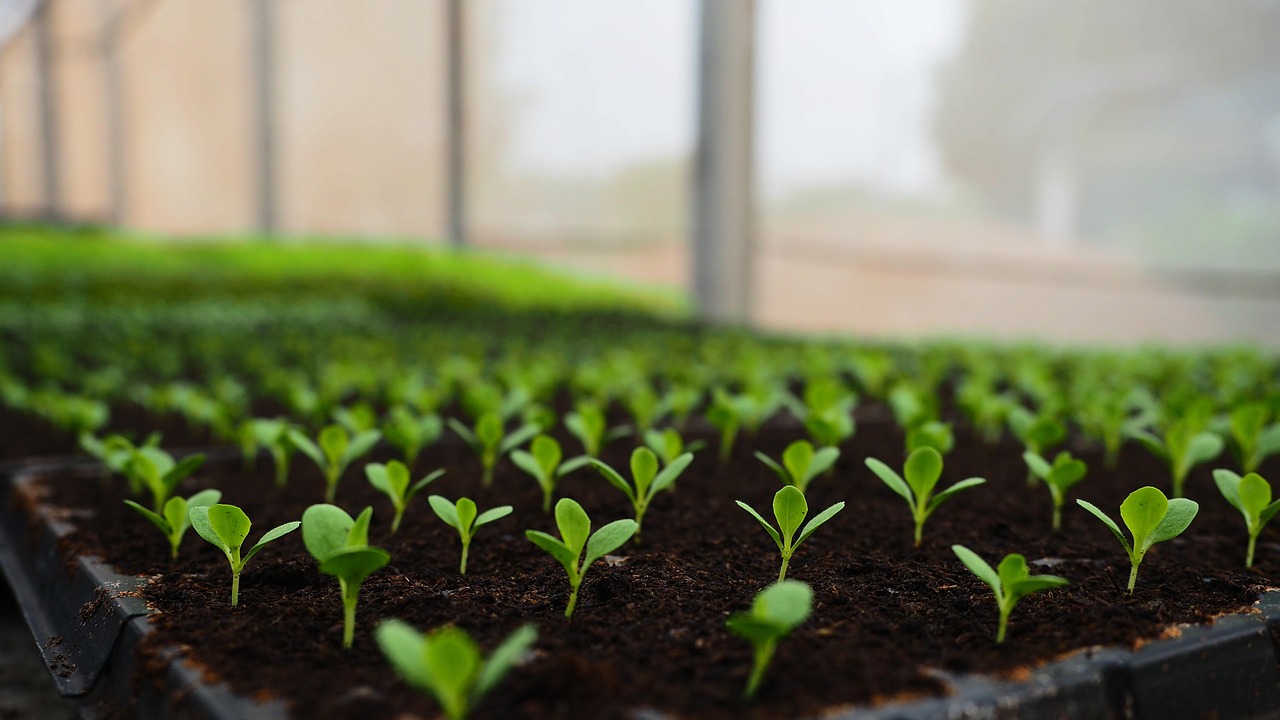
Introduction to Microgreens Cultivation Mastery
Microgreens cultivation has evolved from a niche hobby to a mainstream superfood cultivation practice, and 2026 brings exciting innovations to your growing routine. Whether you’re a complete beginner or looking to optimize your yields, this comprehensive guide will walk you through every critical step from seed to harvest. Microgreens are young, nutrient-dense seedlings harvested just 7-21 days after germination, packing concentrated vitamins, minerals, and flavor that mature plants simply cannot match.
Today’s microgreens trends highlight indoor farming, sustainable agriculture, and precision growing techniques that anyone can master. We’ve distilled years of research and hands-on experience into practical, actionable steps that will help you achieve bigger, more consistent harvests while avoiding the most common pitfalls that plague both novice and experienced growers.
The Foundation: Seed Selection and Quality
Your microgreens journey starts with quality seeds. While you can grow almost any seed, some varieties consistently outperform others in both taste and yield. Popular varieties include:
- Broccoli microgreens - Dense, peppery flavor with exceptional vitamin C content
- Radish microgreens - Spicy kick with beautiful red stems, ready in just 5-7 days
- Sunflower microgreens - Large, satisfying shoots perfect for snacking
- Pea shoots - Sweet, mung bean-like flavor with beautiful tendrils
- Basil microgreens - Aromatic, perfect for Italian dishes
Pro tip: Always purchase certified organic seeds labeled specifically for microgreens production. Regular salad seeds often don’t produce the same tender shoots and may contain treated seeds that could harm your crop.
Preparing Your Growing Environment
Success instarts with environmental control. While microgreens are forgiving, they’re sensitive to temperature fluctuations and moisture issues. Set up your growing space with these essentials:
- Temperature - Ideal range is 65-75°F (18-24°C) for most varieties
- Light - 12-16 hours of bright light daily, either natural or LED grow lights
- Drainage - Use trays with drainage holes to prevent waterlogged roots
- Surface - A clean, dedicated growing surface protects from pests and contamination
Check out our detailed guide on mastering microgreens cultivation fundamentals for step-by-step setup instructions with photos.
Planting Techniques: Getting Off to the Right Start
How you plant determines whether you get a lush, uniform harvest or a sparse, patchy crop. Follow these proven techniques:
Step 1: Prepare Your Growing Medium
Use a quality organic potting mix designed for seedlings, or try our recommended blend of coconut coir and perlite. Fill trays leaving a 1-inch margin at the top for watering. Lightly moisten the medium without waterlogging it.
Step 2: Sowing Seeds Properly
The golden rule: even distribution is key. For small-seeded varieties like broccoli and radish, scatter seeds gently and press them lightly into the surface without covering. Larger seeds like sunflower need to be planted about ¼ inch deep. Aim for a density of approximately 250-300 seeds per standard 10x20 inch tray.
Step 3: The Initial Watering
After sowing, mist the seeds thoroughly using a fine spray bottle. The goal is to settle the seeds into the medium while providing initial moisture for germination. Cover trays with a humidity dome or another tray to maintain consistent moisture during the critical first 48 hours.
Light, Water, and Nutrients: The Big Three
These three factors make up 90% of successful microgreens cultivation. Let’s break down each one:
Lighting Mastery
Microgreens need bright, indirect light for optimal growth. If using grow lights, position them 6-12 inches above your trays. Recent research shows that LED spectrum ratios significantly impact both yield and nutritional content. Blue-dominant spectra produce meatier stems, while red spectra encourage faster growth.
Watering Wisdom
Consistent moisture is crucial, but overwatering is the most common killer of microgreens crops. The “Fist Test” is our go-to method: squeeze a handful of your growing medium. If no water drips out, you’re at optimal moisture levels. Water from the bottom when the top inch of medium feels slightly dry to the touch.
Nutrient Considerations
Unlike mature plants, microgreens don’t require fertilization during their short growth cycle. The seed’s endosperm provides sufficient nutrition for the first 10-14 days. However, you can optionally add a diluted, organic liquid fertilizer (¼ strength) during the second week for those seeking maximum biomass.
Troubleshooting Common Problems
Even experienced growers encounter issues. Here’s how to identify and solve the most common problems:
Mold and Fungal Issues
Fuzzy white or black mold indicates excess moisture and poor air circulation. Prevent this by:
- Maintaining proper spacing between trays
- Opening humidity domes daily for fresh air exchange
- Following the Fist Test for watering
- Using sanitized tools and containers
Leggy or Stretchy Stems
Tall, weak stems indicate insufficient light. Move your lights closer or increase daily light duration. The ideal microgreen stem should be sturdy and responsive to gentle pressure.
Uneven Germination
Patchy growth usually stems from inconsistent moisture or temperature. Ensure your growing area maintains stable conditions (68-72°F) and that seeds make even contact with the medium.
Harvest Timing: When to Pick for Peak Flavor
The harvest timing makes the difference between good and exceptional microgreens. Most varieties reach peak flavor and nutrition 3-5 days after first leaves emerge.
Signs your microgreens are ready:
- Leaves should be 1-3 inches tall depending on variety
- \li>Should have a full complement of true leaves (not just seedlings with cotyledons)
- Stems should be firm, not floppy
- Color should be vibrant and uniform
Harvest by cutting just above the growing medium with clean scissors. Avoid pulling to prevent disturbing neighboring plants and damaging the root structure.
Advanced Techniques for Serious Growers
Once you’ve mastered the basics, these advanced techniques can significantly boost your yields:
The Microgreen Success Formula
Our proprietary approach combines three critical elements:
- Plant density optimization - Maximize seeding without creating competition
- Light spectrum precision - Match lighting to each variety’s specific needs
- Root zone management - Maintain optimal moisture while preventing anaerobic conditions
Implementing these techniques consistently can increase your harvest weight by 30-50% without additional equipment.
Batch Scheduling for Continuous Harvests
Plant new trays every 2-3 days to maintain a constant supply. This system requires initial setup but pays dividends in consistent, fresh greens. Keep a planting calendar to track what’s ready when.
Launching SproutPlanner: Your Growing Companion
Today marks an exciting milestone - we’re launching SproutPlanner , our new free miniapp designed specifically to help you master microgreens cultivation. Visit SproutPlanner to:
- Create custom growing schedules for any variety
- Track harvest timing and yields
- Get personalized troubleshooting help
- Access our community knowledge base
This tool embodies everything we’ve learned about what growers truly need - simplicity, practicality, and science-backed guidance. Whether you’re growing your first tray or optimizing your hundredth, SproutPlanner adapts to your skill level and goals.
Conclusion: From Kitchen Counter to Commercial Success
Microgreens cultivation is more than just gardening - it’s a gateway to healthier eating, sustainable food production, and potentially profitable small-scale farming. The techniques outlined here work equally well for kitchen counter grows and small commercial operations.
Explore our 7-day sprint guide for aggressive techniques to boost yields quickly, or read about the challenges small producers face and how to overcome them.
Start your microgreens journey today with confidence. The only limit is your imagination (and maybe your counter space). With SproutPlanner by your side and these fundamentals mastered, you’re ready to cultivate better microgreens, one tray at a time.
Ronaldo AndradeWrites practical notes about growing better microgreens.
[01] keep reading